


How Long Should Pizza Dough Rest at Room Temperature for Optimal Flavor and Texture?
When making pizza, one crucial step you may wonder about is how long your pizza dough should rest at room temperature. Typically, pizza dough should rest for about 2 to 4 hours to achieve optimal texture and stretch. This resting period allows the gluten to relax, making it easier for you to shape and stretch the dough without it springing back.
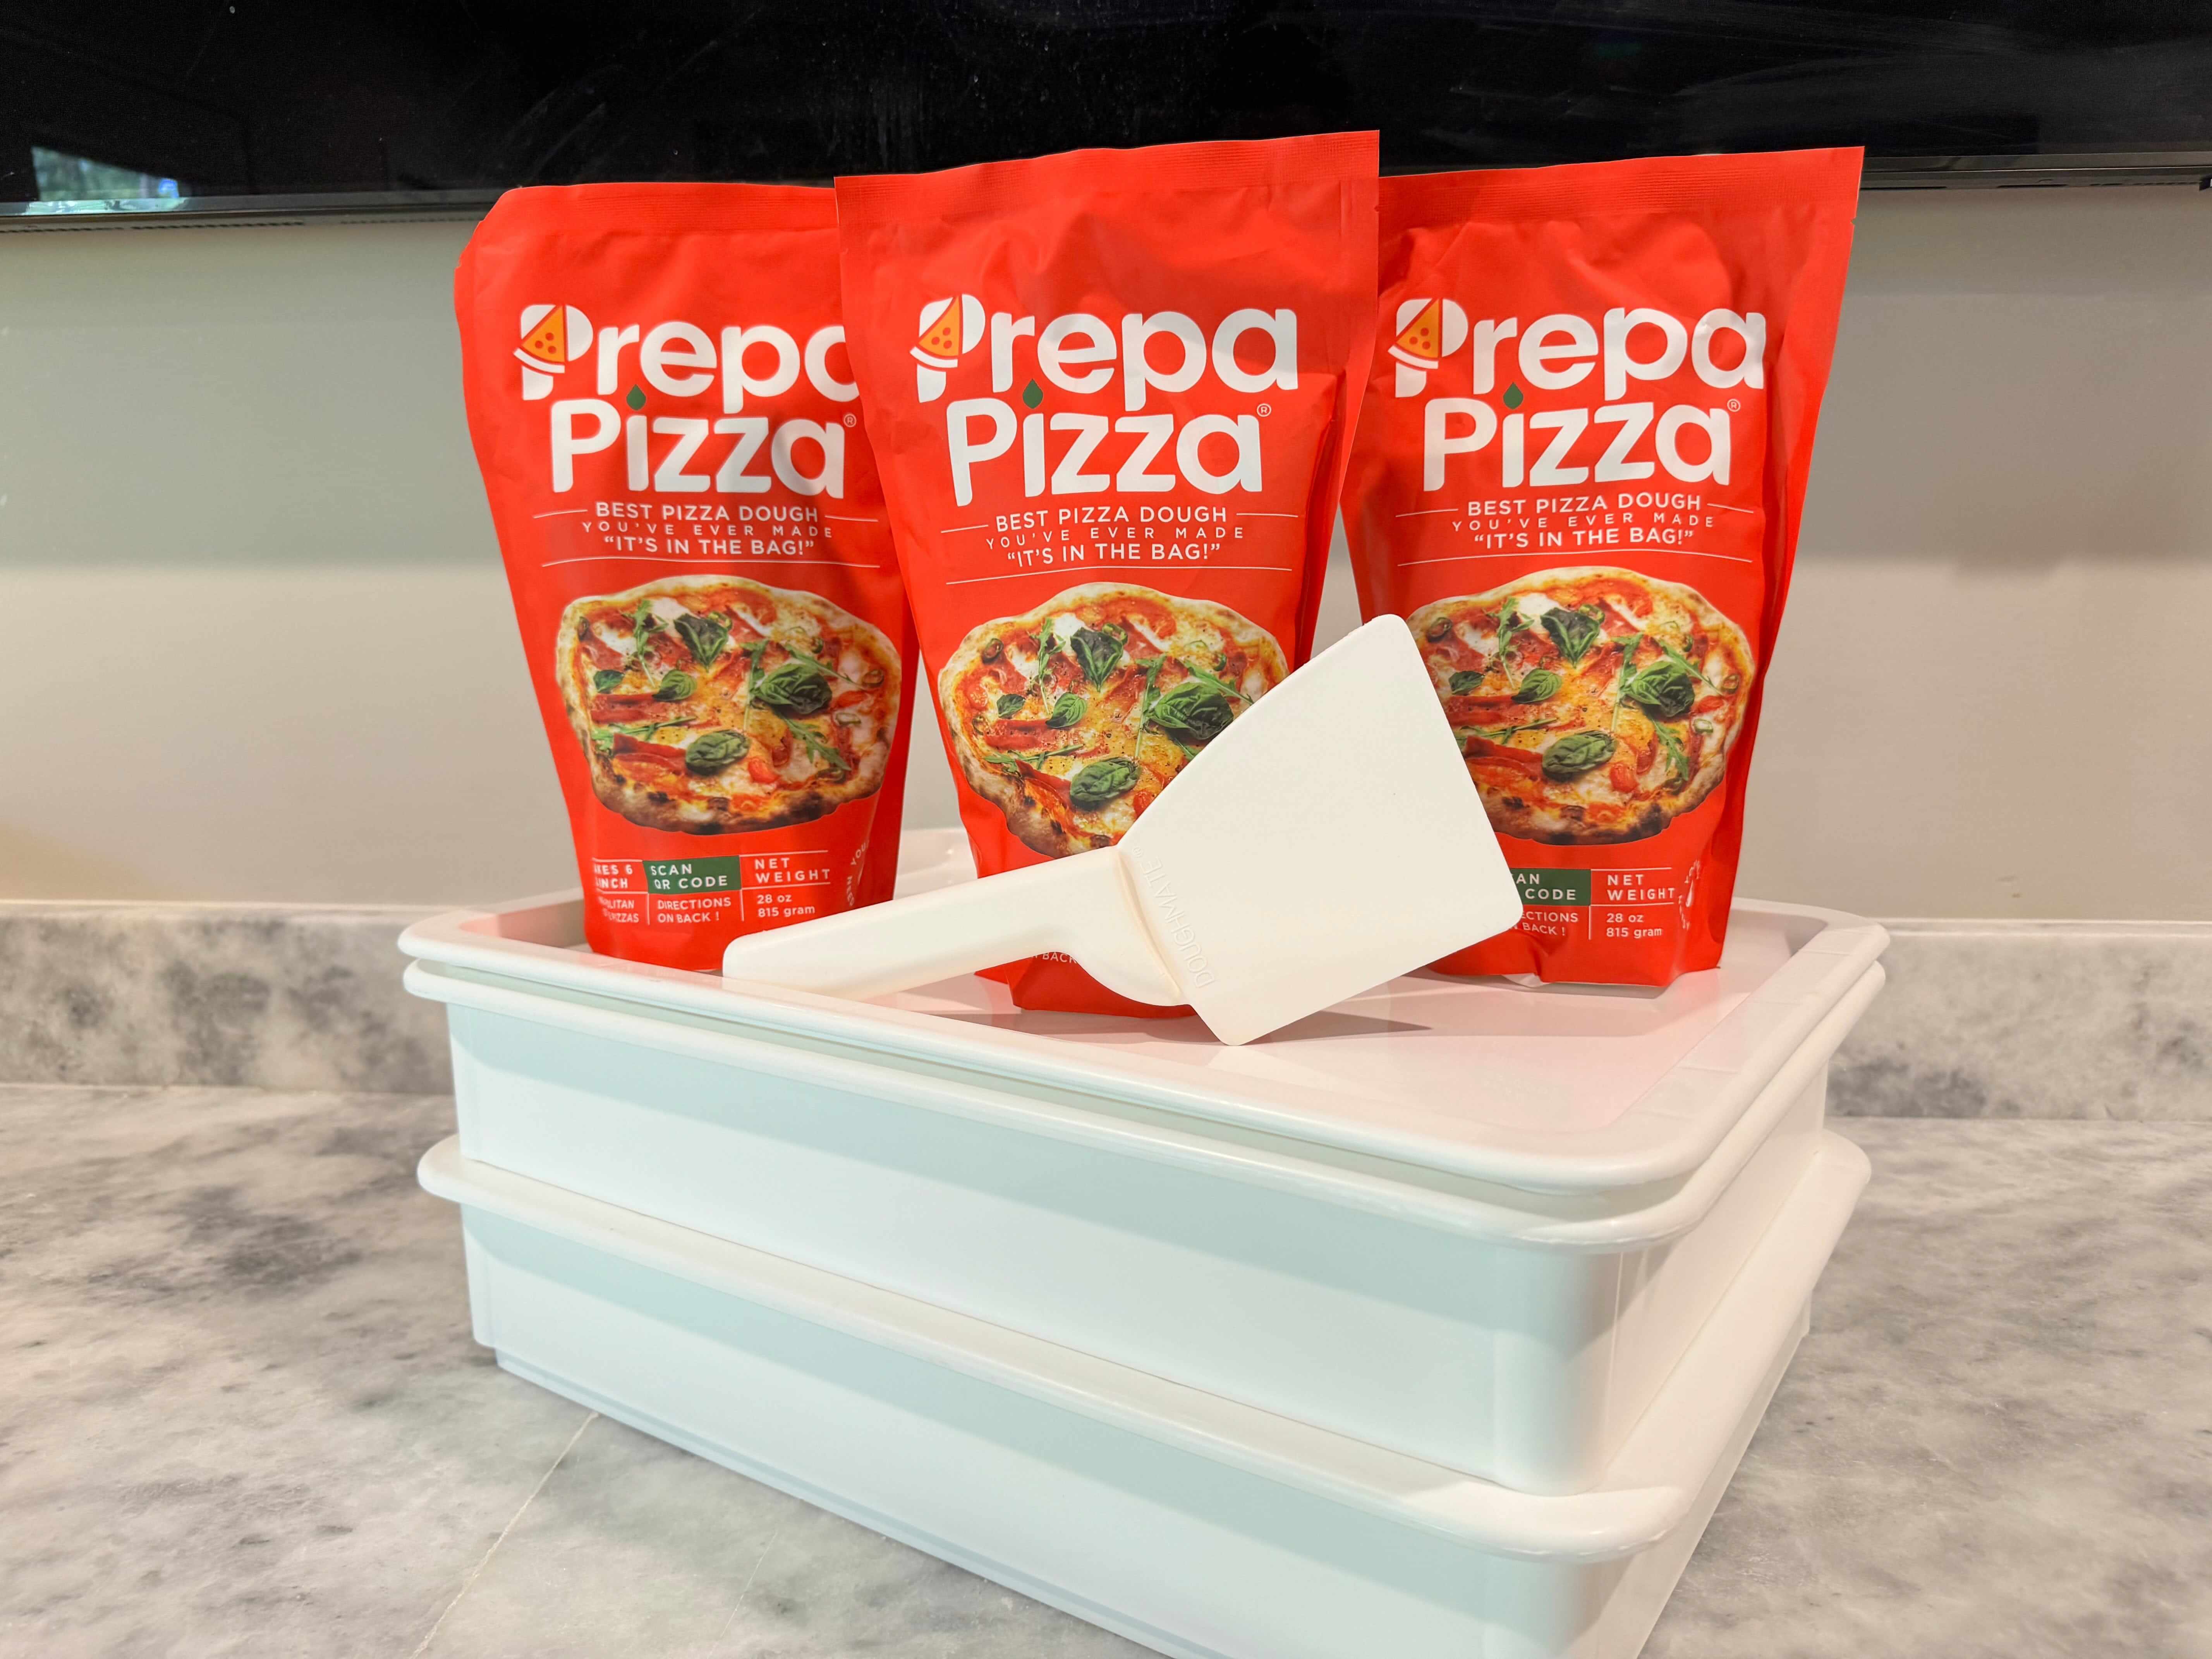
If you've chosen to use Prepa Pizza’s premade dough, you'll benefit from high-quality ingredients that enhance the flavor and elasticity of your pizza base. Allowing the dough to sit at room temperature not only improves its manageability but also contributes to a more flavorful crust when baked.
By understanding the right timing, you can ensure a delicious pizza that's both easy to work with and enjoyable to eat. With Prepa Pizza’s premium dough, you’re just a few hours away from crafting a perfect pizza at home.
Understanding the Pizza Dough Resting Process
Resting pizza dough is crucial for developing the right texture and flavor in your final crust. This process allows the yeast to activate, gluten to develop, and fermentation to occur, resulting in a light and crispy pizza crust.
Why Pizza Dough Needs to Rest
Resting is essential because it gives the dough time to relax and rise. When you first knead the dough, the gluten strands become tense. Allowing it to rest reduces this tension, making it easier to stretch later.
Additionally, resting promotes yeast activity. Yeast ferments sugars in the dough, producing carbon dioxide and alcohol, which contributes to the dough's flavor and texture. A minimum of 1 to 2 hours at room temperature is recommended for optimal results, ensuring your dough is pliable and flavorful.
Roles of Yeast, Gluten, and Fermentation
Yeast plays a fundamental role in the dough's rest period. As it ferments, it converts sugars into gases, creating air pockets within the dough. This process results in a lighter pizza crust that can rise beautifully when baked.
Gluten, formed from wheat proteins, provides strength and structure to the dough. During the resting phase, gluten continues to develop, enhancing elasticity. This is vital for achieving that desirable chewy texture in your pizza crust.
Fermentation contributes to the dough’s flavor profile. The longer the fermentation process, the more complex and flavorful your crust becomes. With Prepa Pizza dough, the fermentation is precisely controlled, ensuring consistently delicious results.
How Gluten Development Affects Pizza Crust
Gluten development is critical to the quality of your pizza crust. Properly developed gluten creates a network that traps gases, helping the dough rise effectively.
When you allow your dough to rest adequately, gluten gains the flexibility needed to stretch without tearing. This is particularly important when shaping your pizza, as a well-rested dough forms a smooth base that holds toppings without collapsing.
Incorporating Prepa Pizza dough allows you to benefit from a well-balanced gluten structure. With premium quality ingredients, your homemade pizza will achieve a perfect balance of crunch and chewiness, providing a satisfying bite every time.
How Long Should Pizza Dough Rest at Room Temperature?
Resting pizza dough at room temperature is essential for achieving the right texture and flavor. The duration will affect how well your homemade pizza turns out. Understanding the timing and the signs of proper resting can guarantee a successful dough rise.
Recommended Room Temperature Resting Times
For best results, allow your pizza dough to rest at room temperature for 1 to 4 hours. This timeframe lets the yeast activate and encourages gluten development. If you’ve made dough balls from your Prepa Pizza supply, ideally, set them out for about 2 hours. This amount of time balances rise and elasticity, making them easier to shape.
You can experiment with longer resting times, extending to up to 24 hours for even deeper flavor. Just be sure the dough isn’t sitting out too long. Keeping a close eye on it ensures that it doesn’t become over-proofed and retain a wet texture.
How Temperature Influences Resting
The temperature of your kitchen significantly impacts the resting time. In warmer environments, dough will rise quicker, potentially requiring only 1-2 hours. For those in cooler spaces, aim for a longer duration.
A room temperature between 75°F and 80°F is ideal for fermenting dough. If your space is cooler, the dough can still rise but may take up to 4 hours or more. Use a thermometer for better accuracy, ensuring you get the best results from your Prepa Pizza dough.
Signs Your Dough Has Rested Enough
Knowing when your dough has rested sufficiently is vital. Look for signs such as an increase in size, with the dough becoming noticeably puffed up. It should feel soft and slightly tacky.
If you press a finger into the dough, the indentation should spring back slowly. This indicates the gluten structure has developed properly, making it ready for shaping. Over-proofing can lead to a dough that’s too airy, ruining your pizza’s texture, so watch for these clues closely.
Risks of Over-Proofing or Under-Proofing
Both over-proofing and under-proofing can negatively impact your pizza. If the dough is left out too long, it can collapse and become unmanageable, leading to a flat final product. This can happen within 4-6 hours at room temperature, especially in warmer settings.
Conversely, under-proofing results in dense, tough pizza. The dough won’t rise adequately in the oven, resulting in a heavy crust. Always aim for that sweet spot—resting your Prepa Pizza dough for the recommended times ensures a well-risen crust full of flavor and character.
Factors Influencing Dough Resting Time
The resting time for pizza dough is crucial and can vary based on several factors. Understanding these influences helps you achieve the desired texture and flavor in your final pizza.
Type of Yeast: Instant, Active Dry, and Others
The type of yeast you use significantly affects resting time. Instant yeast activates quickly, allowing for shorter resting periods, generally around 1 to 2 hours. In contrast, active dry yeast requires proofing before mixing and takes longer to rise, often necessitating at least 2 to 3 hours.
If you are using a sourdough starter, fermentation can extend for several hours to overnight, depending on the specific recipe. For a quicker process, Prepa Pizza uses fast-acting yeast in its dough, ensuring optimal results without extended waiting times.
Flour Choice: All-Purpose vs Bread Flour
The choice between all-purpose flour and bread flour also impacts how long your dough should rest. All-purpose flour contains less protein, requiring a shorter fermentation period, while bread flour's higher protein content supports better gluten formation, necessitating a slightly longer resting time for better texture.
When you are using Prepa Pizza dough, rest times are optimized for the flour blend, which balances ease of preparation with ideal results. Depending on the hydration level, the type of flour may influence how fluffy and airy the crust turns out.
Hydration and Ingredient Ratios
Hydration levels and ingredient ratios can make a significant difference in dough behavior. A higher water content leads to a wetter dough, which generally requires more time to rest and develop gluten. This can influence the rise and texture of your final pizza.
Furthermore, the addition of ingredients like olive oil or kosher salt can also affect resting time. For instance, oil can make dough softer, while salt strengthens gluten; therefore, both must be balanced correctly.
Using Prepa Pizza dough ensures that these ingredient ratios have been expertly blended, providing a superior foundation for your homemade pizza. Understanding these factors will guide you to achieve the best results every time you make pizza.
Techniques for Preparing and Resting Pizza Dough
Preparing and resting pizza dough involves careful techniques that enhance its texture and flavor. Focus on kneading methods, shaping techniques, and how to properly store your dough to achieve the best results.
Mixing and Kneading Methods
To start, combine your ingredients in a bowl until they form a shaggy dough. Incorporate flour gradually while mixing to prevent a sticky texture. Once the ingredients are combined, transfer the dough to a floured surface.
Kneading is crucial. You can do this by hand or using a stand mixer with a dough hook attachment. If kneading by hand, fold the dough over and push it down with your palms. Rotate and repeat for about 8-10 minutes until the dough becomes smooth and elastic. In a mixer, knead on low speed for about 5-7 minutes.
Shaping the Dough for Best Results
After kneading, allow your dough to rest briefly before shaping. This lets the gluten relax, making it easier to handle. Divide the dough into portions based on your recipe. Shape each portion into a tight ball by tucking the edges under.
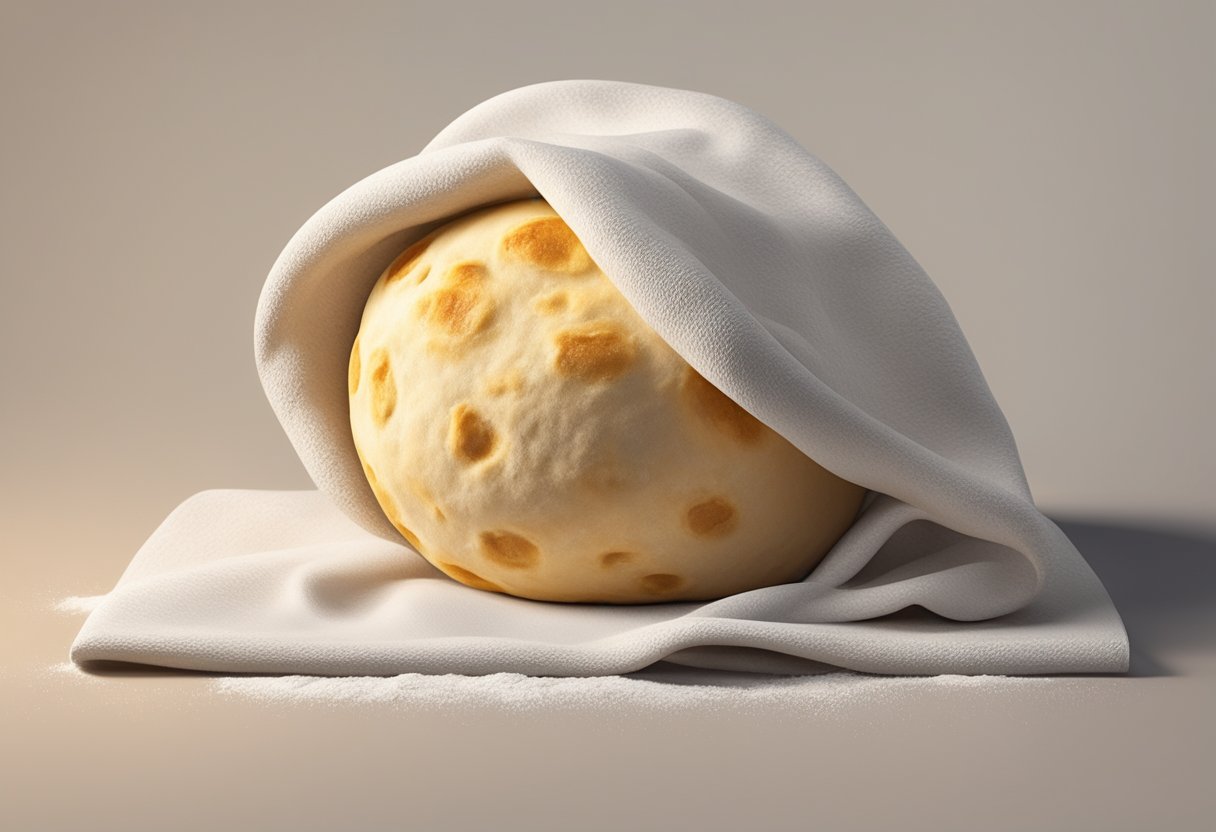
Place the shaped dough balls on a floured surface or in a floured bowl. Make sure they're not touching to avoid sticking. Cover them with a damp cloth or plastic wrap to prevent drying out. Allow the dough to rest for at least 1-2 hours at room temperature for best results.
Using a Stand Mixer, Dough Hook, or By Hand
If you opt for a stand mixer, use a dough hook for efficient kneading. This method allows you to focus on other preparations while the mixer does the hard work. Mix on low speed until the dough comes together, then increase to medium for effective kneading.
If you're kneading by hand, this method may take longer but provides a tactile connection to the dough. Whichever method you choose, ensure that the dough is worked until it is smooth and elastic. This step plays a vital role in developing the gluten structure.
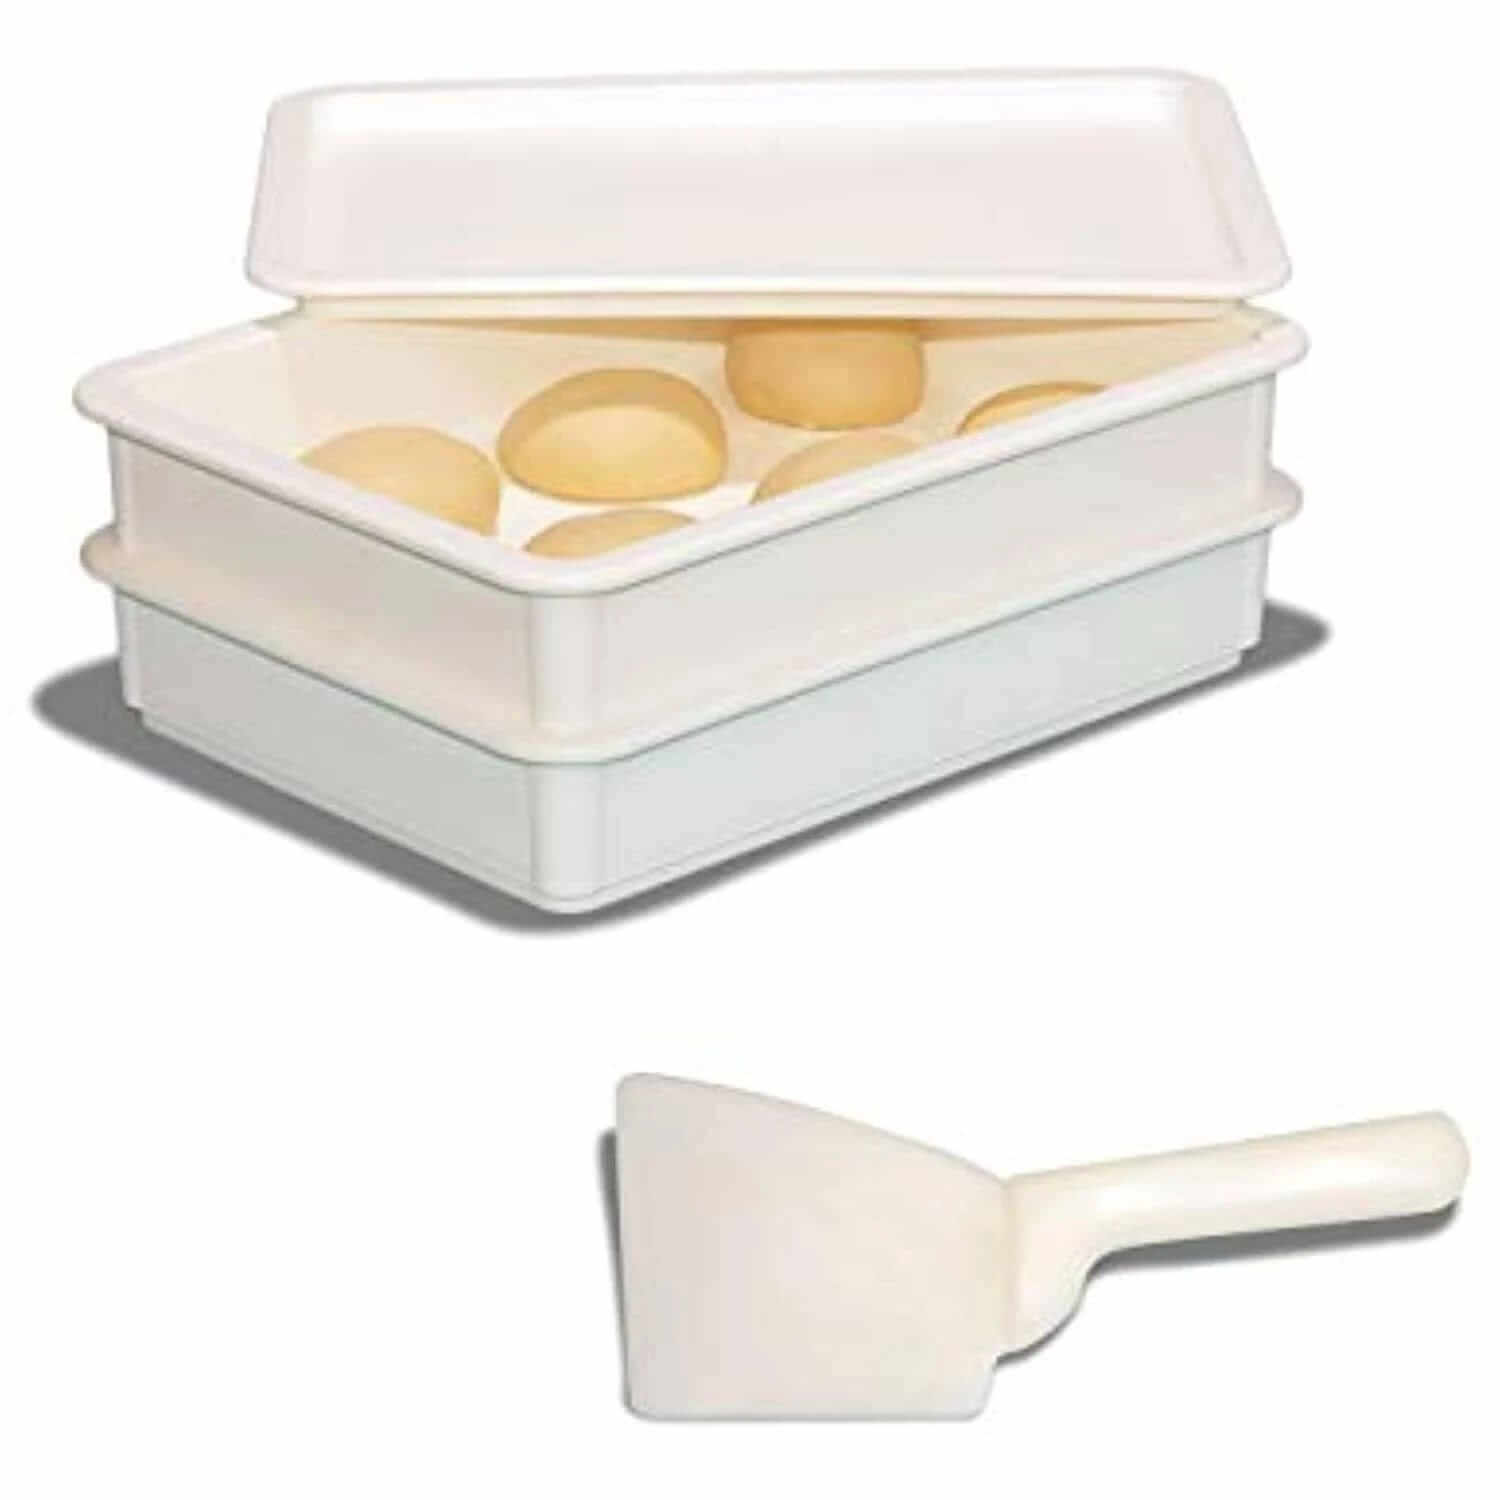
How to Store Dough Balls During Rest
Once shaped, storing your dough correctly is essential. If you're not using it right away, place the dough balls in a lightly oiled container. Ensure there is space for them to expand.
You can also wrap each dough ball in plastic wrap or place them in a resealable bag. This prevents drying out and maintains moisture. If you plan to rest them for more than a few hours, refrigeration is an option, allowing the dough to develop more complex flavors. Be sure to take it out to room temperature before baking.
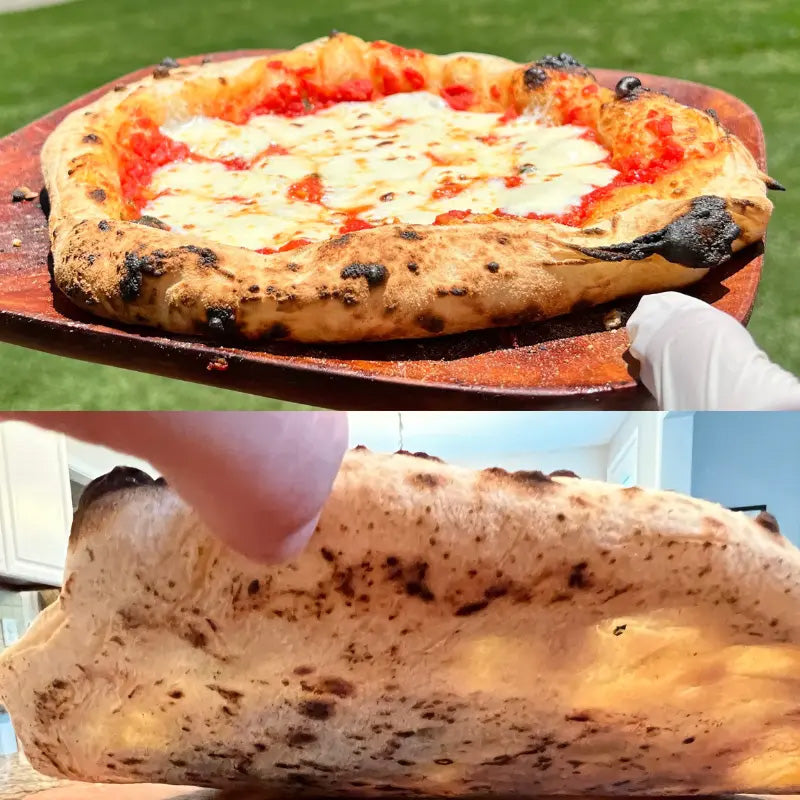
Baking After Dough Rest: Achieving the Perfect Crust
After allowing your pizza dough to rest, the next crucial step is baking. This process can greatly influence the crust's texture and flavor, so understanding specific techniques will ensure a delicious result. Here are some important aspects to consider.
Transferring Dough with a Pizza Peel
Using a pizza peel is essential for transferring your pizza into the oven. Before placing the dough on the peel, dust it lightly with cornmeal or semolina flour. This helps prevent sticking and allows the pizza to slide off easily.
When your dough is ready, stretch it onto the peel with your hands or a rolling pin, maintaining an even thickness. If your dough has risen well, it should retain some air bubbles for a light texture. Make sure to work quickly; a warm dough can become tricky to handle.
Baking Options: Pizza Stone, Steel, and Ovens
Baking on a preheated pizza stone is one of the best methods for achieving a crispy crust. Place your stone in the oven while preheating, ideally for at least 30 minutes at 475–500°F. This high temperature mimics a traditional pizza oven.
Pizza steels are another excellent option. They conduct heat better than stones, leading to faster cooking times and better crust development. If you're using a convection oven, consider reducing the temperature by about 25°F, as it circulates hot air, which can lead to quicker baking.
Using Cornmeal, Parchment, and Semolina Flour
To prevent your pizza from sticking to the peel or baking surface, use a thin layer of cornmeal or semolina flour. Both provide excellent non-stick properties without affecting flavor.
If you're worried about transferring the pizza directly on a stone or steel, consider using parchment paper. Lay the rolled-out dough on the parchment, then add toppings. You can then slide the pizza (with parchment) onto the heated stone or steel, simplifying the process and avoiding any mishaps.
Baking Time and Temperature Tips
Timing is crucial when baking pizza. Typically, a thin crust pizza will require 10–15 minutes in a preheated oven. Monitor your pizza closely, especially during the last few minutes. It’s done when the crust is golden brown and the cheese is bubbling.
In terms of temperature, aim for at least 475°F. Higher temperatures are ideal, as they yield a better rise and crust texture. If using a pizza stone or steel, make sure they are fully heated for optimal results. This will provide a crispy base while keeping the toppings perfectly cooked.
Enhancing Flavor and Variety in Homemade Pizza
Creating a delicious homemade pizza involves more than just mastering the dough. From selecting toppings to understanding the influence of resting dough, you can elevate your pizza experience significantly. Here are key factors that will help you achieve variety and enhance flavor in your pizzas.
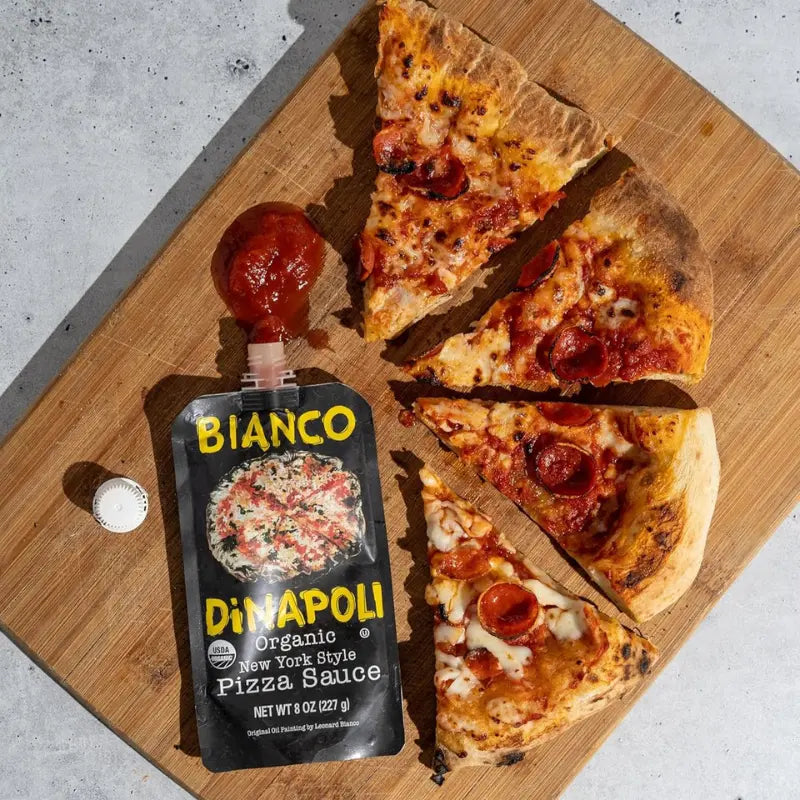
Selecting Toppings and Crafting Unique Recipes
The choice of toppings is crucial in defining the flavor profile of your pizza. Classic options like Margherita with fresh mozzarella and basil offer simplicity, while pepperoni provides a spicy kick.
Consider combining unique ingredients such as:
- Artichokes and spinach for a Mediterranean twist
- Prosciutto and arugula for freshness
- Roasted vegetables for a hearty option
Experimenting with different cheeses, like feta or goat cheese, can also enhance flavors. Create your own signature pizza recipe with a balance of savory, sweet, and spicy ingredients to cater to your preferences.
Influence of Resting on Pizza Flavor
Allowing your dough to rest at room temperature can significantly enhance its flavor. When dough rests, the gluten relaxes, making it easier to stretch. Additionally, the fermentation process develops complex flavors within the dough.
You should let your pizza dough rest for about 1 to 2 hours after pulling it from the fridge. This time allows for the dough to rise and can improve texture, making your pizza crust lighter and airier. The result will be a crust that complements your flavorful toppings effectively.
Famous Styles: Margherita, Pepperoni, and More
Pizza has countless styles, each with its own unique characteristics. The Margherita pizza is revered for its simplicity, featuring a perfect balance of tomato sauce, fresh mozzarella, and basil.
Pepperoni pizza remains a favorite for its bold, savory flavors. For a different flair, try a white pizza, which uses a creamy ricotta or béchamel base instead of tomato sauce.
Exploring regional varieties, such as Chicago deep dish or New York thin crust, allows you to appreciate diverse textures and flavors. Embracing these styles will expand your pizza-making repertoire.
Expert Tips: Insights from Ken Forkish
Ken Forkish is a renowned pizza expert whose insights can elevate your pizza-making skills. He emphasizes the importance of quality ingredients, especially when it comes to dough. Using Prepa Pizza’s premium, restaurant-quality dough guarantees a perfect base.
Forkish advocates for high hydration in dough, which results in a lighter, airier crust. Additionally, he suggests allowing dough to ferment longer for richer flavors. Always consider the baking method—using a pizza stone or steel can create a beautifully crisp crust.
By implementing these expert tips and utilizing premium dough from Prepa Pizza, you’ll achieve consistently great results in your homemade pies.
Frequently Asked Questions
Understanding the resting times for pizza dough is essential for achieving the best results. The following answers address common concerns regarding resting, rising, and safety when handling your dough.
What is the ideal resting time for pizza dough at room temperature before rolling?
The ideal resting time for pizza dough at room temperature is typically between 1 to 2 hours. This allows the gluten to relax, making the dough easier to stretch and shape for your pizza.
Is it safe to allow pizza dough to rise overnight at room temperature?
Allowing pizza dough to rise overnight at room temperature is not recommended due to the risk of over-proofing. Excessive time could lead to the dough becoming too airy, impacting the texture and flavor of your final pizza.
After refrigerating, how long must pizza dough rise at room temperature?
After refrigerating, it is best to let your pizza dough rise at room temperature for about 30 minutes to 1 hour. This helps to reactivate the yeast and ensure proper elasticity before you begin rolling.
For optimal results, how long should pizza dough rise?
For optimal results, a rise of 1 to 2 hours at room temperature is advisable. This duration provides the necessary fermentation for flavor development and dough structure.
Up to what maximum time can dough be left to rest at room temperature?
Dough can typically rest at room temperature for up to 2 hours without significant issues. Beyond that, the risk of over-proofing increases, which can affect the dough's performance during baking.
How long can pizza dough safely remain in the fridge before it needs to be used?
Pizza dough can safely remain in the fridge for about 3 to 5 days. This timeframe allows the flavors to develop while maintaining the dough's quality. After this period, it's best to discard the dough to ensure optimal freshness.
Best Online Pizza Dough: Top Recipes and Tips for Perfect Crust
Is Bread Flour Good for Pizza Dough? Exploring the Best Options for Perfect Crusts
Related Posts

Can You Use Bread Flour For Pizza Dough: Benefits and Tips Explained

How to Thaw Frozen Pizza Dough Quickly for Perfect Results Every Time

What Temperature To Cook Pizza Dough For Perfect Crispiness Every Time

Dough Press for Pizza Efficiently Perfecting Homemade Crusts

How to Freeze Homemade Pizza Dough for Freshness and Convenience

Sourdough Crust Essentials for Perfect Baking Results

How Much Dough for a 16 Inch Pizza Calculated for Perfect Crust Results