Pizzaioli Class
Before You Begin
20 Minutes of Actual Work
Everything else is resting — which is your free time to do whatever you want. Fit these steps into your plans, not the other way around. And remember: time is your friend. The more you give between each step, the better your dough will be.
🌙 Overnight — Recommended (Best Results)
- Evening Day 1:
- Make Poolish ~3 min
- Rest on counter min. 1 hr
- Move to fridge overnight, max 24 hrs
- Day 2:
- Mix dough ~5 min
- Rest min. 1 hr
- Slap and fold 1–2 min
- Bulk rest 1–3 hrs
- Ball the dough ~5 min
- Proof 1–2 hrs
- 🍕 Cook!
⏰ Same Day (min. 8 hrs total)
- Make Poolish ~3 min
- Rest on counter 4 hrs
- Cool poolish in fridge 20–30 min
- Mix dough ~5 min
- Rest min. 1 hr
- Slap and fold 1–2 min
- Bulk rest 1–3 hrs
- Ball the dough ~5 min
- Proof 1–2 hrs
- 🍕 Cook!
What's In The Bag
Your kit contains everything you need. Here's what's inside and when you'll use each item:
- Bag marked "P" — Poolish flour (used first, Video 2)
- Bag marked "S" — Semolina (used last, when stretching — do not use earlier)
- Unlabeled flour bag — Main dough flour with salt & malt already mixed in (used in Video 3)
- Yeast packet — Used in Video 2
- Honey packet — Used in Video 2
- Olive oil packet — Used in Video 3
Before you start: Set the bag marked "S" and the olive oil aside — you won't need them until later steps.
Making The Poolish
The poolish is a quick pre-ferment that gives your dough its flavor. It takes about 3 minutes to make.
In a large bowl, combine:
- Bag marked "P" (poolish flour)
- Yeast packet
- Honey packet
- 1 cup cold water (from the fridge in summer; cold from tap in winter)
Stir until everything is combined — it will look like a thick, rough paste. Cover tightly with plastic wrap.
Overnight path (recommended): Leave on counter for a minimum of 1 hour, then move covered bowl to the fridge overnight. Try to use within 24 hours — overnight is ideal.
Same day path (in a pinch): Leave on counter for 4 hours. In summer, place in fridge for 20–30 minutes after that to cool before the next step. Note that same-day dough will have less flavor and structure than overnight.
You'll know it's ready when it smells slightly tangy or yeasty and has bubbles on top.
Hand Mixing Your Dough
If your poolish was in the fridge, let it sit on the counter for 15–20 minutes first. If it was on the counter all day, put it in the fridge for 15–20 minutes to cool slightly. You want it cool but not cold.
Step 1: Add 2/3 cup cold water to the poolish. Stir until the mixture looks milky and the poolish has broken up.
Step 2: Add the unlabeled flour bag (the large one). This contains your main flour, salt, and malt — it's all pre-mixed.
Step 3: Add the olive oil packet.
⚠️ IMPORTANT — Do NOT add the bag marked "S" (Semolina) at this stage. Set it aside. You will use it later when stretching your pizza. Adding it now will dry out your dough.
Step 4: Using one hand (keep the other clean), mix everything in a circular motion, scraping the sides of the bowl, until a rough, shaggy dough forms and mostly pulls away from your hand. This takes 2–3 minutes.
Step 5: Cover the bowl with the bowl itself or plastic wrap and rest for a minimum of 1 hour. Longer is fine — the dough only gets easier to work with. Don't rush this rest.
Using A Stand Mixer
Follow the same steps as the hand mixing video, adding ingredients to the mixer bowl in the same order.
Mix on low speed and stop when the dough reaches 23°C (73°F). If you don't have a thermometer, mix until the dough just comes together into a ball and is no longer sticking heavily to the sides — then stop. Over-mixing is easy in a stand mixer.
Once mixed, cover and rest on the counter as described in Video 3.
Slap and Fold
This step builds the gluten structure that makes your dough stretchy instead of tearing. It takes just 1–2 minutes of active work, followed by a long rest that does the real work.
How to do it:
- Wet your hands lightly — just a small amount of water stops the dough from sticking without changing it.
- Slide both hands under the dough, lift it, and slap the bottom edge down onto the counter.
- As it sticks to the surface, stretch the top part toward you and fold it over.
- Pick up, rotate a quarter turn, and repeat.
When to stop: After 1–2 minutes the dough should feel noticeably smoother and stretch without immediately tearing. Don't over-do it — this is not a long kneading session. A minute or two is all you need.
The dough will still look a little rough. That's fine. The long bulk rest that follows builds the structure.
After the slap and fold: Cover and let the dough bulk rest for 1–3 hours. Longer is better — 2–3 hours gives the best flavor and handling. You don't need to watch it. Go do something else.
Balling Your Dough
After the bulk rest (1–3 hours), uncover the dough. It should have grown and feel softer and more relaxed than when you left it.
Divide: Use a dough scraper, spatula, or knife to cut the dough into 4 equal pieces (or 6 smaller ones). Wet hands make this easier. After each cut, pull the pieces apart so they don't stick back together.
Shape each ball:
- Flip a piece so the smooth side faces down.
- Fold the edges in toward the center, like closing an envelope, rotating as you go.
- Pinch the seam closed at the bottom.
- Flip it over — smooth side up. That's your dough ball.
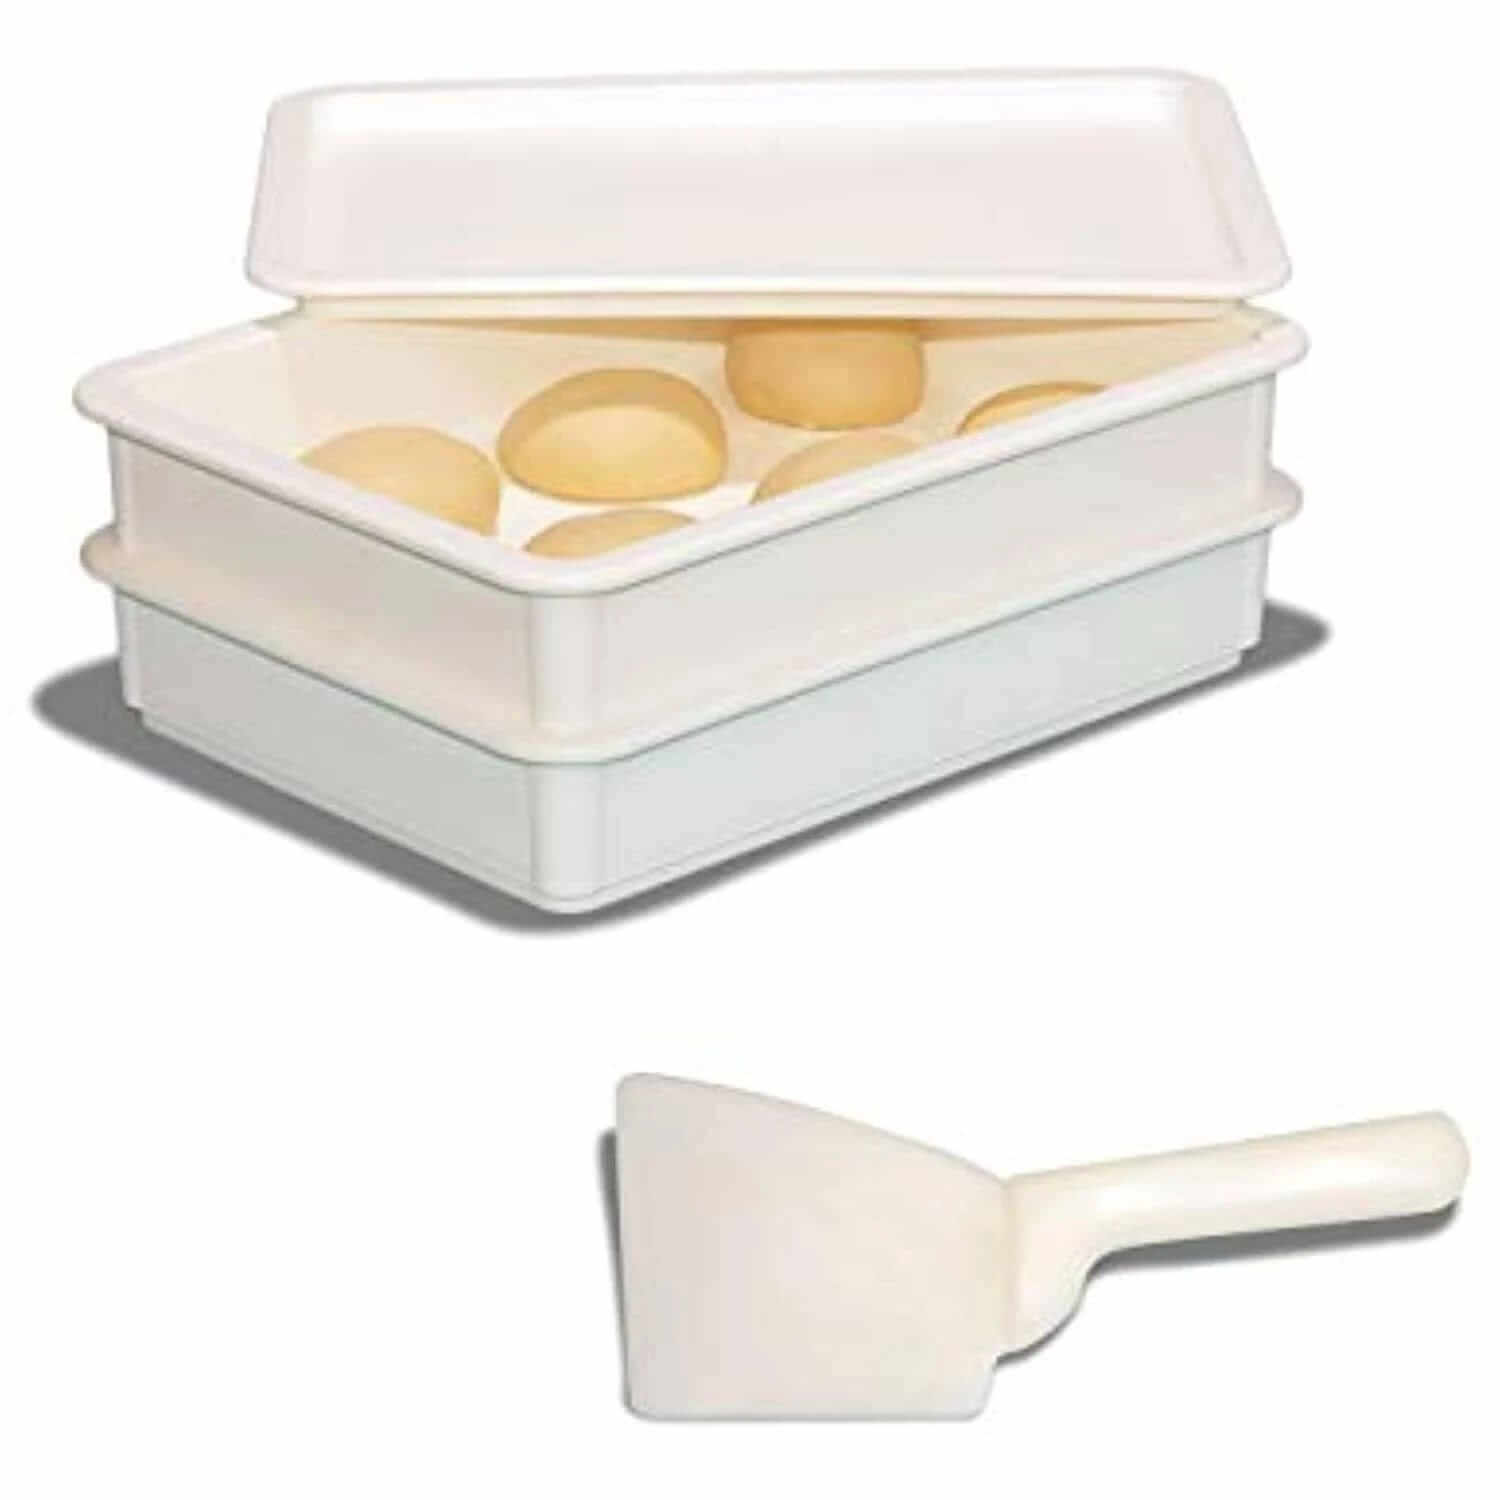
Place balls on a parchment-lined tray or in DoughMate boxes. Leave space between them — they will grow. Lightly coat the tops with olive oil so plastic wrap doesn't stick.
Proof time: Cover and leave at room temperature for a minimum of 1–2 hours, but 4–6 hours gives the best results. The balls should roughly double in size and nearly touch. They should look puffy and feel soft when lightly pressed.
Ready to cook now? Great — start preheating your oven.
Not cooking yet? Once proofed, cover and refrigerate for up to 48 hours. Take out 1 hour before cooking to come to room temperature.
Fermentation & Storing Your Dough
Once your dough balls are proofed (roughly doubled in size), you have two options:
Cook today: They're ready to stretch. Start preheating your oven now — it needs at least 30–45 minutes to fully heat.
Cook later: Cover the tray and refrigerate. Dough keeps well for up to 48 hours in the fridge. After 48 hours quality starts to drop.
Freeze for later: After proofing, you can freeze individual dough balls. Thaw overnight in the fridge, then bring to room temperature for 1 hour before using.
Cold weather tip: If your kitchen is cool and the dough is proofing slowly, place the covered tray in your oven (not turned on) with just the oven light on. The gentle warmth speeds things up.
Make A Simple Sauce
This sauce takes about 5 minutes and makes a big difference. Less is more — don't overload your pizza.
You'll need:
- 1 can San Marzano whole tomatoes
- Olive oil
- Sea salt
- Fresh basil (optional)
Method: Place a mesh strainer over the sink. Pour the tomatoes into the strainer and gently squeeze out the excess water — you want the tomato flesh, not the liquid. Transfer the strained tomatoes to a bowl, crush by hand or with a spoon, and add a drizzle of olive oil, a pinch of sea salt, and basil to taste.
Taste as you go. The sauce should taste bright and fresh, not cooked.
Home Oven Setup
Preheat your oven to 550°F (or the maximum temperature it will reach). Give it at least 30–45 minutes to fully heat — the oven light coming on doesn't mean it's ready.
If you have a pizza stone or steel, place it on the middle or lower rack before turning the oven on so it heats up with the oven.
If you're using a baking sheet, place it in the oven to preheat as well. A hot pan under the pizza makes a crispier bottom.
Is Your Dough Ready To Bake?
If your dough was in the fridge: Take it out at least 1 hour before baking. Cold dough will not stretch properly and won't rise in the oven. It should feel soft, pliable, and roughly room temperature before you try to stretch it.
How to check: Press a finger gently into a dough ball. If the indent slowly springs back, it's ready. If it springs back immediately, give it more time. If it doesn't spring back at all, it may be slightly over-proofed — still usable, just handle gently.
Getting it off the tray: Sprinkle a generous amount of semolina (bag marked "S") on your counter. Use a dough scraper or your hands to gently release the ball from the tray, using the semolina to prevent sticking. Dust the top of the dough ball with semolina as well.
Let's Make A Pizza!
Stretch the dough:
- Place your dough ball on a semolina-dusted counter, smooth side up.
- Using your fingertips (not your palm), press gently from the center outward — you're pushing air toward the edges to form your crust.
- Flip and repeat on the other side.
- Once flattened to about 6–8 inches, pick it up from one edge and let gravity stretch it. Slowly rotate it through your hands, moving around the edge like a clock.
- Keep going until you reach the size you want. Don't rush — if the dough resists, set it down for 2 minutes and it will relax.
Do not use a rolling pin — it presses out all the air you built up.
Baking on a sheet pan:
- Transfer stretched dough onto parchment paper. Add a thin layer of sauce.
- Bake with parchment paper still underneath until the crust just starts to color and the sauce dries slightly — about 4–6 minutes at 550°F.
- Remove from oven, pull out the parchment paper, add cheese and toppings.
- Return to oven and bake until the cheese bubbles and the crust edges brown — watch closely, this goes fast.
- Let cool 2 minutes before slicing.
Baking on a pizza stone or steel:
- Build your pizza on a sheet of parchment paper. Use the baking sheet as a peel to slide the pizza (with parchment) onto the stone.
- After 2–3 minutes, pull out the parchment paper from underneath.
- Continue baking until done.
Troubleshooting Common Issues
Watch the troubleshooting video if anything went sideways. Here are the most common problems and quick fixes:
- Dough is too sticky after kneading — This is normal at first. Wet your hands lightly and keep going. If it's still very sticky after resting, it's usually fine once proofed.
- Dough tore easily when stretching — It needed more rest time after balling. Cover and leave 30 more minutes.
- No rise after proofing — The yeast may not have activated. Check that your poolish smelled slightly yeasty before moving on. In future batches, make sure the water isn't too hot (should be cold, not warm).
- Dough kept springing back when stretching — It's too cold or too tense. Let it sit at room temperature longer before stretching.
- I accidentally added the semolina bag early — The dough will be drier than normal. Add a tablespoon of water and knead it in. It may still work.
Still stuck? Reach out via the chat icon — we'll help you work through it.
Dough Making Process at a Glance
A visual overview of the full process — from poolish to pizza. Credit to Slawek Wojtysiak for the original flowchart.
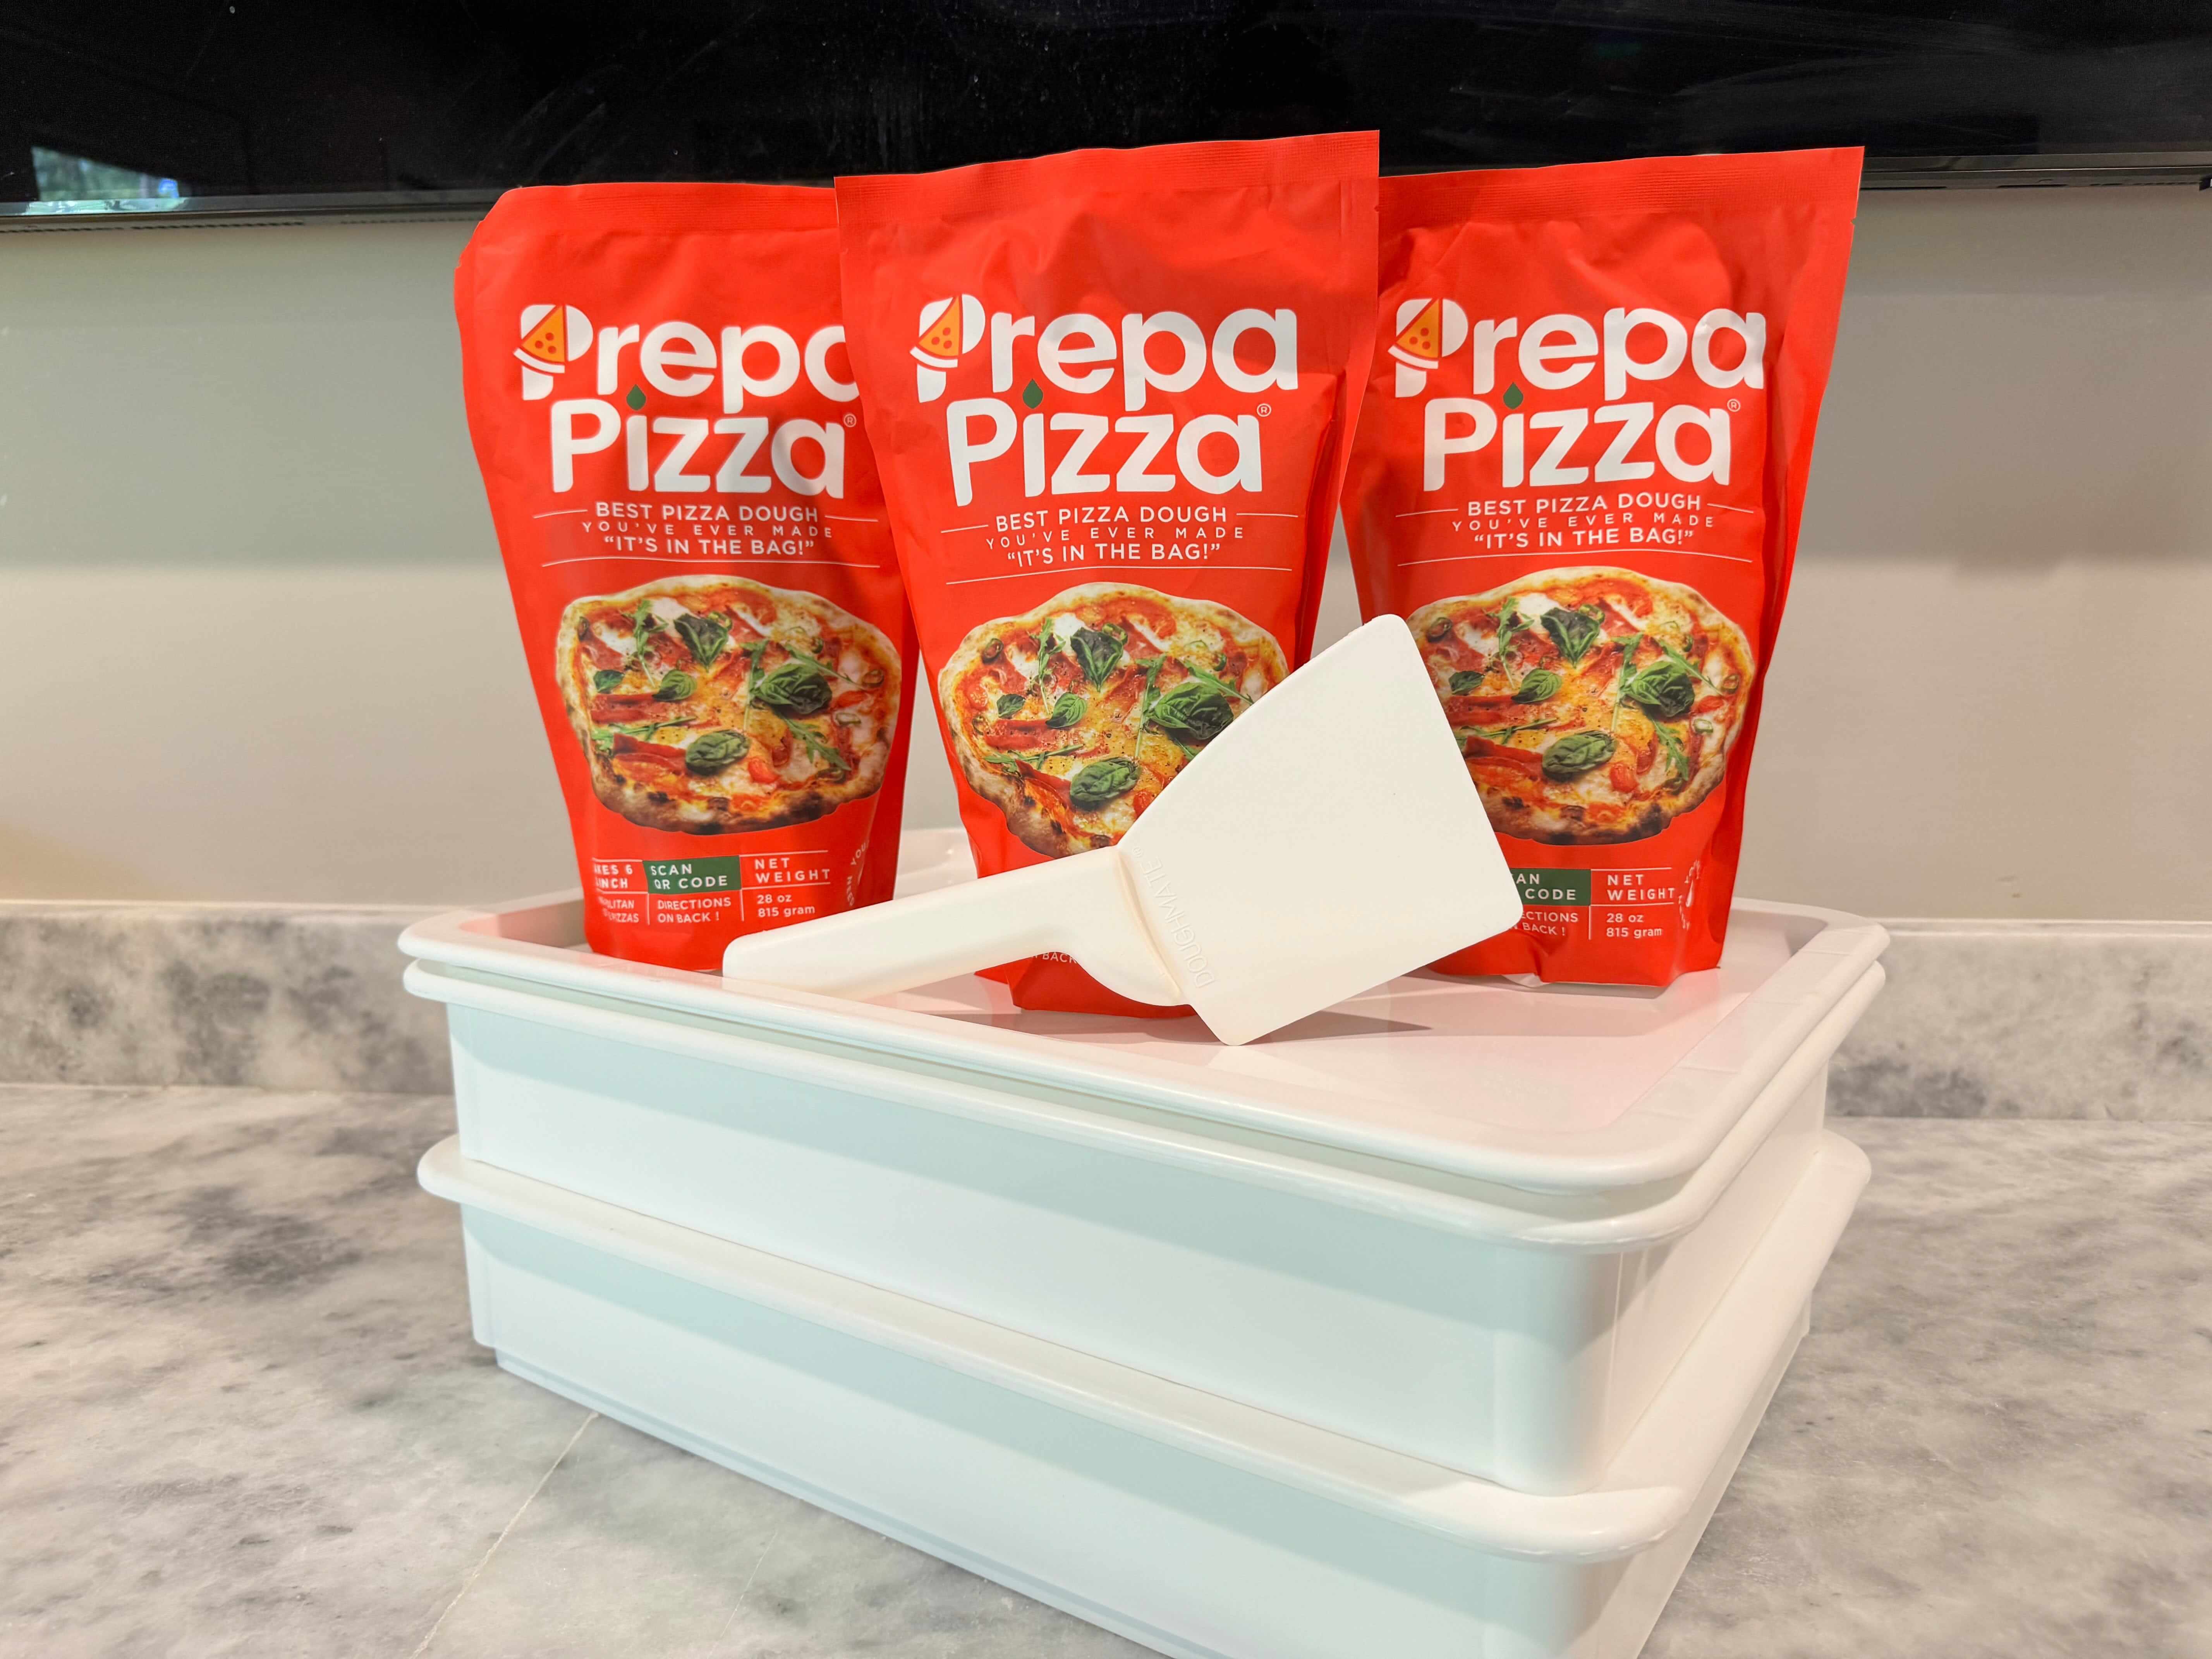
Products