
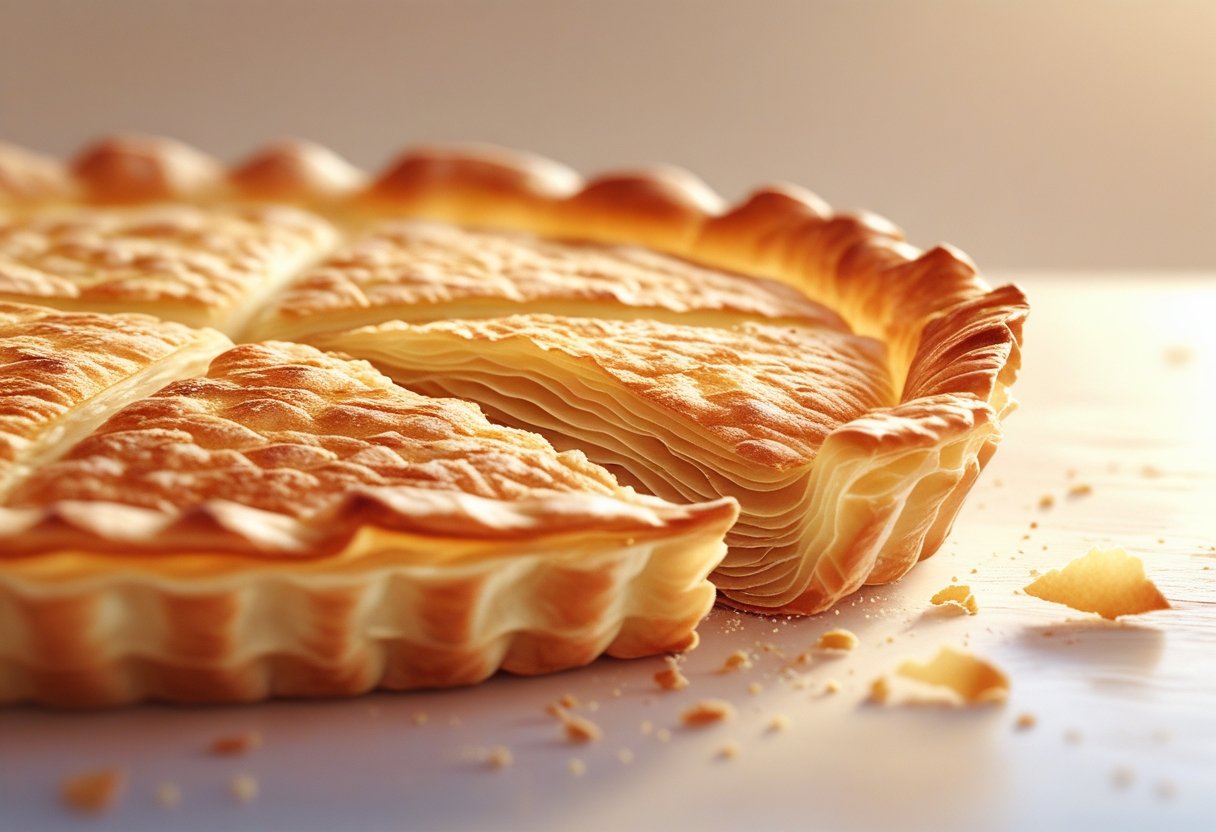
How Long Should You Knead Pizza Dough for Perfect Texture
Kneading pizza dough is a crucial step in the pizza-making process, directly affecting the texture and flavor of your final product. You should typically knead your pizza dough for about 6 to 10 minutes by hand or 4 to 5 minutes using a stand mixer. This process develops the gluten, which gives the dough its characteristic structure and chewiness.
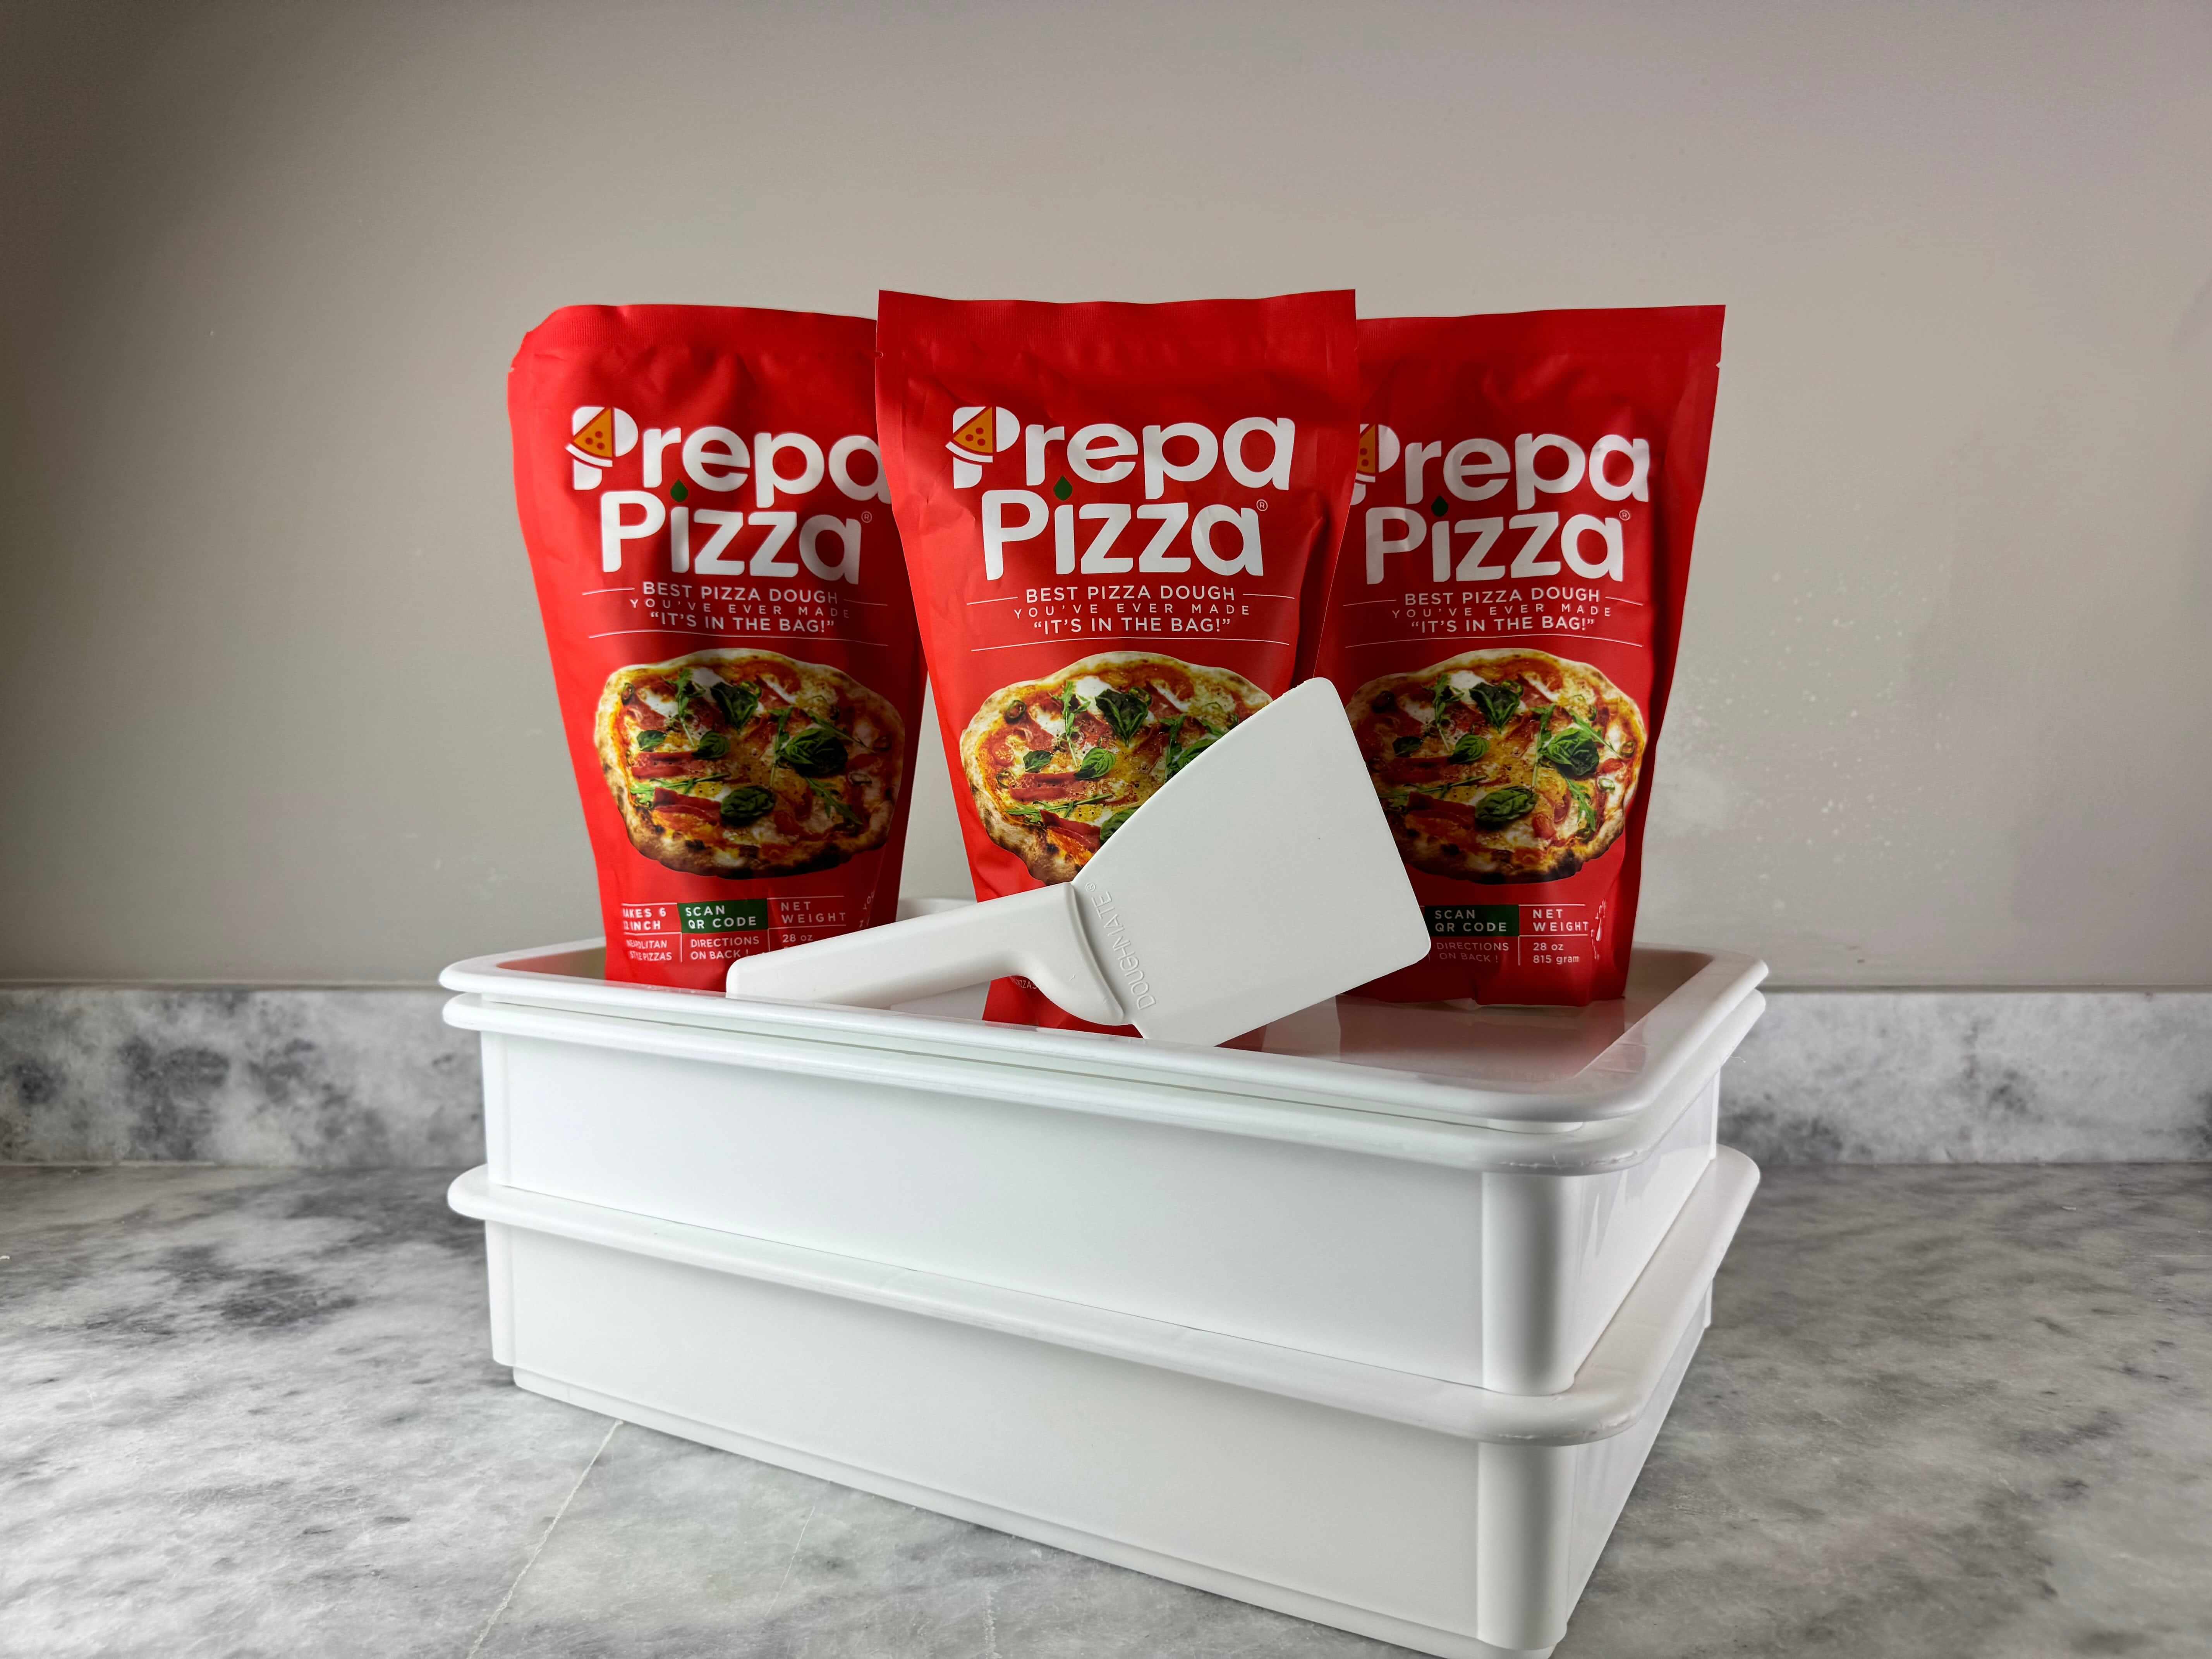
Understanding the right kneading duration will help you achieve the perfect base for your pizza. With the quality of dough from Prepa Pizza, you can enjoy the benefits of premium ingredients that elevate your homemade pizza experience. Whether you prefer a classic Margherita or a creatively topped pie, properly kneading the dough sets the foundation for a delightful meal.
As you prepare your pizza, remember that the consistency of the dough is key. With just the right kneading time, you will enhance your recipe and be well on your way to creating delicious, restaurant-quality pizzas right in your kitchen.
The Science Behind Kneading Pizza Dough
Kneading pizza dough is a crucial step that affects its structure and texture. Understanding the science behind this process will enhance your pizza-making skills and lead to a better final product.
Role of Gluten Development
When you knead your dough, you're activating the gluten proteins found in flour. Gluten development is essential for creating a strong structure that can hold air pockets, resulting in a chewy and elastic texture.
As you knead, the proteins glutenin and gliadin combine to form gluten strands. This process traps air, allowing the dough to rise as yeast ferments. A well-kneaded dough should feel smooth, elastic, and slightly tacky.
For the best results, aim for about 10-12 minutes of kneading by hand, or 8-10 minutes with a stand mixer. This ensures sufficient gluten formation to support your pizza during baking.
Importance of Hydration in Dough
Hydration is another key factor in the pizza dough-making process. The amount of water you add affects the dough's consistency and the gluten’s ability to develop. Proper hydration levels create a more extensible dough, which is easier to shape and stretch.
Generally, a hydration level between 60% and 65% is ideal for pizza dough. This means for every 100 grams of flour, you should add 60 to 65 grams of water. Higher hydration can lead to a softer crumb and enhances the formation of air bubbles, resulting in a light and airy crust.
Balancing hydration is vital for achieving the desired texture, so make sure to measure accurately.
How Kneading Affects Dough Texture
Kneading directly influences the texture of your pizza dough. By manipulating the dough, you distribute the ingredients evenly, incorporating air bubbles and ensuring consistency.
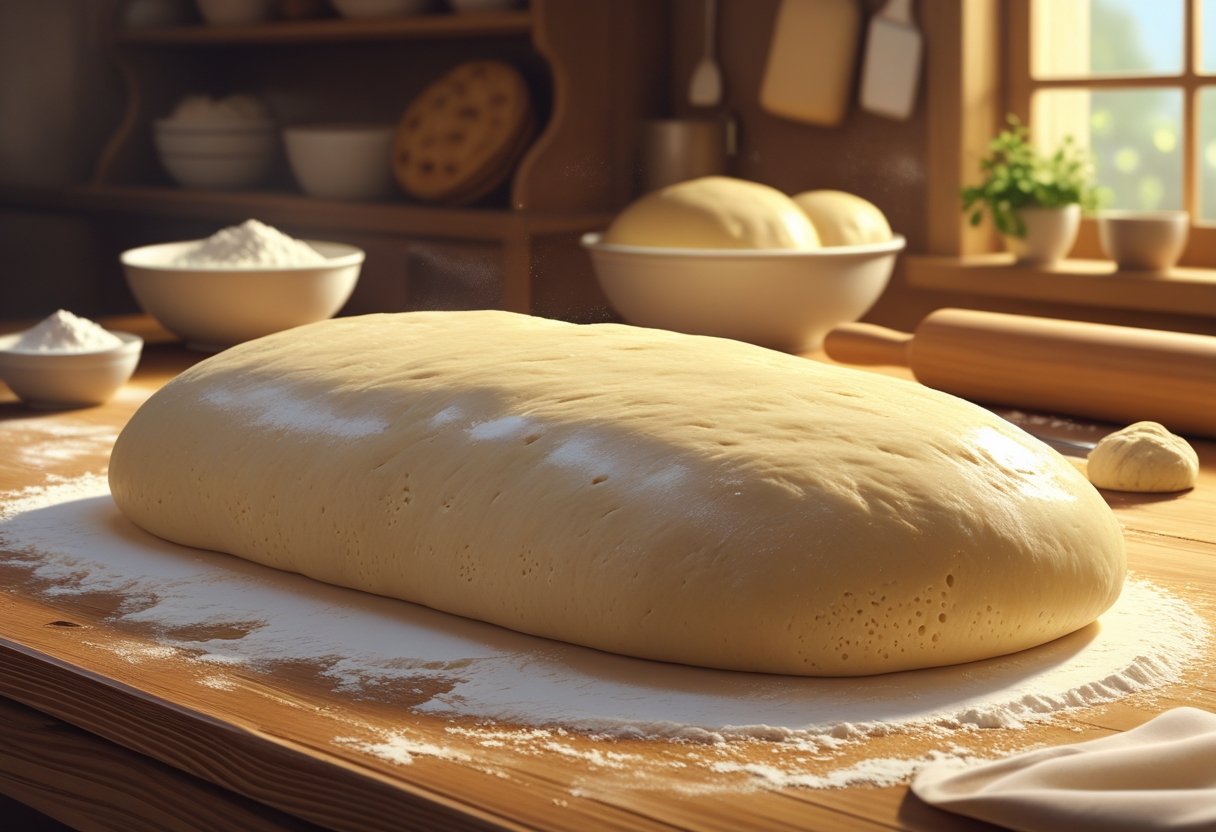
As you knead, the dough should transform from a shaggy mass to a smooth, elastic ball. This change indicates that gluten has developed properly and air pockets are forming.
Your kneading technique also matters; folding and pressing the dough helps create a better structure. Insufficient kneading can lead to a dense, flat pizza, while over-kneading may result in a tough texture. Achieving the right balance with Prepa Pizza dough ensures a perfect foundation for your culinary creations.
How Long Should You Knead Pizza Dough?
Kneading pizza dough is essential for developing gluten, which provides the structure and texture you desire. The kneading time varies based on the method you choose, and recognizing when the dough is properly kneaded is key to a successful homemade pizza.
Recommended Kneading Times by Hand
When kneading by hand, you should aim for about 6 to 8 minutes. This time allows you to effectively develop gluten without overworking the dough.
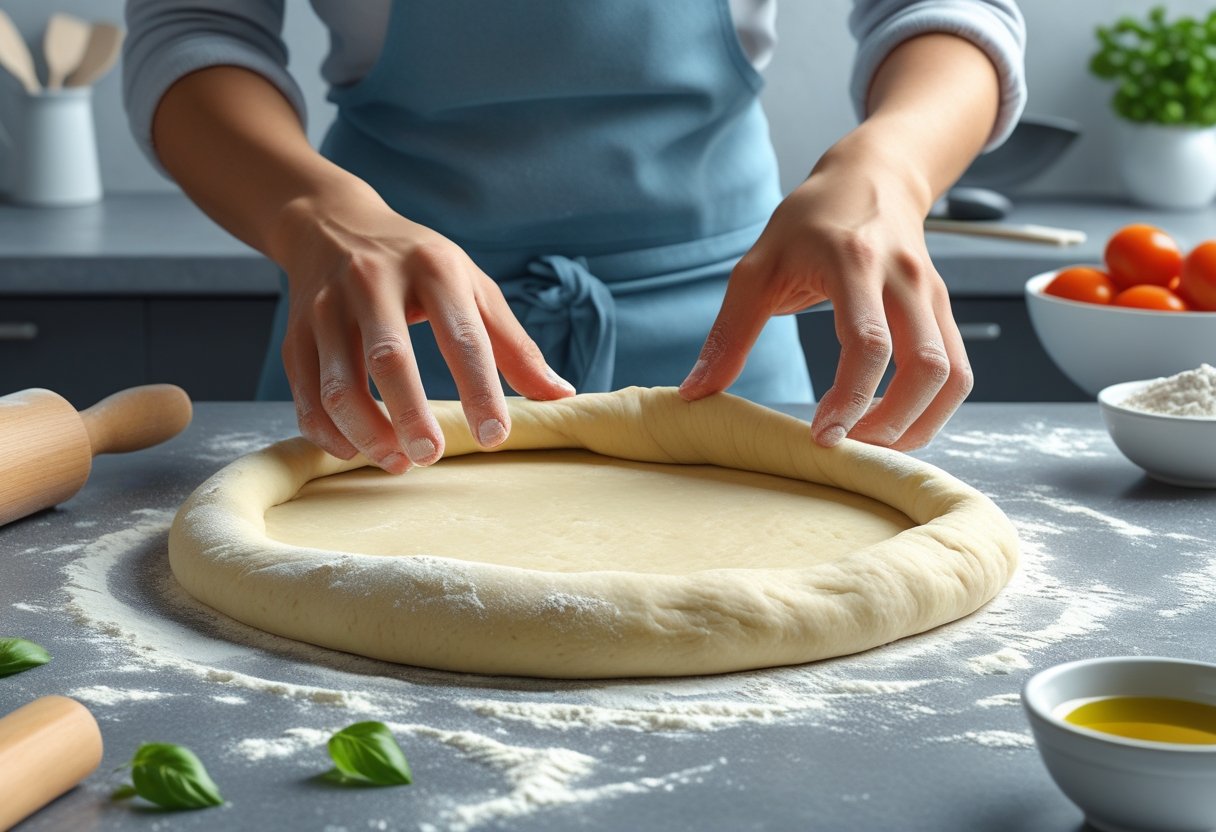
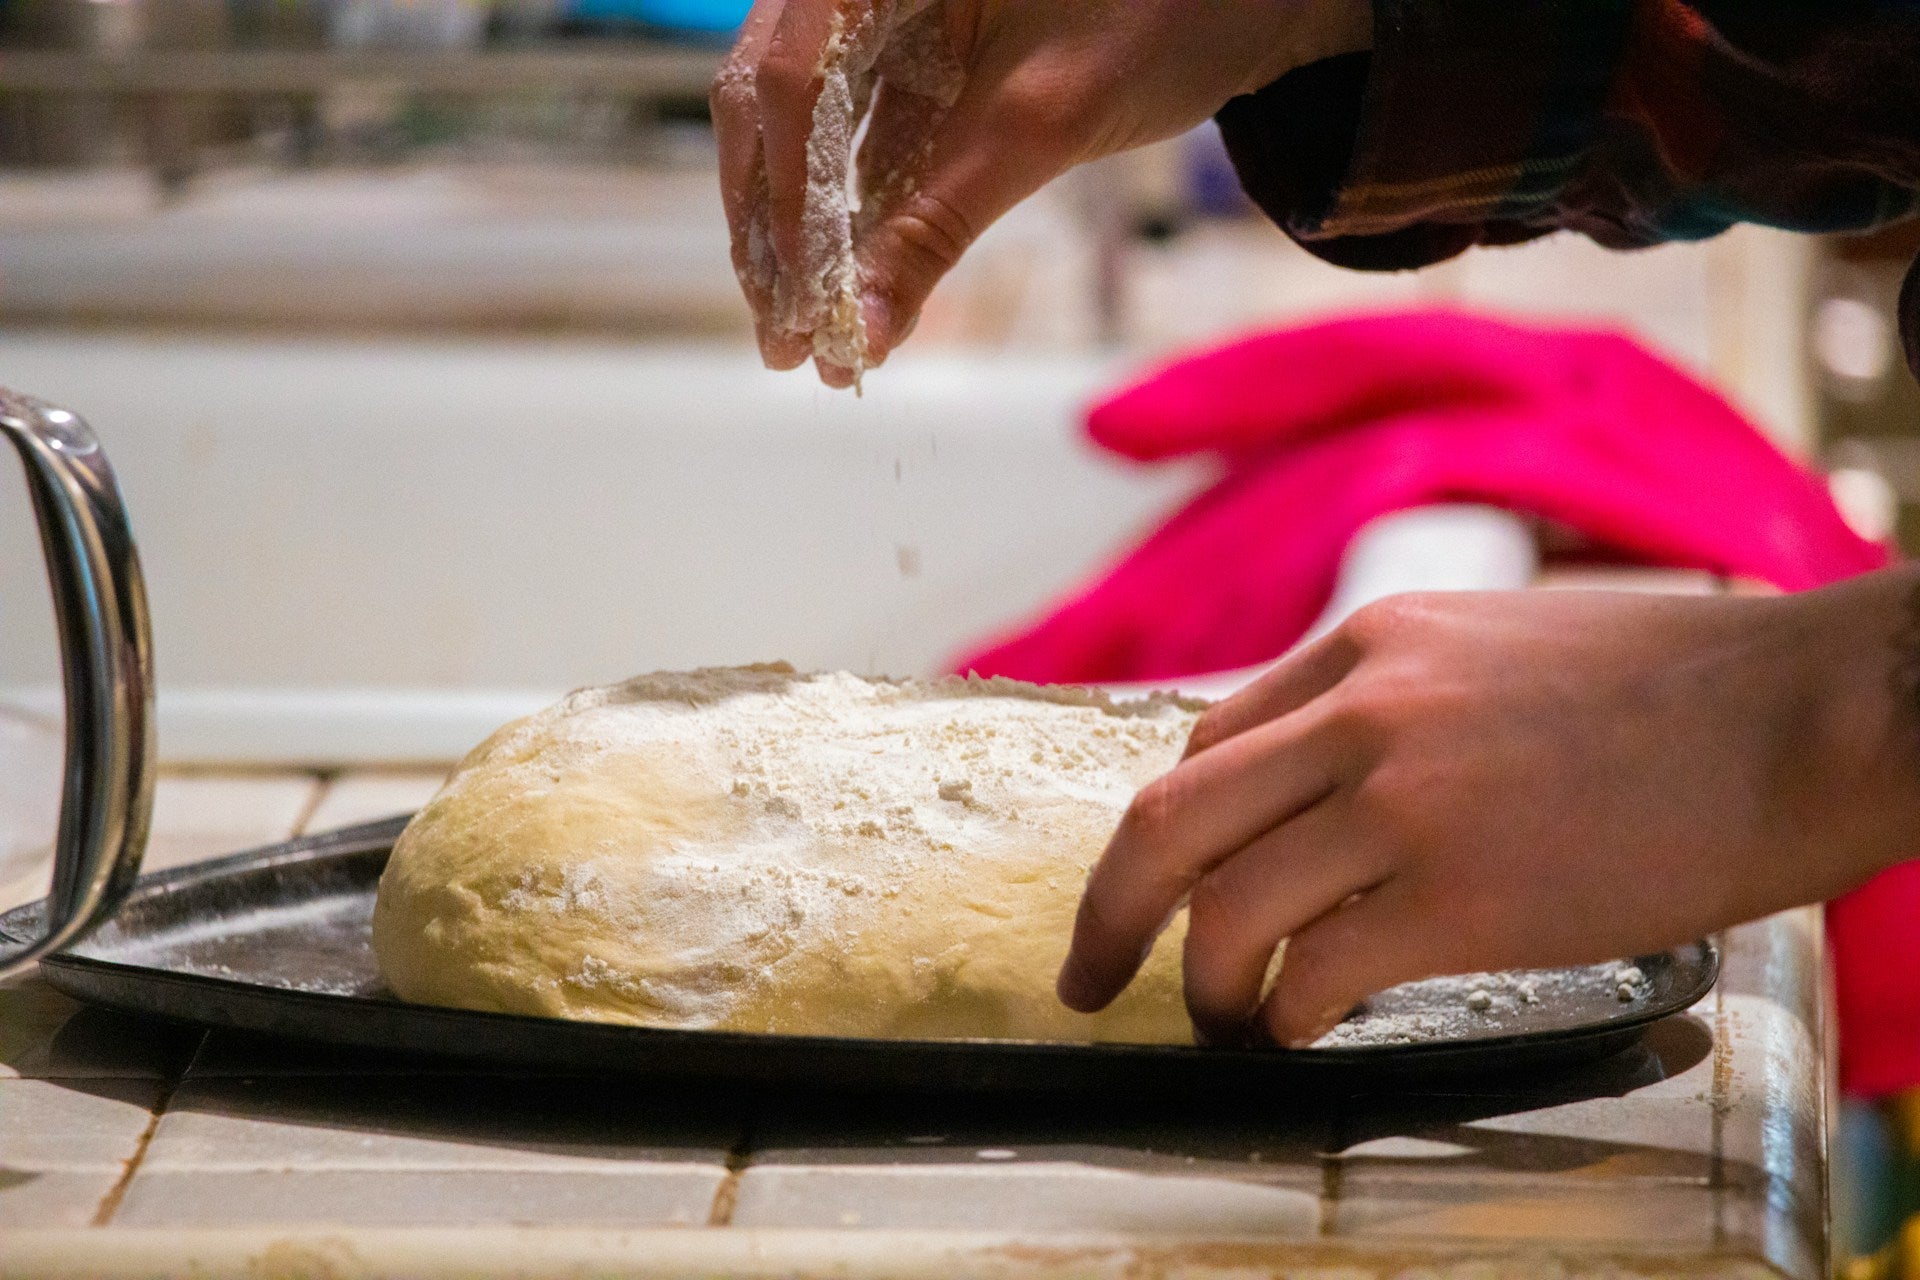
Start by mixing your ingredients until they form a cohesive mass. Then, on a floured surface, push the dough away with the palms of your hands, fold it back over, and repeat.
For smaller amounts of dough, such as for four pizzas, you may only need 5 minutes. Pay attention to the texture; the dough should become smooth and elastic as you knead.
Kneading Times Using a Stand Mixer
Using a stand mixer with a dough hook, such as a KitchenAid, can cut your kneading time down to about 8 to 10 minutes.
Start at a low speed to combine your ingredients, then gradually increase to medium speed. This method allows for consistent kneading and frees up your hands for other tasks.
Be mindful not to overknead the dough, as this can lead to a tougher texture. The mixer should do the work efficiently, so watch the time and check the dough's consistency as it mixes.
Indicators of Properly Kneaded Dough
Knowing when your dough is kneaded correctly is as important as the time spent kneading.
Properly kneaded dough should feel smooth and elastic. You can perform the windowpane test: stretch a small piece of dough. If it forms a thin sheet without tearing, it is ready.
Additionally, the dough should spring back when lightly pressed and hold its shape without being sticky or dry. Use these indicators for optimal results in your pizza dough recipe.
Factors Influencing Kneading Time
Kneading time for pizza dough is affected by various factors that impact gluten development and dough consistency. Understanding these will help you achieve the desired crust texture.
Type of Flour Used
The choice of flour significantly influences kneading time. Bread flour, with its higher protein content, develops gluten more effectively, requiring about 8-10 minutes of kneading. In contrast, all-purpose flour has a lower protein level, usually needing 5-7 minutes to reach the right texture.
Using a flour blend can also affect the time. If you use a mixture of bread and all-purpose flour, adjust your kneading time based on the dominant flour type. The flour's quality, whether it's finely milled or contains additives, can alter the kneading duration needed to achieve a smooth consistency.
Yeast and Proofing Considerations
The type of yeast you use plays a crucial role in how long you should knead. Instant yeast requires less time to activate compared to active dry yeast, which needs to be dissolved first. When using fresh yeast, follow the recommended hydration levels to ensure effective fermentation.
Proofing directly influences kneading as well. A longer fermentation period allows the dough to develop flavors without extensive kneading. If your dough undergoes an extended proofing phase, you might reduce kneading time since the gluten has already been activated to some extent during fermentation.
Water Temperature and Dough Hydration
Water temperature also significantly impacts kneading time. Using filtered warm water (around 100°F) helps activate yeast more efficiently, promoting better gluten development. If your water is too cold, you're likely to increase kneading time to achieve the same results.
Dough hydration levels directly correlate with kneading. Higher hydration doughs, often found in artisan pizzas, require more kneading to achieve the right consistency. For instance, a dough with 70% hydration may need additional kneading compared to a standard dough with 60% hydration. Balancing these elements, especially when using kosher salt and sugar for flavor and fermentation control, will yield a superior product.
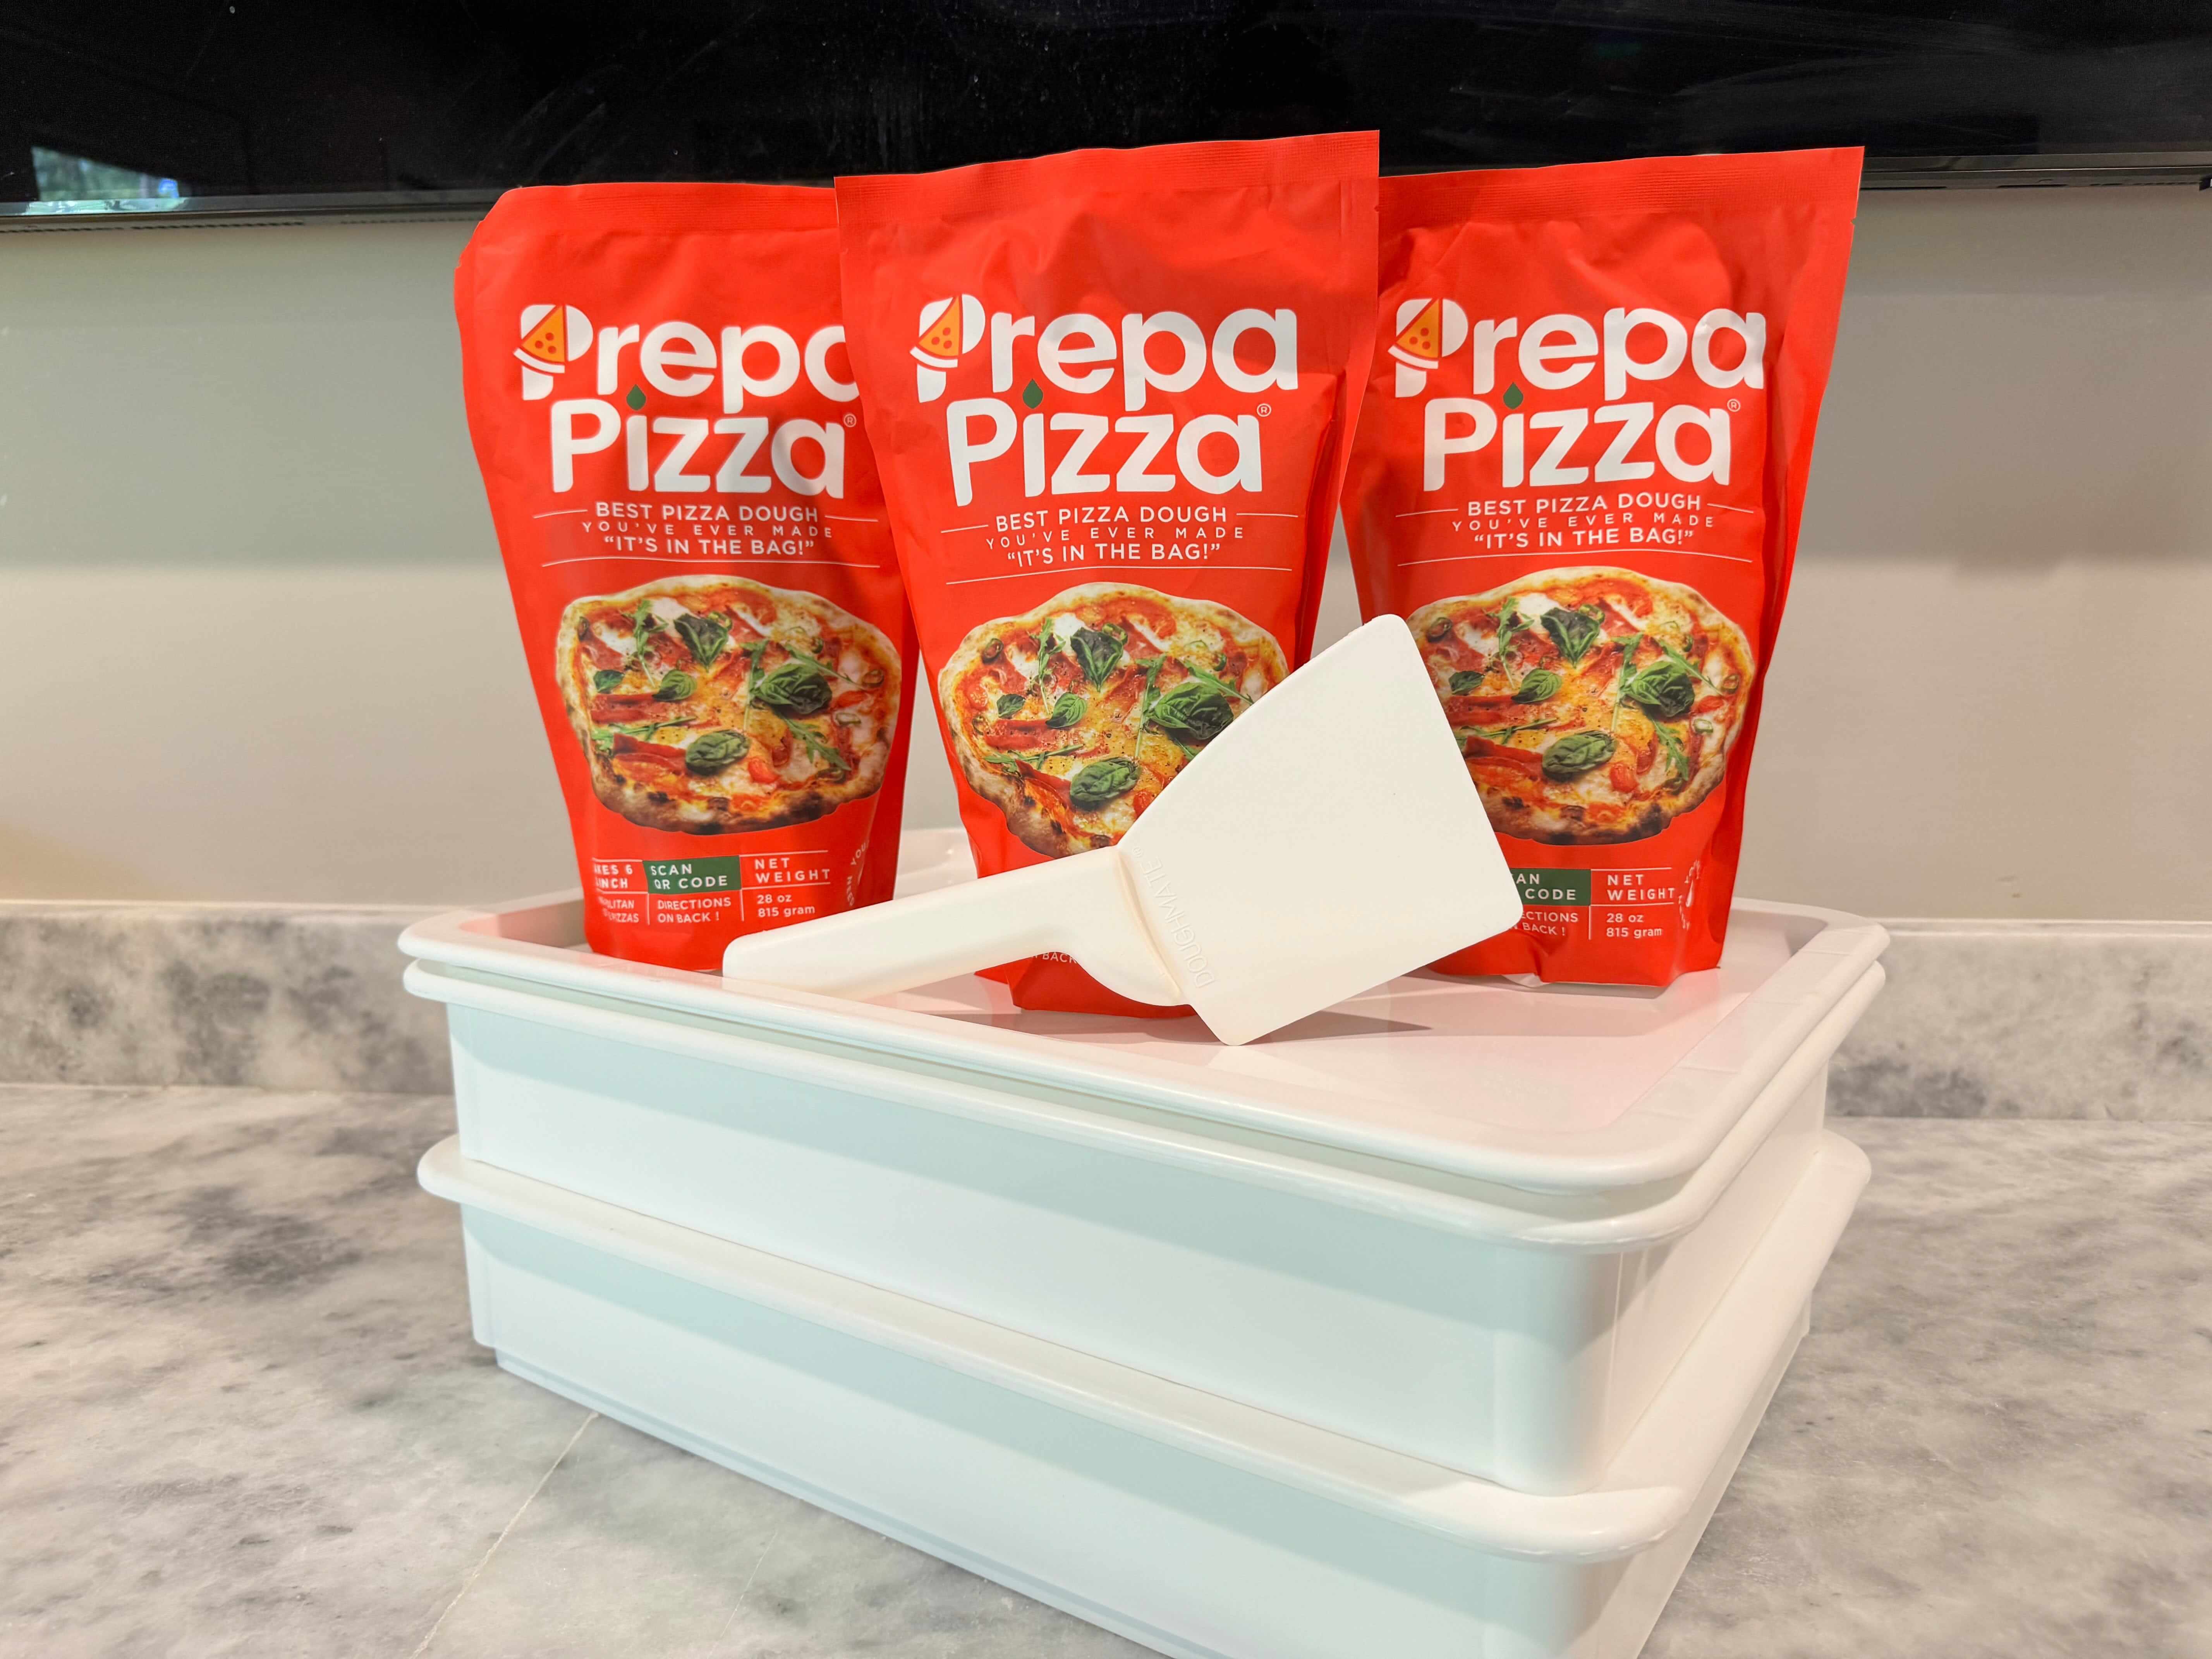
For premium quality pizza dough, consider using the offerings from Prepa Pizza, which utilizes quality ingredients for optimal results.
Techniques and Equipment for Kneading Pizza Dough
Kneading pizza dough can be achieved using various techniques and tools that cater to your preferences and needs. Understanding these methods will help you achieve the best texture and structure for your dough.
Hand Kneading on a Floured Surface
When hand kneading, start by preparing a clean, floured surface. This prevents the dough from sticking, allowing for easier manipulation. Use your palms and fingers to push the dough away from you, then fold it back over itself. Rotate the dough a quarter turn after each fold for even kneading.
Knead the dough for about 6 to 10 minutes. If the dough feels tacky, add a sprinkle of flour as necessary, but avoid over-flouring as this could lead to a dry dough. To enhance flavor and texture, consider incorporating a small amount of extra virgin olive oil on your hands or surface. This adds richness and helps achieve a smooth, elastic consistency.
Using a Stand Mixer or Dough Hook
A stand mixer equipped with a dough hook is an efficient way to knead dough without much effort. Begin by combining your dry ingredients in the mixer bowl. Gradually add liquid ingredients, such as water or olive oil, and mix until the dough starts to come together.
Set the mixer on a low speed and allow it to knead for about 5 to 8 minutes. Keep an eye on the dough; it should pull away from the sides of the bowl and form a ball. If the dough seems too wet, add flour one tablespoon at a time. The gentle mixing allows you to achieve a consistent texture without the manual labor involved in hand kneading.
Food Processor and Other Tools
Using a food processor is another quick method for kneading pizza dough. Combine the dry ingredients in the bowl, and pulse several times to blend. Gradually add the wet ingredients while processing until the dough starts to form a ball.
Knead briefly in the food processor for about 30 seconds to a minute. Be careful not to over-process, as this can develop too much gluten and result in a tough dough. If necessary, you can also use tools like a rolling pin to help shape the dough later. Ensure the processor's bowl is clean and dry for the best results.
Common Mistakes to Avoid
When kneading pizza dough, a few common mistakes can hinder your results. Avoid using too much flour, which can dry out the dough. Instead, aim for a slightly tacky texture, adjusting with flour only when necessary.
Another mistake is not kneading long enough. Insufficient kneading can lead to a dough that doesn’t rise well. Aim for at least 5 to 10 minutes of kneading, depending on the method used. Additionally, remember that the dough should be allowed to rest after kneading. This helps relax the gluten and makes shaping easier.
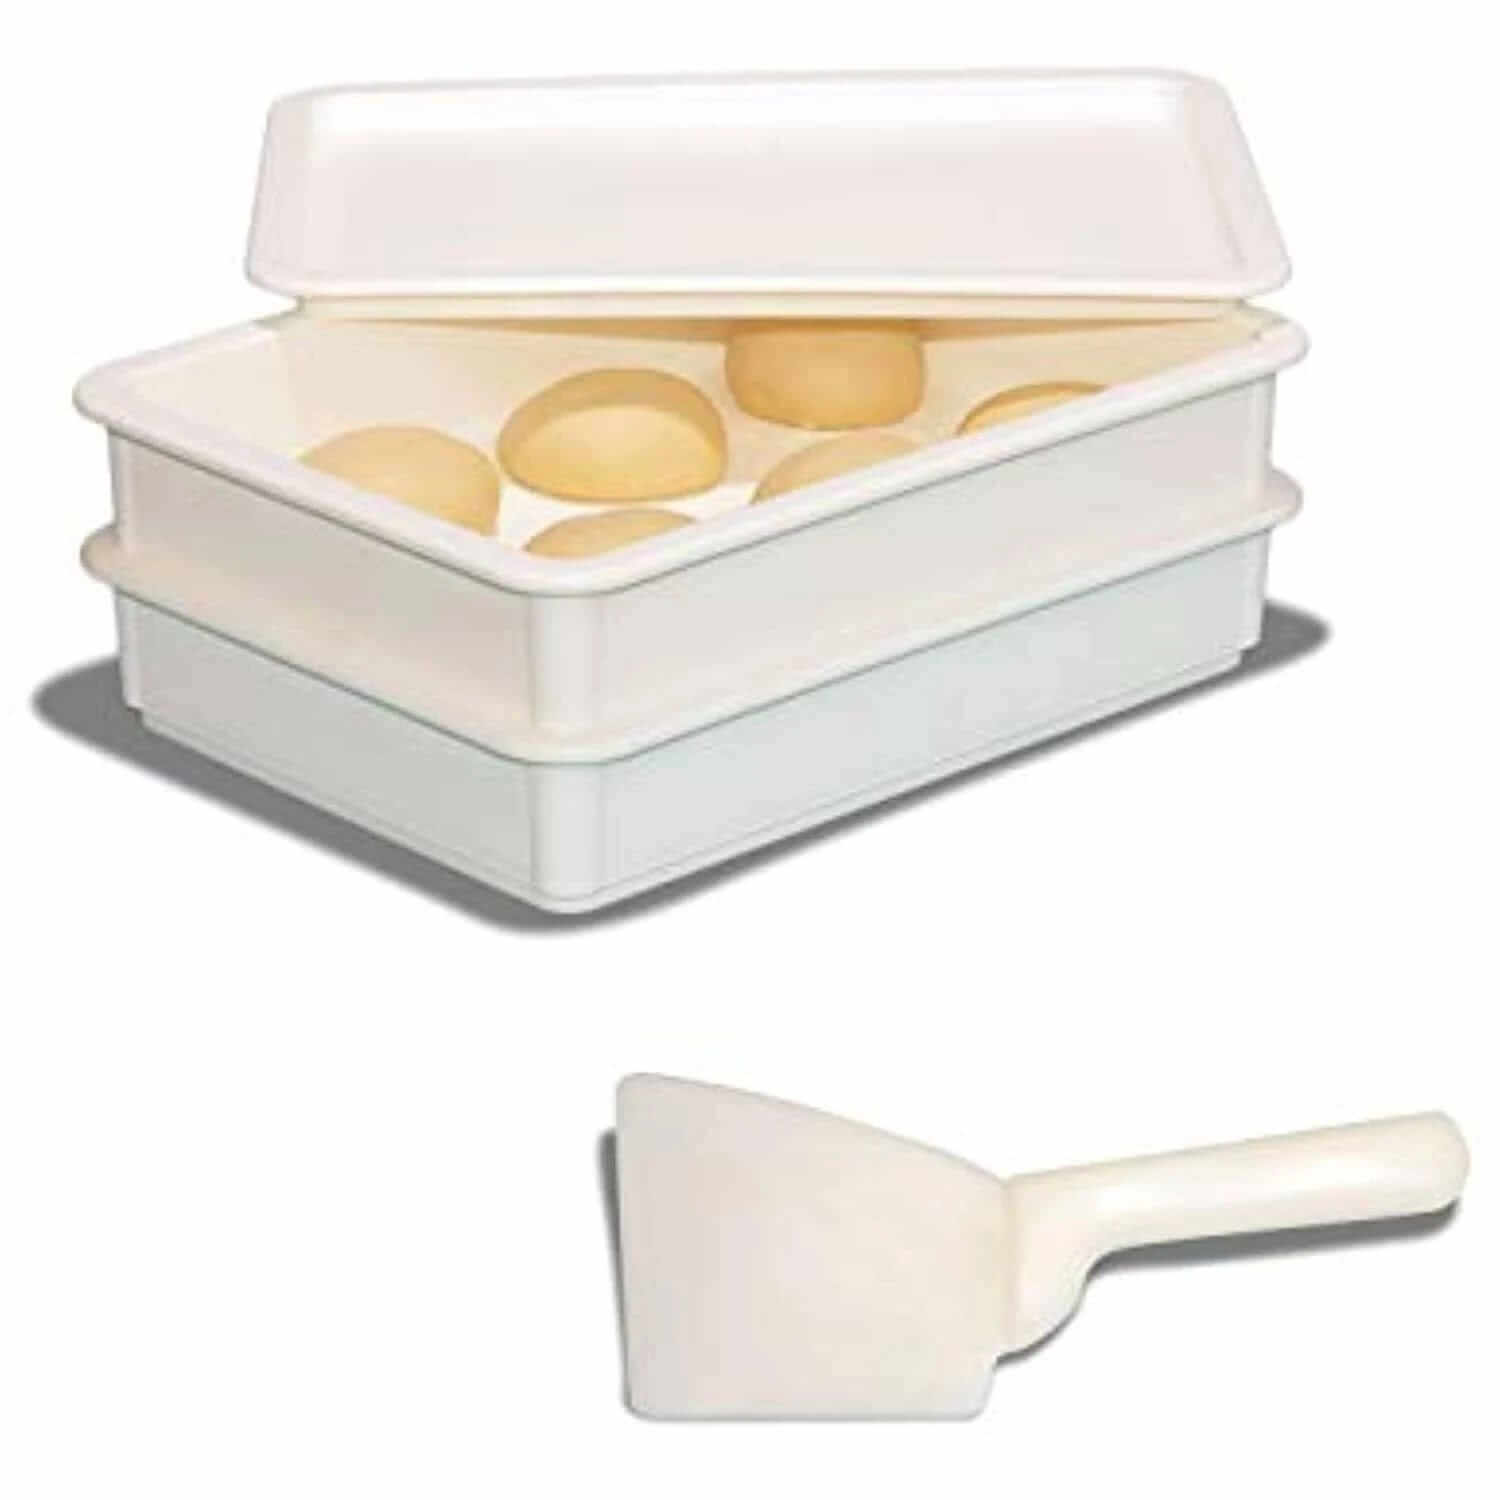
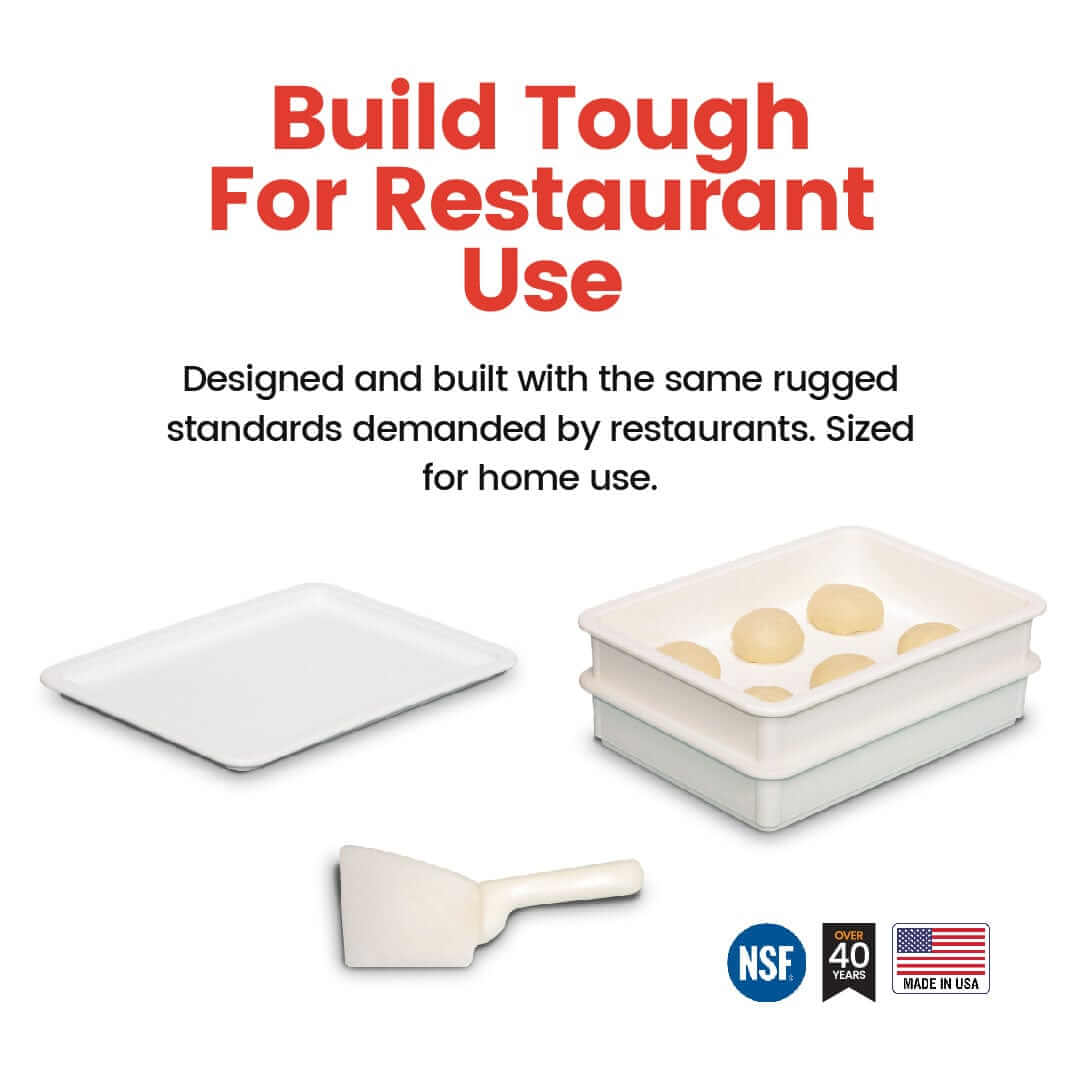
If you choose to use Prepa Pizza dough, you can skip the kneading step altogether, ensuring a convenient option without compromising quality.
After Kneading: Resting, Rising, and Preparing for Baking
Once you’ve kneaded your pizza dough, it's crucial to focus on the next steps: resting, rising, and preparing for baking. These processes allow the gluten to relax, enhance flavor development, and ensure a well-formed crust.
Shaping the Dough Ball
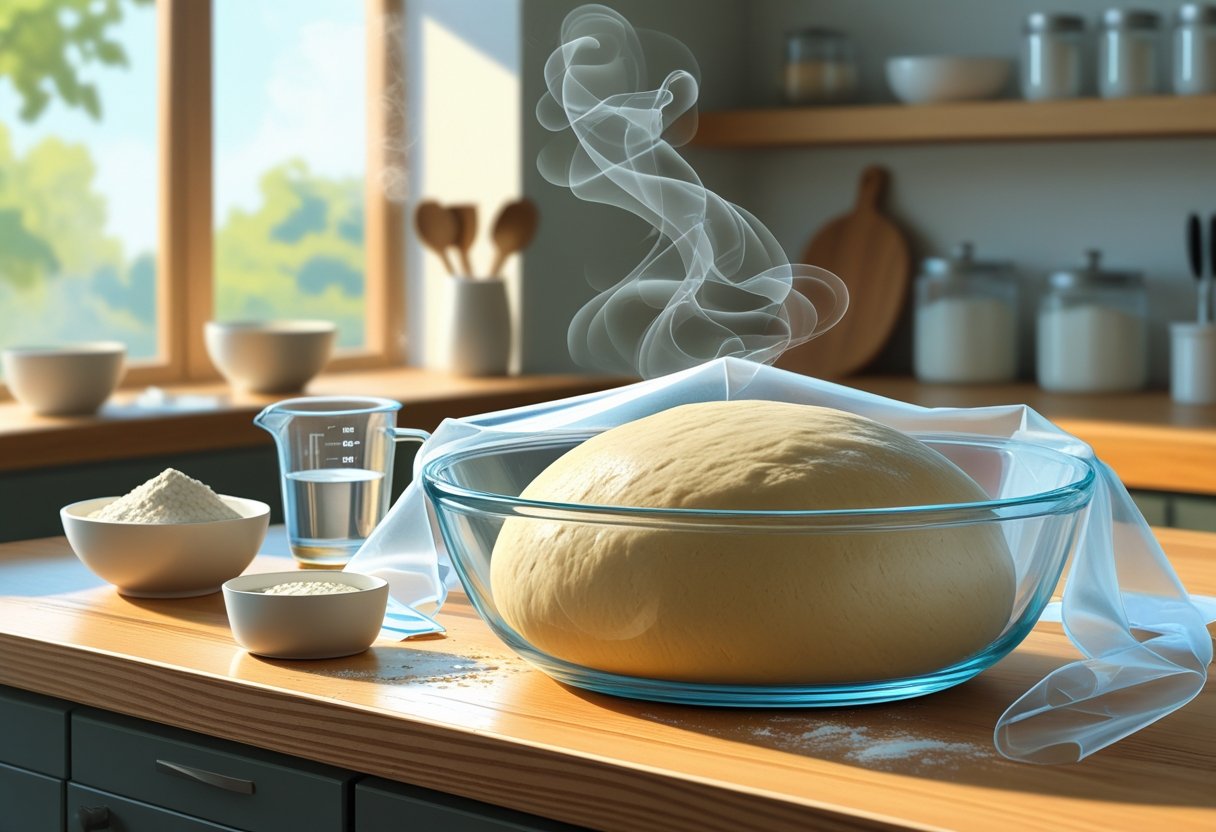
After kneading, you should shape the dough into a smooth ball. This helps create surface tension, which aids in the dough's rise. To shape, gently stretch the dough by tucking the edges into the center. Rotate the ball to create a smooth top.
Once shaped, place the dough ball in a lightly oiled bowl to prevent sticking. Cover it with plastic wrap or a damp cloth. This protects the dough while allowing it to rest and rise adequately.
Dough Rise and Fermentation
Resting is essential for dough rise and fermentation. Allow your dough to rise at room temperature for about 1 to 2 hours or until it has doubled in size. This process develops flavor and improves texture.
During fermentation, yeast produces carbon dioxide, creating air pockets in the dough. This makes your pizza crust light and airy. You can also choose to ferment the dough overnight in the refrigerator for enhanced flavor.
Preparing for Baking
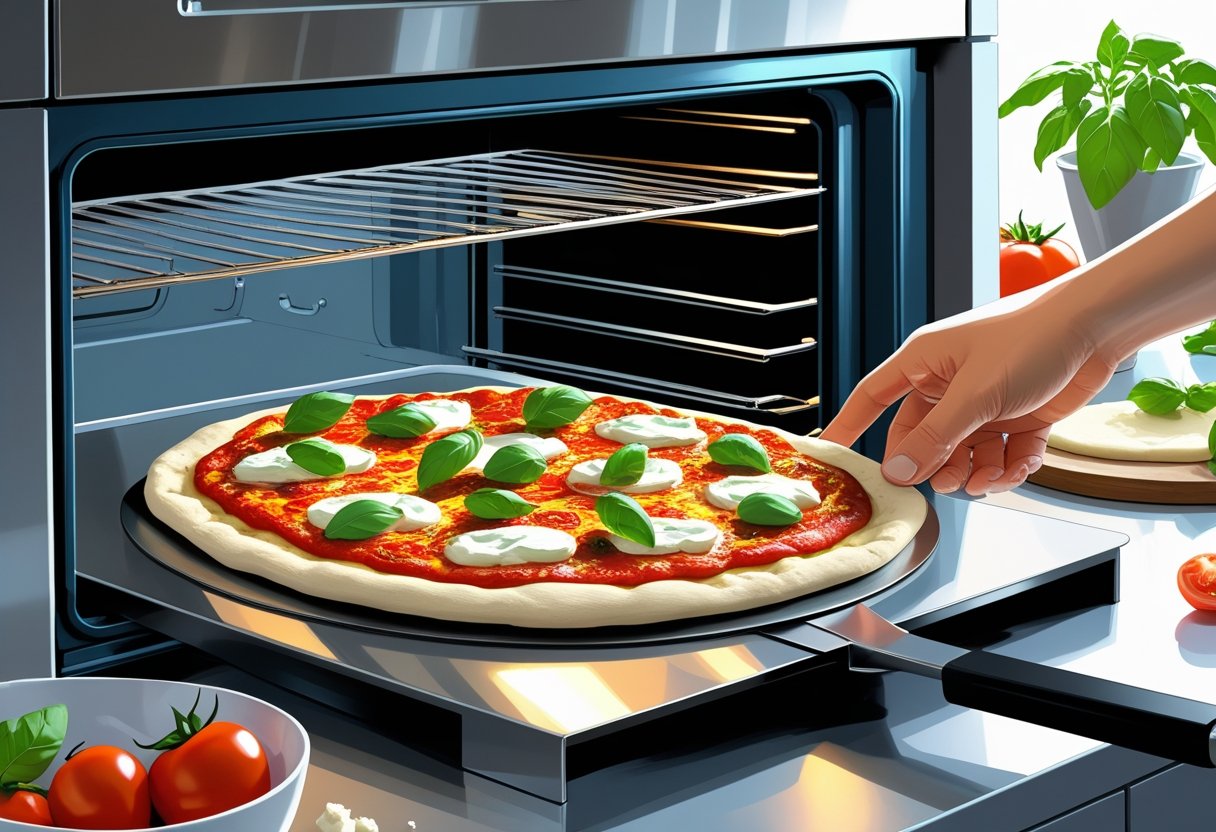
Before baking, you'll need to prepare your dough properly. First, preheat your oven to its highest setting, ideally around 475°F to 500°F. If you’re using a pizza stone, place it in the oven to heat up as well.
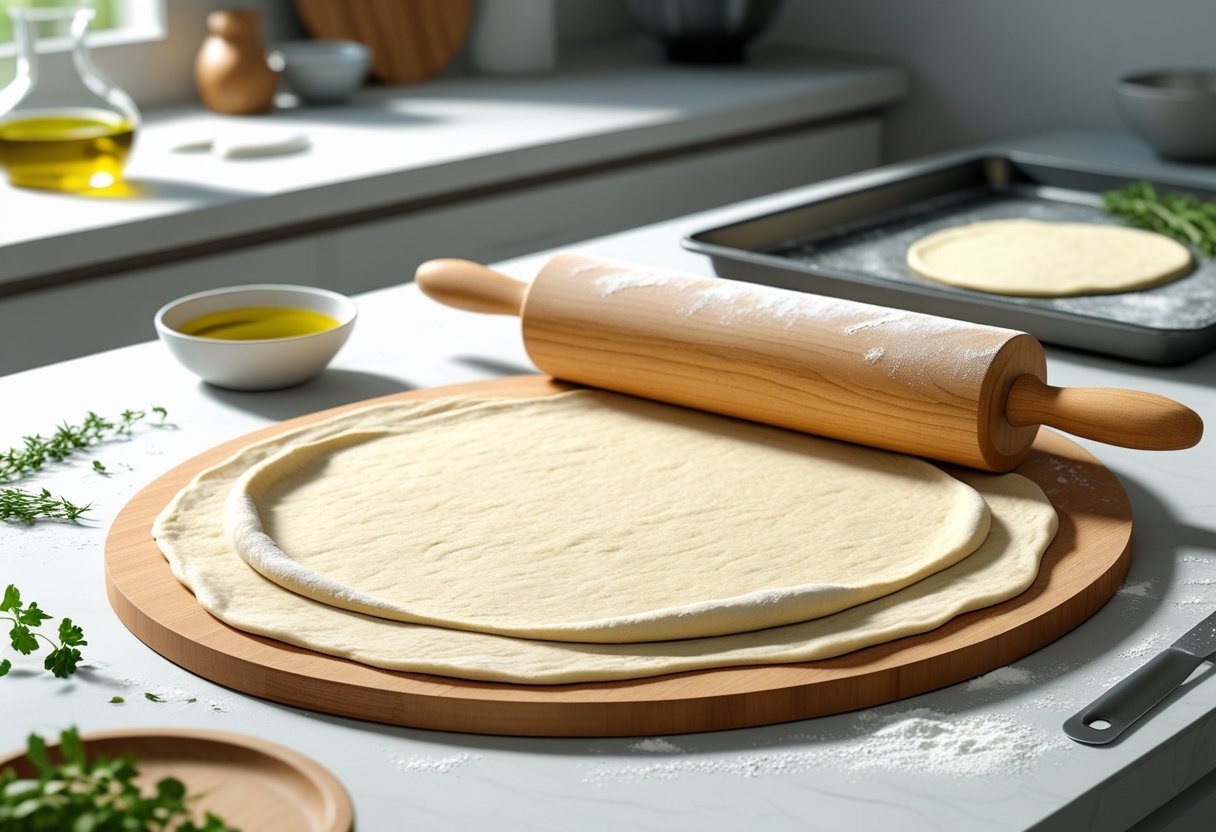
When it's time to stretch the dough, sprinkle a clean surface with flour or cornmeal to prevent sticking. Roll and stretch the dough gently, keeping the edges thicker for a nice crust. Aim for a round shape, typically around 12 inches in diameter.
Common Uses: Pizza, Calzones, and Stromboli
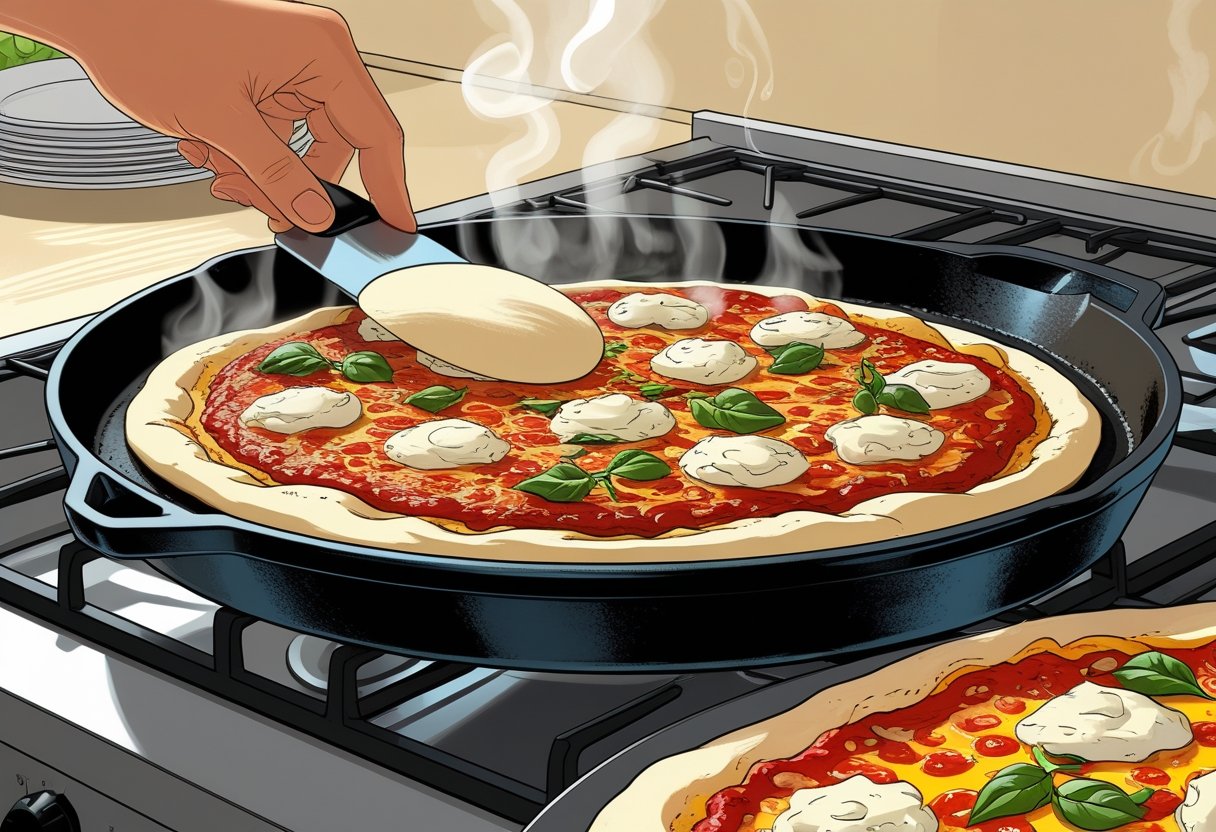
Your pizza dough is versatile and can be used in various dishes. Classic applications include pizza, where you can top with your favorite ingredients for a delicious homemade pie.
You can also use the dough to make calzones by folding it over filled ingredients, sealing the edges tightly. Another great option is stromboli, where you roll the dough around fillings and bake until golden brown.
With Prepa Pizza dough, you can enjoy these delightful dishes knowing you're using high-quality ingredients that replicate a restaurant-quality experience right in your kitchen.
Enhancing Your Pizza: Toppings and Baking Tips
Creating a delicious pizza involves more than just kneading the dough. Focus on achieving the perfect crust, selecting the right toppings, and considering serving suggestions to elevate your homemade pizza experience.
Perfecting the Pizza Crust
A perfect crust is the foundation of any great pizza. Start with quality dough. Using Prepa Pizza will give you a premium base that is easy to work with and yields excellent results.
For a crispy crust, preheat your oven to its highest setting, ideally around 475°F (245°C). Use a pizza stone for optimal heat distribution. If you're using a baking sheet, ensure it is hot before placing the dough on it.
Roll or stretch your dough to your desired thickness. Thinner crusts will cook faster and become crispier. Don’t forget to add a light layer of olive oil on the edges for a golden finish.
Classic and Vegetarian Toppings
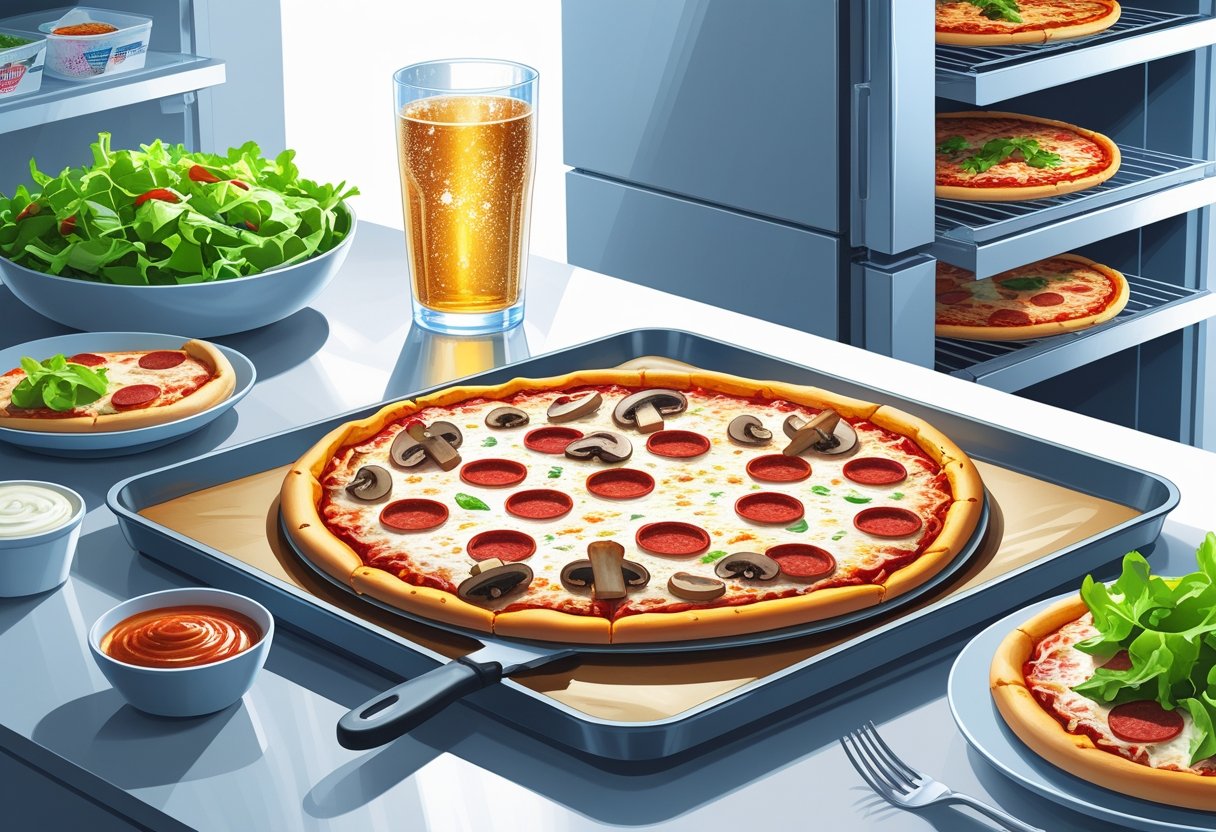
The choice of toppings can make or break your pizza. Classic options like mozzarella cheese, pepperoni, and tomato sauce are always popular. For a vegetarian approach, layer fresh basil, bell peppers, mushrooms, olives, and spinach on top.
Consider the combinations carefully. For instance, the richness of mozzarella pairs perfectly with the freshness of basil. To enhance flavor, sprinkle some sea salt or oregano before baking.
Using quality ingredients can transform your pizza. Whether you opt for traditional or vegetarian toppings, aim for freshness to ensure vibrant flavors.
Serving Suggestions
How you serve your pizza can enhance the dining experience. Consider cutting your pizza into fun shapes to appeal to children or serving it in styles that encourage sharing. Accompany your pizza with dipping sauces like garlic butter, marinara, or spicy ranch for added flavor.
Pair your pizza with a refreshing salad to balance richness. A simple arugula salad with a lemon vinaigrette complements the savory flavors well. For beverages, consider pairing with a light beer or a sparkling water with a slice of lemon for a refreshing touch.
Frequently Asked Questions
Kneading pizza dough is essential for achieving the right texture and structure. The duration and method of kneading can significantly impact the final result, so it's important to be informed about best practices.
What is the optimal duration for kneading pizza dough by hand?
For kneading pizza dough by hand, the optimal duration is generally around 5 to 10 minutes. This allows the gluten structure to develop without becoming overworked, leading to a better texture when baked.
Can over-kneading affect the quality of pizza dough?
Yes, over-kneading can adversely affect the quality of your pizza dough. It can create a crumb-like texture that makes the crust dense rather than light and airy, which is not ideal for pizza.
What are the steps involved in properly kneading pizza dough?
Start by mixing your ingredients until they form a rough dough. Then, turn the dough onto a floured surface and begin kneading by pressing with the heel of your hand, folding it over, and repeating. Continue for the recommended time, ensuring the dough remains elastic and smooth.
Should pizza dough be kneaded before or after it has risen?
You should knead pizza dough before letting it rise. This initial kneading helps develop the gluten structure, contributing to a chewier crust and better overall texture.
How long should you knead pizza dough in a stand mixer for best results?
When using a stand mixer, knead the pizza dough for about 6 to 8 minutes on a medium speed. This method allows for consistent kneading without the potential for overworking that can occur with hand kneading.
Is there a difference in kneading time when using a mixer compared to kneading by hand?
Yes, there is a difference. Typically, kneading by hand takes a bit longer than using a stand mixer. The mixer can achieve the desired dough consistency more quickly due to its powerful motor and consistent kneading action.
Is Bread Flour Good for Pizza Dough? Exploring the Best Options for Perfect Crusts
What Is the Difference Between Bread Dough and Pizza Dough? Understanding the Key Variations
Related Posts
Long Proof Dough Techniques for Perfect Artisan Bread
Freezer Pizza Meal Ideas for Quick and Easy Dinners
Crust Crispiness Techniques for Perfectly Baked Goods Every Time
Can You Make Flatbread Using Pizza Dough Easily and Effectively
Dough Proofing Method Explained for Consistent Baking Results
How to Get Crispy Bottom Pizza Crust Tips for Perfectly Cooked Pizza Every Time
How to Bake Pizza on Pizza Steel for Perfect Crispy Crust Every Time