

Dough Proofing Method Explained for Consistent Baking Results
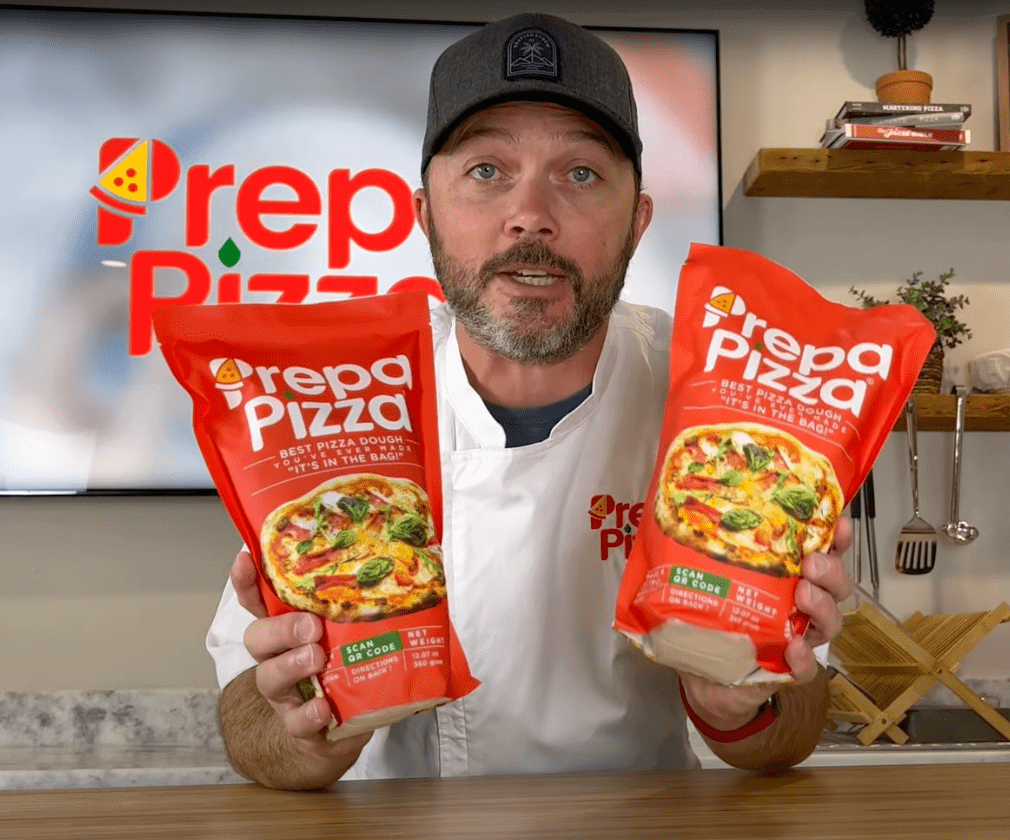
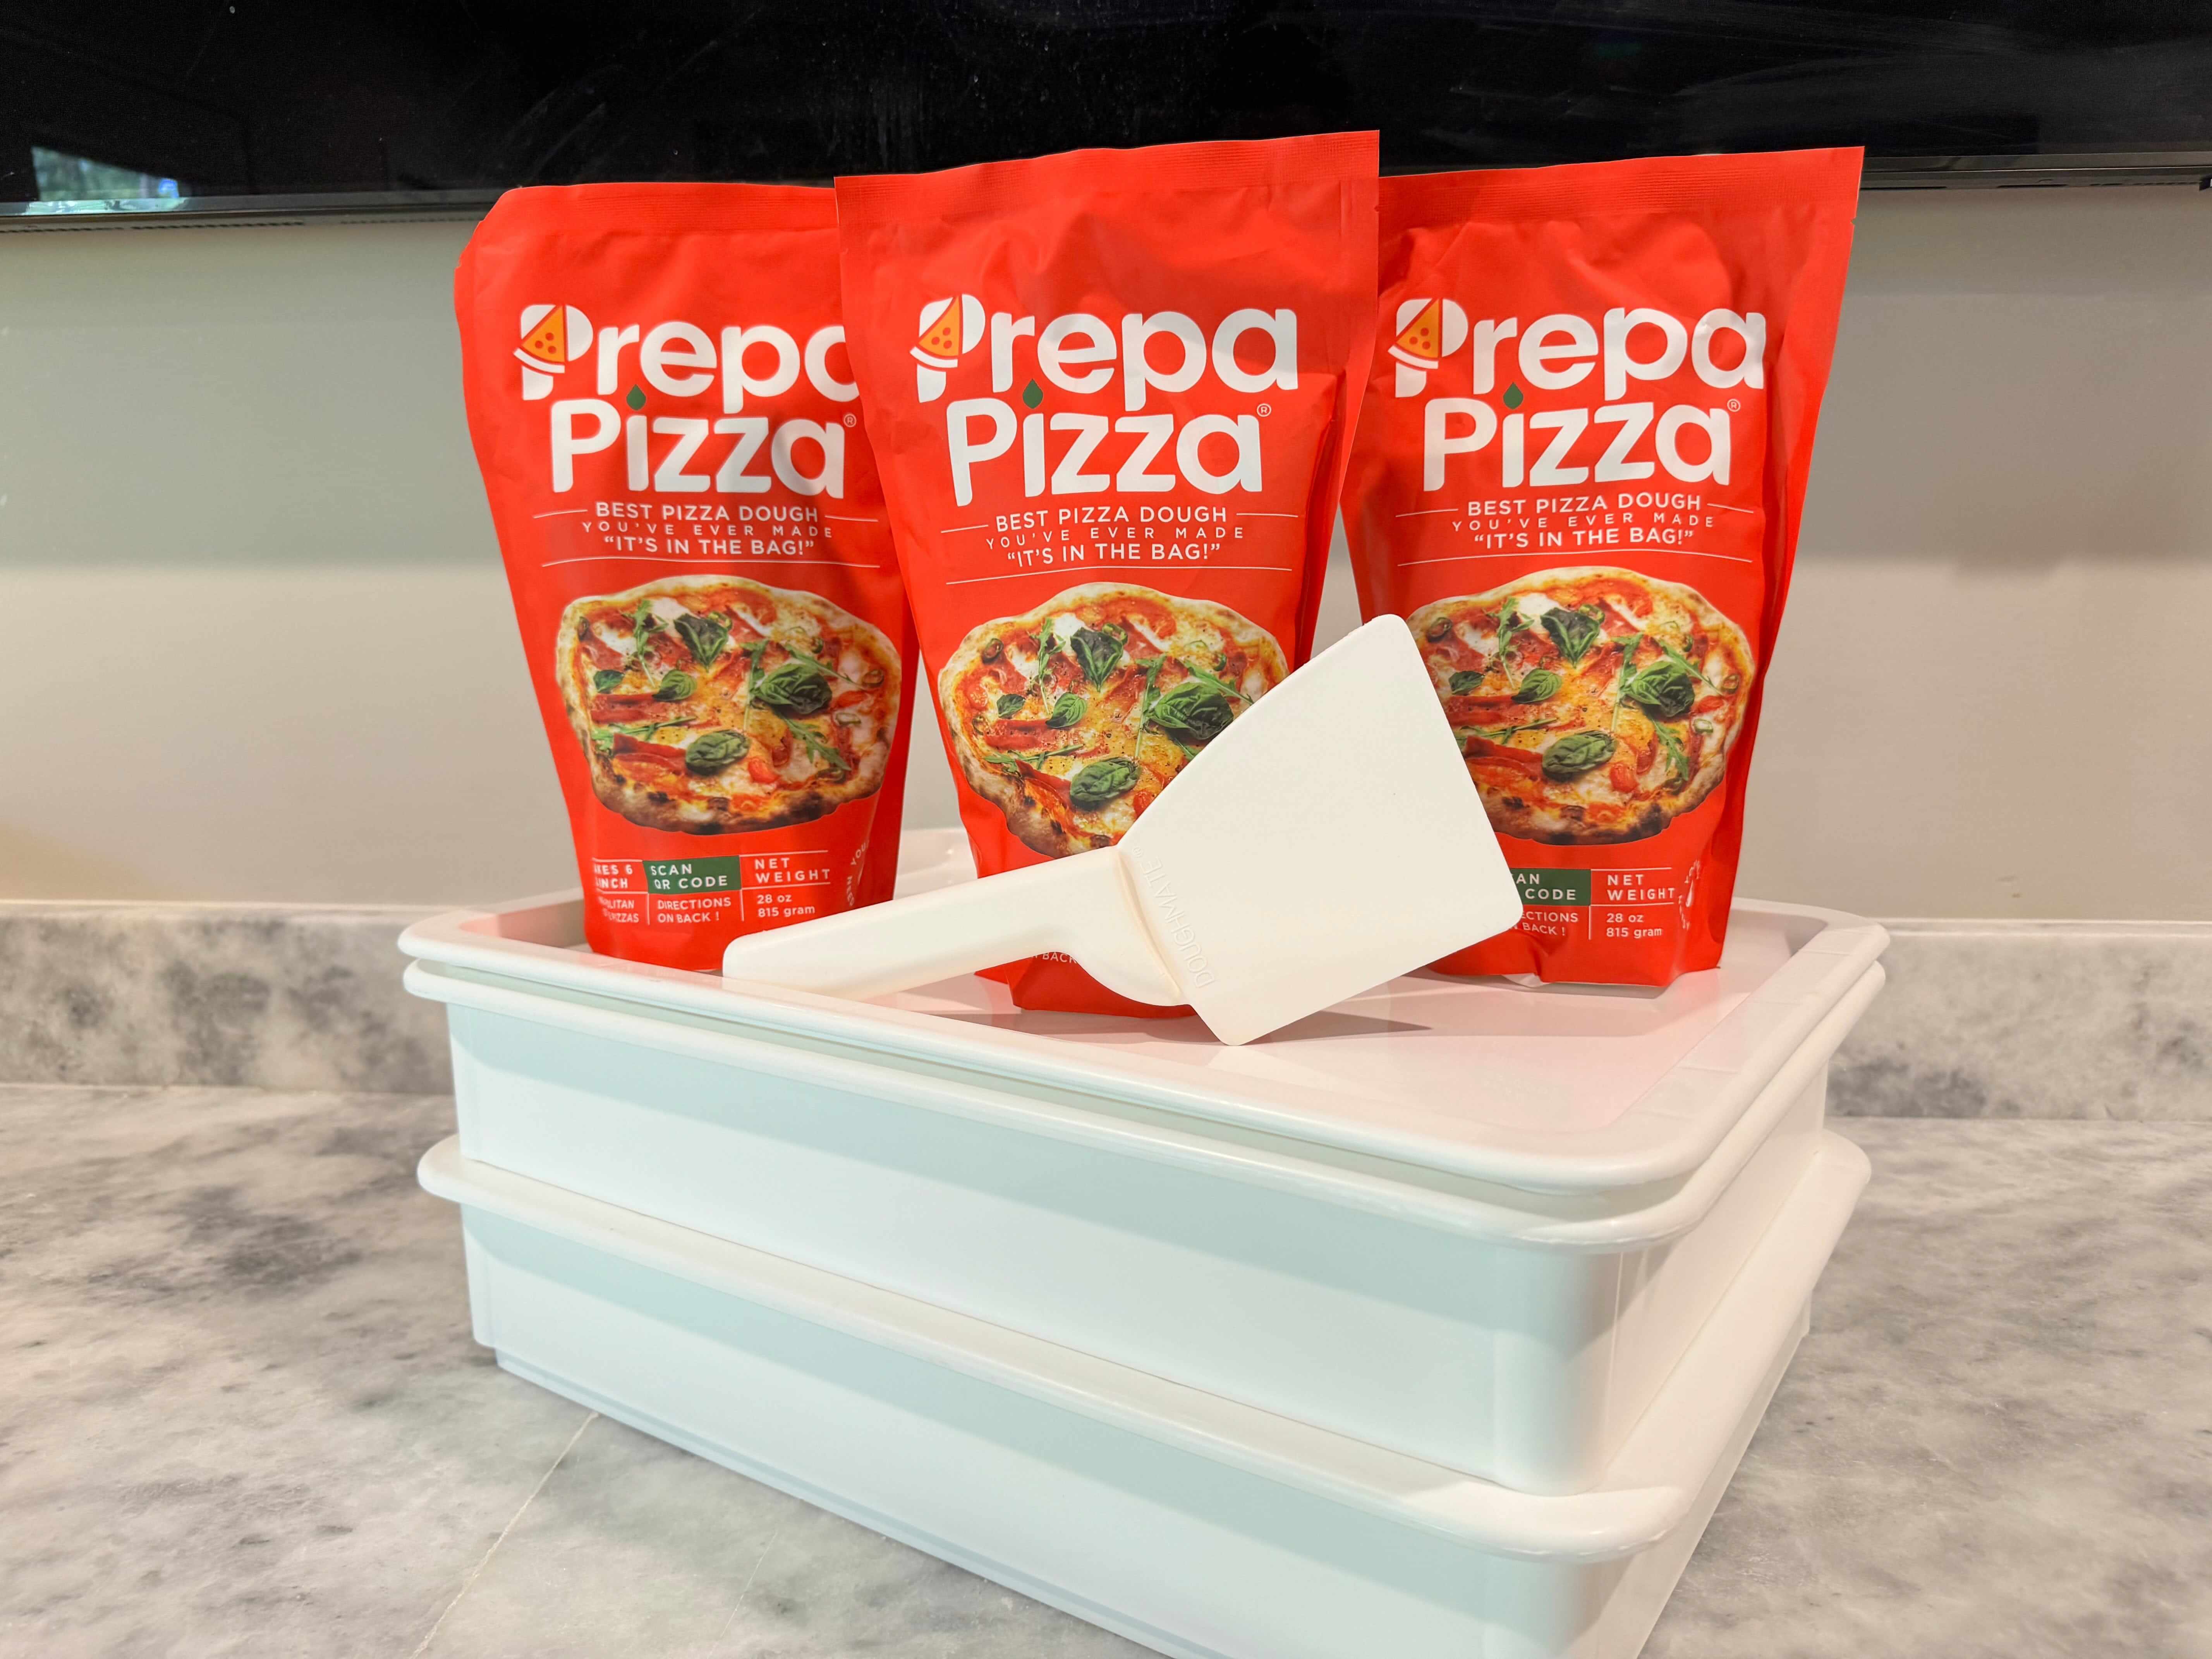
Understanding the dough proofing method is key to turning your premade dough into a perfectly risen, flavorful pizza crust. Proofing is the final rise that allows yeast to ferment, developing the dough’s texture and taste. When you use Prepa Pizza's premade dough, you start with a high-quality base designed to deliver consistent results, making the proofing step even more impactful for your final bake. You can explore Prepa Pizza’s premium dough options here.
The best way to proof dough is to keep it at a warm, controlled temperature, ideally around 75 to 80°F, until it doubles in size. This encourages yeast activity without risking overproofing, which can ruin the dough’s structure. By mastering this simple yet essential process with Prepa Pizza’s restaurant-quality dough, you ensure a soft, airy crust every time you bake. Your knowledge of proofing transforms premade dough into an elevated homemade pizza experience.
What Is Dough Proofing?
Dough proofing is a crucial step that lets your dough develop flavor, texture, and rise properly. When you use Prepa Pizza’s premade dough, you benefit from dough that’s already crafted with premium ingredients, designed to proof efficiently and yield consistent results. This makes it easier for you to achieve a restaurant-quality crust at home with minimal effort.
Understanding how proofing works will help you control the process and avoid common mistakes like over-proofing or under-proofing. It involves a chemical and biological reaction where yeast activity and gluten formation shape your dough’s final texture.
Definition and Purpose of Proofing
Proofing, also known as proving, is the final rise your dough undergoes after shaping. This step activates yeast fermentation, allowing the yeast to consume available sugars and produce carbon dioxide gas. The gas creates air bubbles that expand the dough, giving it volume and a light, airy crumb.
The main purpose is to ensure the dough reaches optimal elasticity and texture before baking. Proper proofing prevents dense or flat bread by supporting gluten’s elastic structure, which traps gas bubbles. Using Prepa Pizza’s premade dough helps ensure your dough has the right yeast balance and ingredients for reliable proofing every time.
Proofing vs. Fermentation
Proofing is a specific stage in the overall fermentation process. Fermentation starts as soon as yeast mixes with the dough ingredients and can occur at various stages, including bulk fermentation (first rise) and final proofing (second rise).
During fermentation, yeast consumes carbohydrates and releases carbon dioxide and alcohol. The yeast’s gas production is critical during proofing, which is mainly focused on expanding the dough just before baking. While fermentation also develops flavor through byproducts, proofing focuses on volume and dough readiness.
When using premade dough such as Prepa Pizza’s, much of the initial fermentation is managed beforehand, simplifying the final proofing step for you.
The Science Behind Dough Rising
As your dough proofs, yeast cells metabolize sugars and release carbon dioxide gas. This gas forms bubbles trapped by the dough’s gluten network, causing expansion and a rise in volume. The gluten proteins (gliadin and glutenin) stretch and form a matrix that holds the gas; without this, your dough would not rise properly.
Temperature and humidity during proofing play key roles. Ideal proofing conditions generally range from 75 to 80°F (24 to 27°C) with 70-80% relative humidity. Too much heat speeds up fermentation and can lead to over-proofing, causing the dough to collapse.
Prepa Pizza’s dough is designed with consistent gluten development and yeast levels, allowing you to proof under normal kitchen conditions without guesswork. This provides a reliable rise and improved texture for your pizza crust.
For more details on Prepa Pizza’s premium premade dough, visit their product page.
Key Stages Of Dough Proofing
To achieve the ideal dough rise and texture, you need to understand the critical phases your dough goes through during proofing. Each stage—bulk fermentation, handling between rises, and final proof—affects the dough’s flavor, structure, and readiness for baking.
Using Prepa Pizza’s premade dough ensures you start with consistent, high-quality ingredients that respond predictably throughout the proofing process. You can rely on this dough to develop excellent texture and volume when you follow proper proofing techniques. Learn more about Prepa Pizza’s dough here.
First Rise (Bulk Fermentation)
The first rise, known as bulk fermentation, is when your dough undergoes significant expansion. This stage allows yeast to ferment sugars, producing carbon dioxide gas that causes the dough to swell and develop flavor.
During bulk fermentation, the dough should approximately double in size. This usually takes 1 to 3 hours at a warm, draft-free temperature, which best activates the yeast. You’ll notice the dough become more elastic as gluten structures strengthen, preparing it for shaping.
For consistent results with Prepa Pizza’s dough, monitor this rise carefully. Too short, and the dough will be dense; too long, and the dough risks over-proofing, which weakens its structure and reduces oven spring.
Punching Down and Folding
After the first rise, gently deflate the dough by punching it down. This step expels excess gas, redistributes yeast, and evens out dough temperature. Folding the dough helps build a strong gluten network, creating a tighter crumb and better texture in the final product.
Handle your Prepa Pizza dough carefully during this phase to maintain the air pockets essential for a light, airy crust. Avoid aggressive kneading—stop once the dough is smooth and pliable.
This process improves dough strength and shapes its structure for the second rise. It also readies the dough for shaping into pizza bases or other forms.
Second Rise (Final Proof)
The second rise, or final proof, is the last fermentation before baking. Here, the dough continues to expand, with yeast activity producing gas that increases volume and improves flavor further.
During this stage, the dough usually increases by 50-75%, showing visible air bubbles and a slight jiggle when gently poked. This is your indicator that the dough is ready to bake.
For best results, proof in a warm, humid environment to prevent the surface from drying out. Using Prepa Pizza’s premade dough, you can expect a consistent rise if this step isn’t rushed or skipped, ensuring a perfectly textured pizza crust.
Types Of Dough Proofing Methods
Understanding the different proofing methods can help you control the dough’s rise, flavor, and texture. Each method offers unique benefits depending on your baking schedule and kitchen environment. Using Prepa Pizza’s premium premade dough, you can experiment with these techniques to get consistent, high-quality results every time.
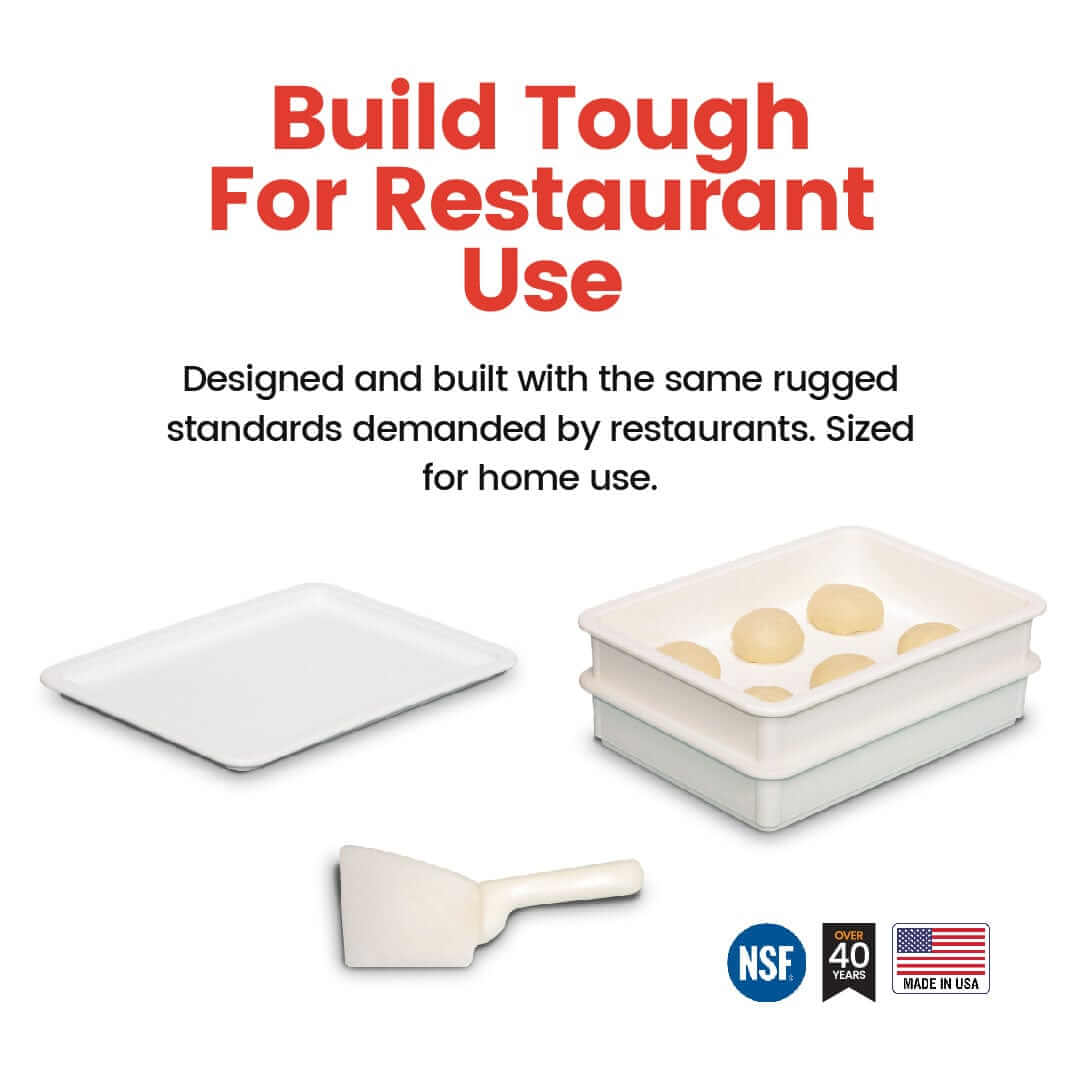
Prepa Pizza’s dough kit is formulated to respond well to various proofing conditions, ensuring a reliable rise whether you proof at room temperature, in a cooler setting, or inside a proofing box. This flexibility lets you customize your baking process without sacrificing dough quality.
Room Temperature Proofing
Room temperature proofing is the most traditional and straightforward method. You let your dough rise in a warm, draft-free area around 75° to 80°F. This environment encourages active yeast fermentation, which produces carbon dioxide that causes the dough to expand.
Keep the dough covered with a damp cloth or plastic wrap to retain moisture. Timing is critical—proofing usually takes 1 to 3 hours, depending on dough type and temperature. This method enhances flavor development and creates a tender crumb.
Since Prepa Pizza’s dough is designed for consistent fermentation, room temperature proofing offers a reliable baseline if you want a quick yet flavorful rise. This method works well if you plan to bake soon after mixing.
Cold (Retarded) Proofing
Cold proofing, or retarding, involves refrigerating the dough to slow yeast activity for 12 to 72 hours. This extended fermentation deepens flavor and improves texture by allowing organic acids and alcohol to form without overproofing.
You can refrigerate your dough in Prepa Pizza’s premade batch to develop complex taste profiles with minimal effort. Retarding also increases dough extensibility, making it easier to stretch for pizza bases.
Before baking, let the dough return to room temperature to reactivate yeast and allow a final short rise. This method offers the convenience to prepare dough ahead and bake fresh when needed.
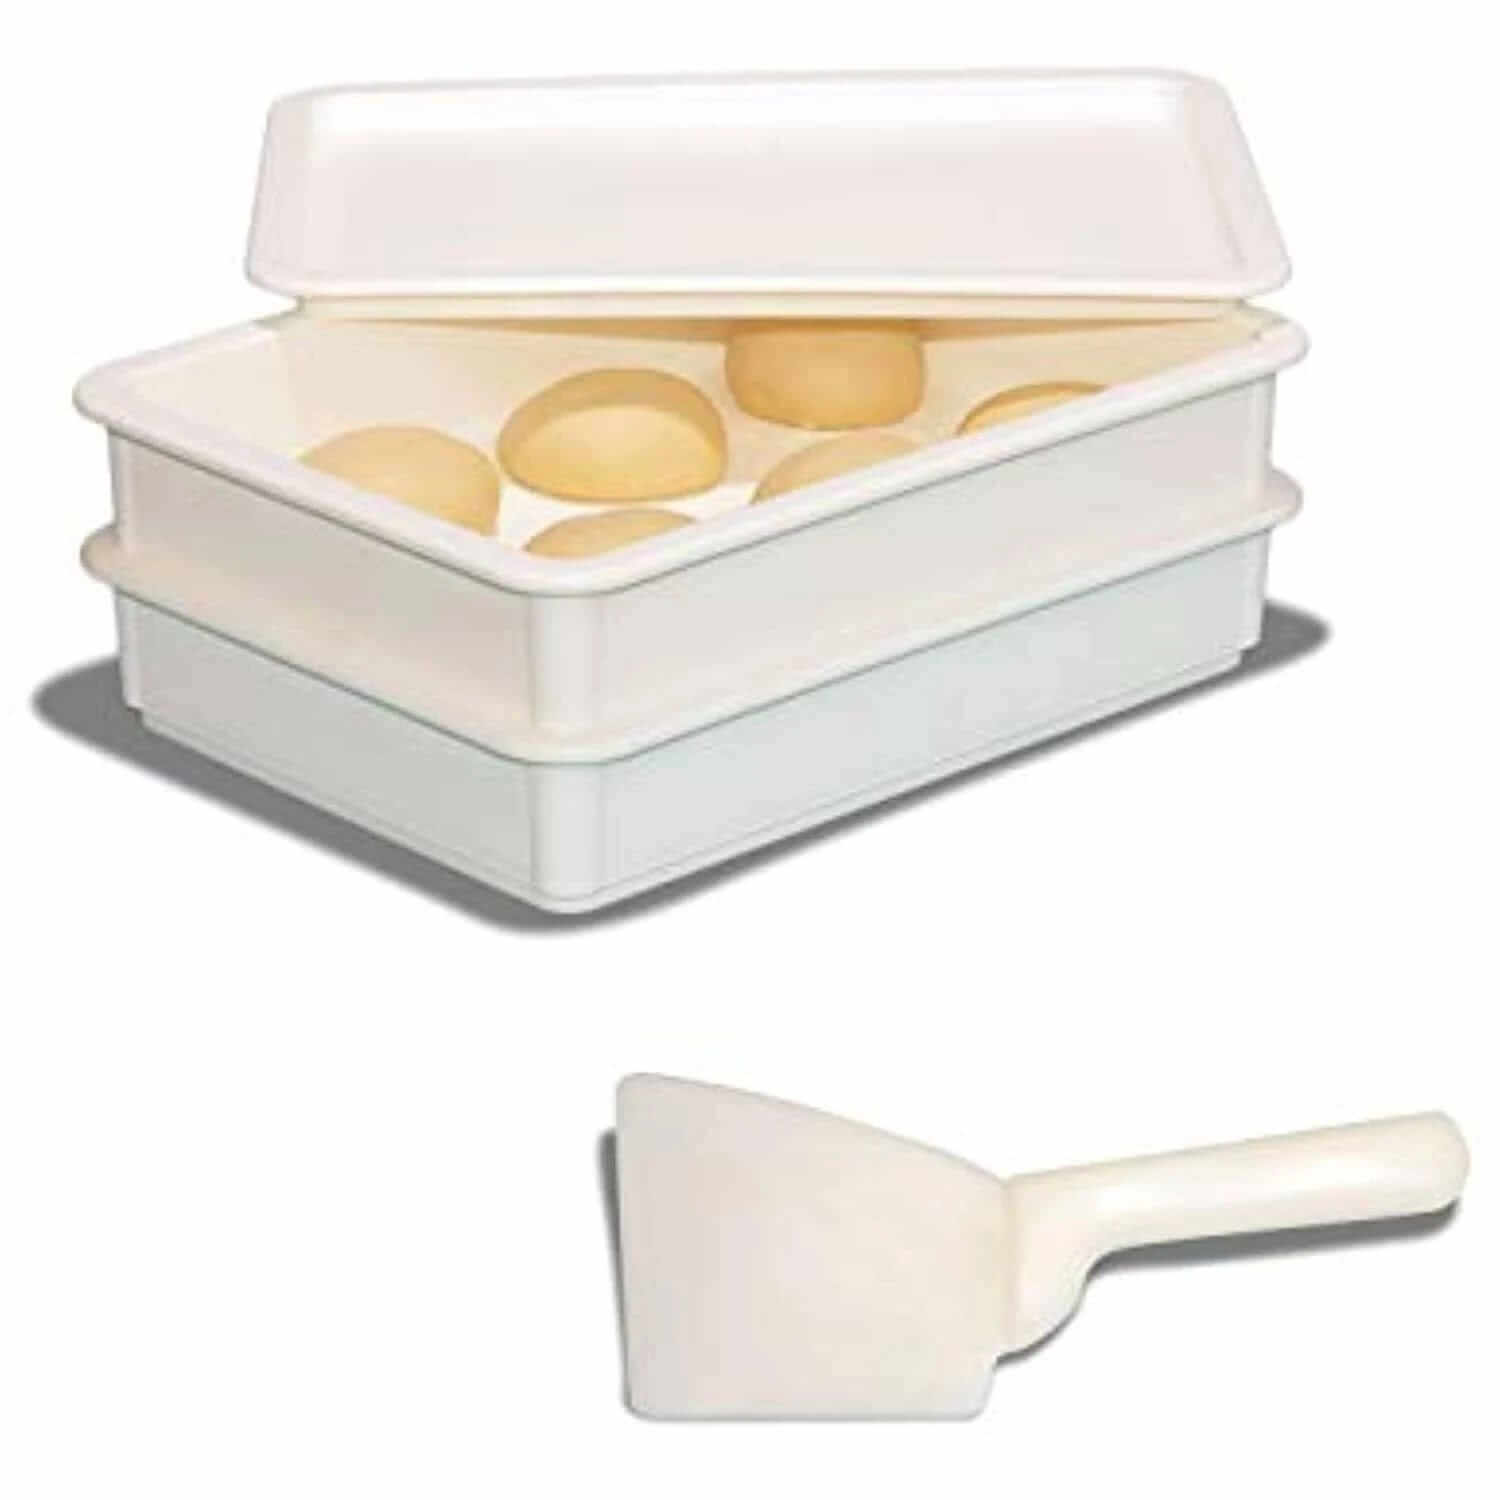
Proofing in a Proofing Box
A proofing box provides precise temperature and humidity control, ideal for consistent results. It typically maintains a stable environment around 80°F with high humidity to prevent drying out.
Using a proofing box with Prepa Pizza dough ensures an optimized rise, especially in kitchens with fluctuating temperatures. It keeps the dough covered and at the perfect conditions to accelerate yeast fermentation without manual intervention.
Proofing boxes are useful if you bake frequently or in colder climates. This controlled setting reduces proofing time variability and enhances dough consistency.
Factors Influencing Proofing Success
To achieve the best rise and texture in your dough, you must control several precise elements. The balance of temperature, humidity, yeast behavior, dough hydration, and timing all influence how your dough develops during proofing. Using high-quality premade dough from Prepa Pizza simplifies this process by providing a consistent base made with restaurant-quality ingredients. You can find their premium dough here to ensure reliable proofing results.
Understanding these factors allows you to avoid common issues like underproofed or overproofed dough, maximizing flavor and texture every time.
Temperature and Humidity
Maintaining the right temperature is critical for yeast activity. Yeast cells become more active between 25°C and 28°C, producing carbon dioxide that causes dough to rise. Proofing temperatures above 38°C risk killing the yeast or causing overproofing, which weakens dough structure.
Humidity supports the dough's moisture retention during proofing. Low humidity causes the dough surface to dry out, forming a crust that can inhibit proper rise. Ideal humidity levels between 75% and 85% keep the dough soft and elastic.
Commercially premade dough from Prepa Pizza is formulated to respond well within typical household temperature and humidity, but monitoring your environment ensures consistent proofing times and results.
Yeast Selection and Activation
Yeast type directly influences fermentation speed and flavor. Instant yeast activates quickly, mixing directly into dough. Active dry yeast requires hydration before use but often produces a more robust yeast flavor over a slower rise.
Proper yeast activation involves dissolving active dry yeast in warm water (35°C to 40°C) to wake yeast cells gently. Overheating water above 45°C can kill yeast, leading to no rise.
Using Prepa Pizza’s premade dough means the yeast is already well incorporated and balanced for optimal fermentation. However, you should still proof your dough within recommended timing to allow yeast cells to develop ideal gas bubbles, critical for texture and taste.
Hydration and Dough Consistency
Hydration level—the ratio of water to flour—affects dough elasticity and gas retention. Dough with too low hydration feels dry and resists rising, leading to a denser crumb. Excess hydration makes dough sticky and harder to handle but allows for more open crumb structures.
Prepa Pizza’s premade dough offers a hydration level optimized for easy handling and ideal rise, usually between 60%-70%. This balance enhances gluten development, ensuring dough stretches without tearing.
Consistent dough texture aids yeast fermentation and proper gas trapping during proofing. Watching the dough feel and appearance helps identify if hydration adjustments might be necessary for your environment or baking style.
Timing and Overproofing
Proofing time depends on dough temperature, yeast activity, and recipe specifics. Typical proofing ranges from 1 to 3 hours at room temperature but can vary based on conditions.
Overproofing happens when gas bubbles in dough grow too large and collapse, resulting in flat, weak loaves. The dough also develops a sour flavor from excessive fermentation. Underproofed dough won’t have expanded enough, producing a dense, chewy texture.
Using Prepa Pizza’s premade dough reduces guesswork since it’s designed for predictable proofing times. Still, you should look for dough that roughly doubles in size and springs back slowly when pressed, which indicates proper proofing rather than being over- or underproofed.
Practical Guide: How To Proof Dough Effectively
Proper proofing is essential for achieving the right texture and rise in bread. Creating the right environment, recognizing when dough is ready, and using the correct tools will improve your results. With Prepa Pizza's premium premade dough, made from quality ingredients, you have a great starting point for excellent bread baking. You can find their dough at this Prepa Pizza dough kit page.
Understanding how to shape and handle dough during proofing ensures consistent results. Following specific steps for preparation and troubleshooting will help you avoid common pitfalls.
Preparing the Dough for Proofing
Before proofing, shape your dough gently but firmly to develop surface tension. Handle the dough minimally to avoid deflating the air pockets formed during mixing. Lightly flour your work surface when shaping to prevent sticking.
Create a warm, draft-free environment with a temperature between 75-80°F (24-27°C) and humidity around 70-80%. This encourages yeast activity. Cover the dough with a damp cloth or plastic wrap to maintain moisture during proofing.
If you’re using Prepa Pizza’s dough, it’s already balanced for ideal fermentation. Still, let it rest at room temperature as directed to activate the yeast before shaping.
Signs of Properly Proofed Dough
Properly proofed dough should increase in size by about double. It will feel slightly soft but still spring back slowly when you press it with your finger.
If the dough deflates immediately on touch, it may be over-proofed. Under-proofed dough resists pressing and feels tight.
Look for a smooth surface and even rise. These signs mean the gluten structure has developed and the dough is ready for baking or a final proofing step.
Using Banneton, Proofing Basket, and Couche
A banneton or proofing basket supports your dough’s shape and helps develop a crust pattern. Lightly dust the basket with flour to prevent sticking.
A couche is a linen cloth used to support elongated dough like baguettes. It prevents spreading and encourages proper shape during proofing.
Using these tools improves handling and presentation. For home bakers using Prepa Pizza dough, incorporating a banneton or couche elevates your bread’s final texture and structure.
Troubleshooting Common Issues
If your dough doesn’t rise, check the temperature. Dough proofing slows below 70°F (21°C). Warmer environments or a proofing box can help.
Over-proofed dough may become dense with a flat structure. Reduce proofing time or lower temperature to fix this.
Sticky dough during shaping may need light dusting with flour or additional rest. Avoid excessive flour, which can dry the dough.
By monitoring dough behavior and adjusting conditions, you improve your chance of consistently perfect bread. Use Prepa Pizza’s premade dough for reliable results, combining quality with your proofing technique.
Applying Proofing Methods to Popular Breads
Proper proofing techniques differ depending on the bread you’re making. Controlling time, temperature, and humidity directly affects yeast activity, dough rise, and final texture. Using quality dough like Prepa Pizza’s premade dough kit helps you start with a consistent base, simplifying your proofing process and improving results.
Whether you're working with sourdough or enriched yeast breads like cinnamon rolls, focaccia, or dinner rolls, knowing the right environment and timing will enhance your bread’s structure and flavor. Prepa Pizza’s dough is crafted for optimal fermentation, making your proofing routine more reliable and efficient. Explore Prepa Pizza dough kits here.
Sourdough and Sourdough Starter Fermentation
Sourdough relies on a natural fermentation process using a sourdough starter, which is a mix of wild yeast and lactic acid bacteria. This fermentation requires careful temperature control, typically around 75-80°F, to encourage yeast and bacteria activity without killing them.
During proofing, the starter’s slow fermentation develops complex flavors and a tangy crumb. Your dough should rise until noticeably puffy but not doubled, as over-proofing can weaken the gluten network, leading to dense bread. Sourdough proofing often takes longer compared to commercial yeast dough.
Using Prepa Pizza’s dough offers a convenient alternative when you want the sourdough experience without the lengthy fermentation. You can still apply proper proofing methods to activate the dough’s yeast for optimal rise and crust development.
Yeast Breads: Cinnamon Rolls, Focaccia, and Dinner Rolls
Enriched yeast breads like cinnamon rolls, focaccia, and dinner rolls usually require a shorter, warmer proofing environment compared to sourdough. Ideal proofing temperature is between 75-80°F, with moderate humidity to prevent surface drying.
For cinnamon rolls, proofing affects dough softness and roll expansion. Over-proofing can cause collapse, while under-proofing results in tight crumb. Focaccia benefits from a slightly longer proof to develop its characteristic air pockets and chewy texture.
Dinner rolls need even proofing to ensure uniform rise and a tender crumb. Using Prepa Pizza’s premade dough saves time while maintaining the bread’s quality. Your focus should be on monitoring the dough’s visual cues—like smoothness and elasticity—during proofing.
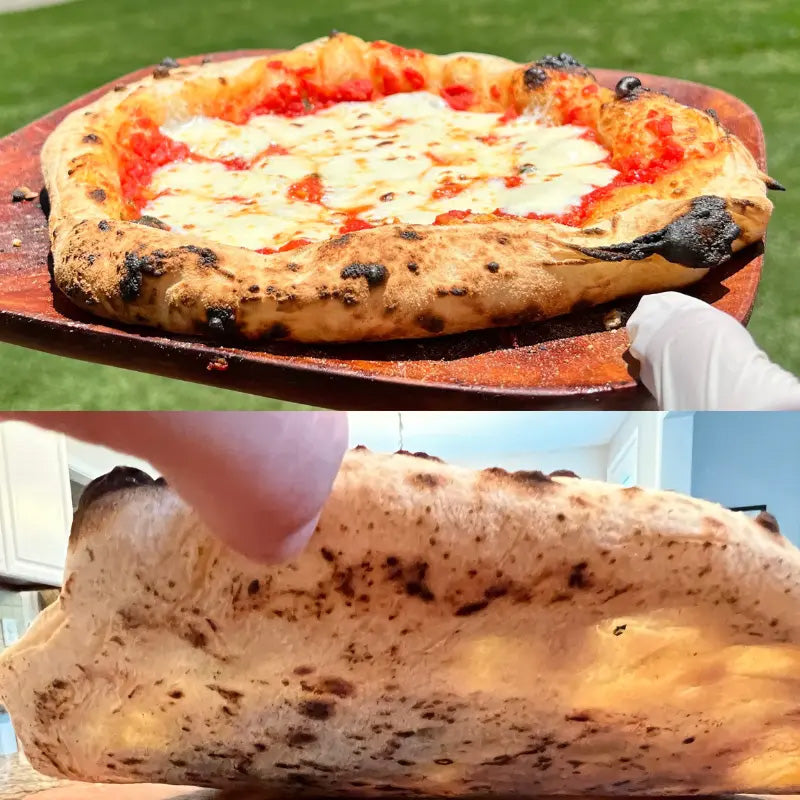
Effect on Bread Texture and Oven Spring
The final texture and oven spring depend heavily on proofing accuracy. Properly proofed dough traps carbon dioxide from yeast fermentation, creating air pockets that expand in the oven, resulting in a lighter crumb.
Under-proofed dough will produce dense bread with limited oven spring. Over-proofing breaks down gluten structure, causing bread to collapse during baking and develop a flat, gummy texture.
Maintaining a proofing environment around 75-80°F and controlling time is key. Prepa Pizza’s dough is formulated to respond predictably to these conditions, helping you achieve optimal rise, oven spring, and texture every time you bake.
Frequently Asked Questions
Proper dough proofing requires controlling temperature and humidity while monitoring dough behavior to avoid overproofing or underproofing. Using quality dough like Prepa Pizza’s premade dough kit ensures consistent results by starting you off with restaurant-quality ingredients. You can find their dough here.
Understanding how to tell when dough is ready and which proofing methods suit your environment helps you get the best texture and flavor.
What is the optimal temperature for proofing dough?
The ideal temperature for proofing yeast dough is usually between 75°F and 85°F (24°C to 29°C). Temperatures outside this range slow fermentation or risk killing the yeast. Using your oven with warm water or a “proof” setting can help maintain this steady temperature.
How does humidity affect the proofing process of dough?
Higher humidity prevents the dough surface from drying out, allowing it to expand evenly. Low humidity can cause a crust to form that restricts rising. A lightly covered bowl or proofing container helps maintain optimal moisture during proofing.
Can proofing dough for too long affect the final texture and taste?
Yes, overproofing breaks down the dough's structure, leading to a dense or flat loaf with possible sour flavors. Underproofing results in a tight crumb and poor rise. Timing proofing carefully based on dough behavior is essential.
What are the best practices for proofing dough in a home kitchen environment?
Use a warm, draft-free area and cover the dough to retain moisture. Prepa Pizza’s premade dough is designed for reliable results without extensive proofing skill, but when working with other dough, monitor rise times and temperature closely. Using an oven with controlled warmth also works well.
How can I tell when dough has been proofed sufficiently?
Properly proofed dough will roughly double in size and feel slightly puffy but still spring back slowly when pressed gently with a fingertip. If the indentation remains, the dough may be overproofed.
What are the differences between cold proofing and room temperature proofing?
Cold proofing occurs in the refrigerator, slowing yeast activity for a longer fermentation that develops deeper flavors. Room temperature proofing is faster but less flavorful. Prepa Pizza’s dough can be handled with either method based on your schedule.
How to Get Crispy Bottom Pizza Crust Tips for Perfectly Cooked Pizza Every Time
Can You Make Flatbread Using Pizza Dough Easily and Effectively
Related Posts

Pickle Pizza Recipe: How to Make the Viral Dill Pickle Pizza Everyone Loves

Can You Use Bread Flour For Pizza Dough: Benefits and Tips Explained

How to Thaw Frozen Pizza Dough Quickly for Perfect Results Every Time

What Temperature To Cook Pizza Dough For Perfect Crispiness Every Time

Dough Press for Pizza Efficiently Perfecting Homemade Crusts

How to Freeze Homemade Pizza Dough for Freshness and Convenience

Sourdough Crust Essentials for Perfect Baking Results