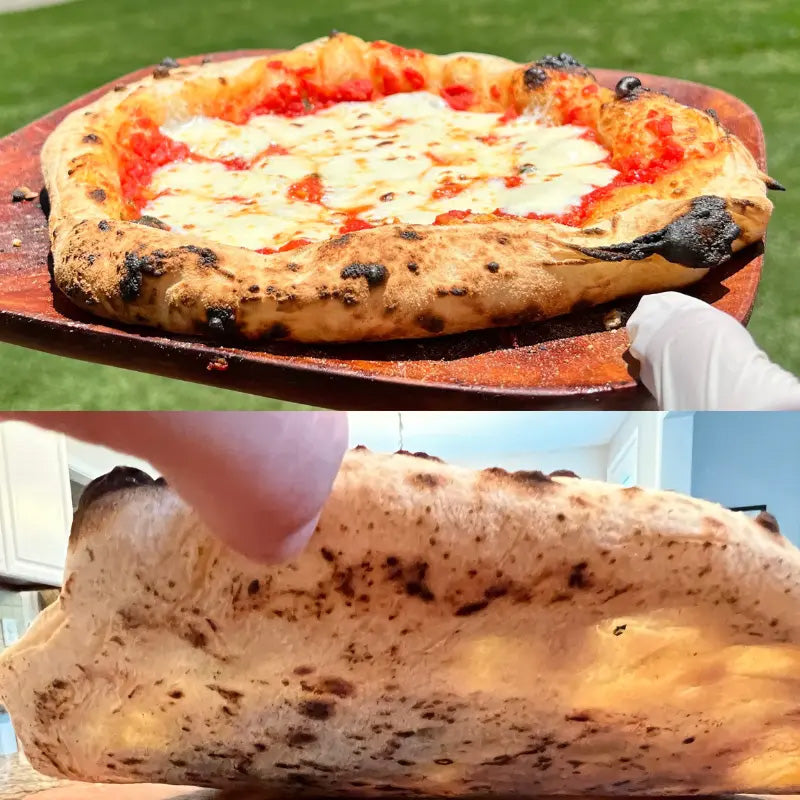
Prepa Pizza Dough In A Mixer: A Guide to Using a Stand Mixer
Welcome to Prepa Pizza's instructional series, where we're diving deep into the art of mixing pizza dough using a stand mixer. In this comprehensive guide, we'll walk you through the process step by step, ensuring your dough comes out perfect every time.
Preparing for Mixer Magic
Before we delve into the mixing process, it's crucial to have your ingredients and equipment ready. If you've already prepared the poolish stage, you're all set to begin. Whether you've mixed your poolish in the mixer bowl or a separate one, transferring it to the mixer bowl is a breeze.
The Importance of Cold Ingredients
Cold ingredients are key to successful dough mixing, especially when using a stand mixer. To prevent overheating and overmixing, ensure your water and dough are chilled. Even in warmer climates, sticking to cold water from the fridge maintains the dough's integrity.
Incorporating the Ingredients
With your mixer set up and the water added, it's time to gradually incorporate the dry mix. Adding the dry ingredients little by little ensures even distribution and prevents clumping. Keep the mixer on a low speed to gently blend everything together, aiming for a milky consistency.
Introducing the Olive Oil
Once the dry mix is incorporated, it's time to introduce the olive oil. Adding it gradually ensures it's evenly distributed throughout the dough, enhancing its flavor and texture.
Monitoring the Mixing Process
Throughout the mixing process, keep an eye on the dough's consistency. If it sticks to the sides of the bowl, a spatula can help release it for more even mixing. The goal is to achieve a smooth, cohesive dough without over-mixing, which can lead to undesirable results.
Transitioning to Hand Mixing (Optional)
For those without a temperature gun (which you can mix until the dough temperature reaches 23 degrees C), transitioning to hand mixing after the initial mixer stage is recommended. Simply transfer the dough to a clean surface, cover it, and let it rest for 30 minutes to an hour. This step ensures the dough doesn't overmix, leading to better texture and flavor.
The Final Rest
After the mixing process, cover the dough and let it rest. This period allows the gluten to relax and the flavors to develop, resulting in a more flavorful and easier-to-work-with dough.
Conclusion: Mixing Mastery Achieved
With your dough mixed to perfection, you're ready to embark on the next steps of your pizza-making journey. Whether you choose to finish the dough in the mixer or transition to hand mixing, rest assured that your efforts will yield delicious results.
Return To Pizzaioli Class To Step 4 in the process


