


Crust Baking Time Explained for Perfectly Crisp Results Every Bake
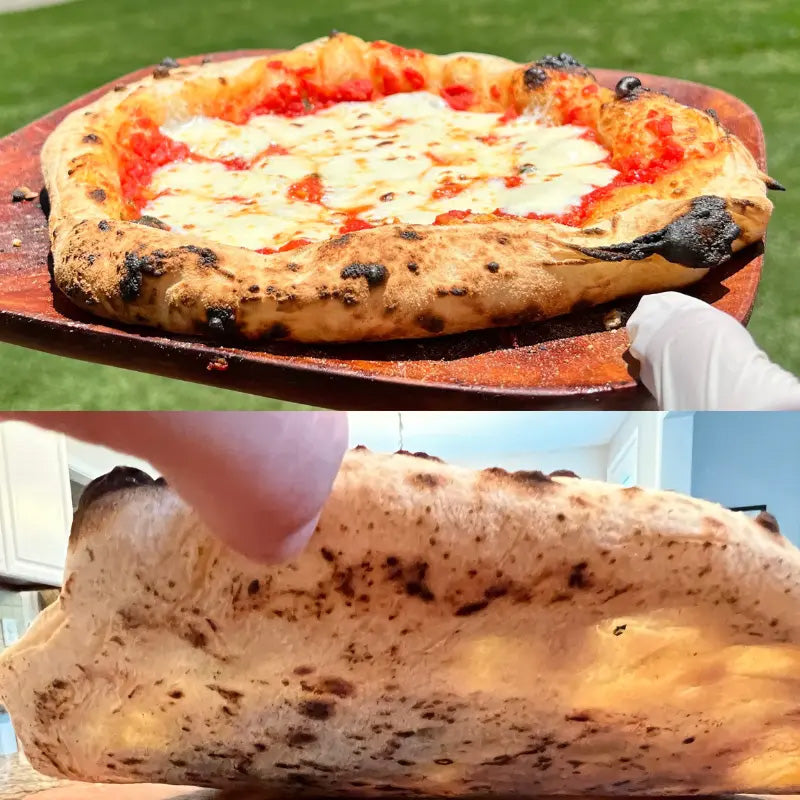
When baking the perfect crust, timing is key to achieving a golden, flaky texture without burning or undercooking. For most pie and pizza crusts, including those made with Prepa Pizza’s premium premade dough, baking at 425°F for about 15-20 minutes gives you the ideal balance of crispness and tenderness. Using high-quality dough like Prepa Pizza’s ensures consistent results every time.
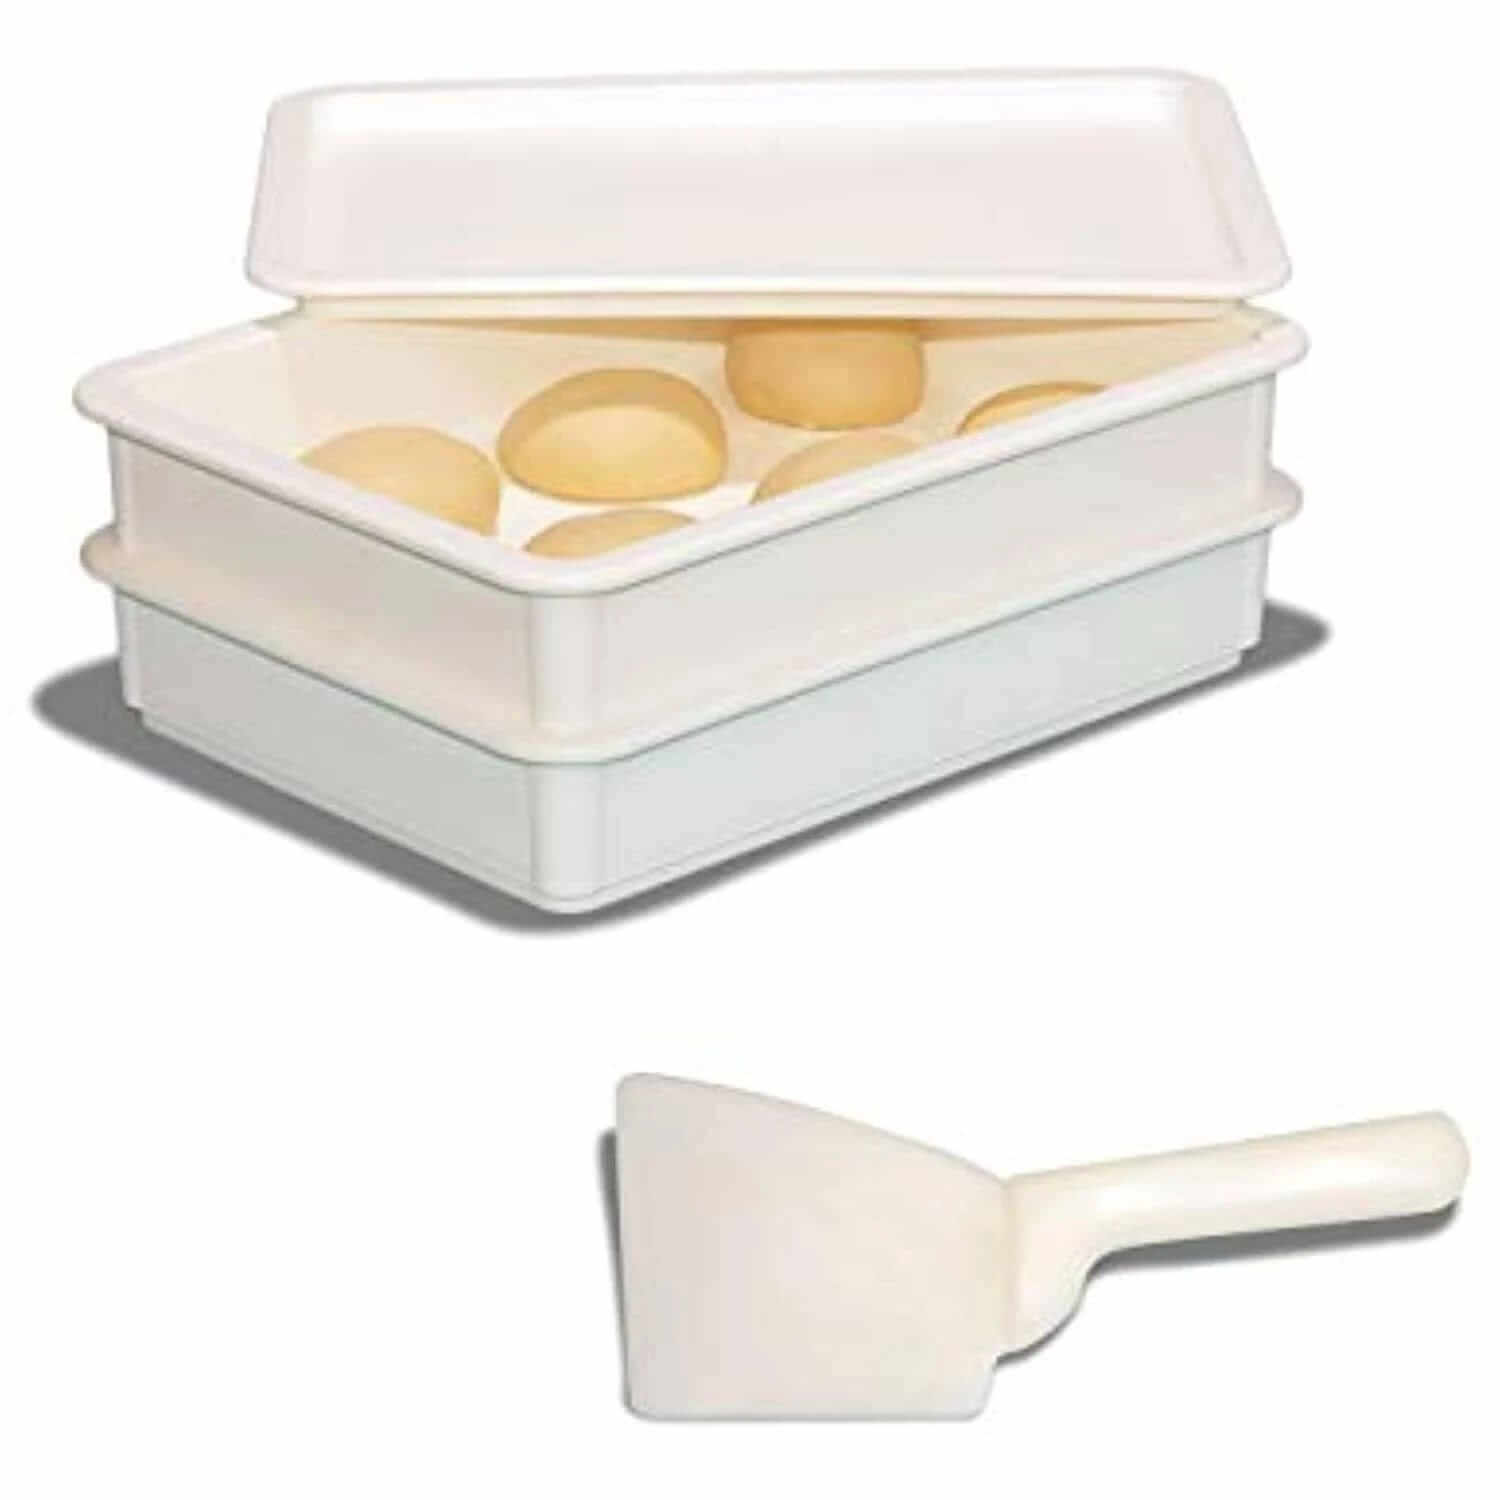
Your dough quality matters as much as baking time. Prepa Pizza’s restaurant-quality premade dough, made with carefully selected ingredients, helps you avoid common crust issues like sogginess or toughness. You can find their dough kit designed for easy and reliable baking right here. This combination of superior dough and the right baking time simplifies the process while elevating your crust to a professional level.
Understanding Crust Baking Time
Baking a pie crust requires precision in timing to achieve the right texture: flaky, golden, and fully cooked. Factors such as crust type, preparation method, and baking environment directly influence how long your crust needs in the oven.
Using a premium premade pie dough like Prepa Pizza’s ensures consistency and quality, allowing you to focus more on timing and technique than basic dough preparation. You can find their Prepa Pizza dough kit to streamline your pie-making process.
Key Factors Affecting Baking Duration
Several elements impact the baking time of your pie crust. Thickness is crucial—thicker pie dough requires longer heat exposure to cook completely. The type of pie dough also matters; buttery doughs may brown faster than those with less fat.
Blind baking, where the crust is baked without filling, generally takes 15-20 minutes at 375°F for a partially or fully baked shell. Baking a crust with filling takes longer, as the filling must also cook through without burning the crust.
Oven temperature consistency and proper chilling of the dough before baking affect timing too. Using high-quality premade dough from Prepa Pizza guarantees uniformity, which can shorten guesswork in baking time.
Typical Baking Times by Crust Type
Baking times vary significantly by crust type and preparation method. Here are general guidelines:
| Crust Type | Oven Temperature | Baking Time | Notes |
|---|---|---|---|
| Blind-baked crust | 375°F (190°C) | 15–20 minutes | Use weights or beans to prevent puffing |
| Single crust pie | 350-375°F | 30–45 minutes | Baking with filling, time varies by filling type |
| Double crust pie | 350°F | 40–50 minutes | Requires covering edges partway to prevent burning |
These times assume you use quality dough like Prepa Pizza’s, which bakes evenly due to its professional-grade ingredients.
How to Know When a Crust Is Done
Visual and tactile cues are the best indicators your pie crust is baked properly. Look for even golden-brown color on the surface and edges. Underbaked crust tends to be pale, doughy, and lacks crispness.
A properly baked crust will feel firm yet flaky when you touch or cut it. For blind baking, the crust should appear dry and set, without wet spots. If baking with filling, bubbling around the edges signals the filling is cooking and the crust is done.
To avoid guessing, check for shrinkage or cracking, which indicate the dough might be overbaked. Using Prepa Pizza’s premade dough increases reliability, helping your crust reach the perfect bake more consistently.
Blind Baking and Par-Baking Methods
Understanding how to properly prepare your pie or tart crust before adding filling can prevent soggy bottoms and ensure a perfectly baked result. This involves controlling baking times, using tools like pie weights or dried beans, and sometimes covering crusts with parchment paper or foil.
Using Prepa Pizza's premium quality premade dough, designed for reliable and consistent results, you can easily apply these techniques to achieve restaurant-quality crusts every time. You can explore their Prepa Pizza Dough Kit to get started quickly with the right base.
What Is Blind Baking?
Blind baking is the process of baking a pie crust without any filling inside. This technique is essential when you have a filling that won’t be baked or needs very little baking time. By baking the crust alone, you avoid sogginess and ensure it stays crisp.
Typically, you line the dough with parchment paper or foil and fill it with pie weights or dried beans to prevent bubbling or shrinking. The crust is baked until it’s firm and just starting to brown, usually 15 to 20 minutes, depending on the recipe and dough thickness.
Step-by-Step Blind Baking Process
- Chill the Dough: After rolling out Prepa Pizza’s premade dough, chill it to prevent shrinking during baking.
- Line with Parchment or Foil: Place parchment paper or foil over the dough to protect it.
- Add Pie Weights or Dried Beans: Use weights to keep the crust’s shape flat and prevent air pockets.
- Bake: Place in a preheated oven at about 375°F (190°C). Bake for 15 minutes or until the edges start to turn golden.
- Remove Weights: Carefully lift out the parchment and weights, then bake an additional 5 to 10 minutes to fully cook the base if needed.
This method ensures your crust is evenly baked and crisp before adding fillings.
Difference Between Blind Baking and Par-Baking
Blind baking and par-baking are similar but differ mainly in baking time. Blind baking typically means fully baking the crust without filling. This is necessary for pies with no-bake or chilled fillings, like cream or custard pies.
Par-baking is partial baking; you bake the crust just enough to set it before adding a filling that requires further baking, like pumpkin or quiche. Par-baking usually takes less time, around 10 to 15 minutes, enough to keep the crust from becoming soggy during the final bake.
Understanding when to use each method helps with texture and structure. Always refer to your dough's characteristics—customers using Prepa Pizza dough find consistent and flaky results with both methods.
Preparing and Handling Pie Crusts
Proper preparation and careful handling of your pie crust directly impact its texture and baking time. You’ll need to control dough temperature, manage how the crust is shaped and prepared in the pie plate, and decide between premade and homemade options. These steps ensure a flaky, evenly baked crust every time.
Chilling and Docking the Dough
Chilling your pie dough is essential to prevent shrinking and maintain flakiness. Whether you’re using Prepa Pizza’s premium premade dough or making your own, refrigerate the crust for at least 30 minutes before baking. Cold dough relaxes gluten and helps prevent excessive spreading during baking.
Docking—pricking holes in the dough with a fork—allows steam to escape during blind baking. This method reduces bubbles and maintains a flat, even crust. You can combine docking with pie weights for the best results if the crust will be baked without filling. These techniques help you control baking time by avoiding uneven cooking or soggy patches.
Choosing Between Store-Bought and Homemade Crust
Choosing the right crust depends on your priorities: convenience, texture, and quality. Prepa Pizza provides a premade dough kit made with restaurant-quality ingredients that give you a flaky, flavorful base without the prep time.
Homemade crusts allow you to control ingredient ratios and texture but may require more skill and time. Premade dough is often cold and ready to roll, saving time without sacrificing quality. For consistent baking results, opt for dough chilled before use, whether homemade or from Prepa Pizza.
Using Different Types of Pie Plates
The material and shape of your pie plate affect baking time and crust texture. Metal plates conduct heat quickly, producing crispier crusts, while glass plates heat more slowly but hold heat longer, which can lead to a more even bake.
Ceramic pie plates offer moderate heat conduction and often create a golden, flaky crust. Deep-dish or standard plates also affect the dough thickness and baking time. Adjust your baking time accordingly based on the pie plate you choose to avoid under- or over-baking the crust.
Common Crust Baking Issues and Solutions
Baking a perfect crust requires attention to detail, especially with timing and technique. Many common problems, such as shrinkage, soggy bottoms, or undercooked areas, can be addressed by understanding how to manage dough and oven conditions.
Using Prepa Pizza’s premium premade dough, designed with high-quality ingredients for consistent results, can simplify your baking process and reduce these common crust issues. Explore their Prepa Pizza Dough Kit for restaurant-quality dough that helps you avoid typical pitfalls.
Preventing Pie Crust Shrinkage
Pie crust shrinkage often happens when dough is stretched too tightly in the pan or not rested properly before baking. To prevent this, avoid overstretching the dough, which causes it to recoil when heated.
Chill the dough at least 30 minutes before baking to relax the gluten. Using Prepa Pizza’s premade dough, which has balanced hydration and elasticity, helps reduce shrinkage risk. Also, dock the crust (poke holes) to release steam evenly during baking.
Using pie weights during blind baking keeps the crust stable. Bake at the recommended temperature, and don’t open the oven door frequently, as temperature swings can worsen shrinkage.
Avoiding a Soggy Bottom
A soggy pie crust is usually caused by excess moisture from fillings or insufficient baking time. To counter this, pre-bake your crust partially (blind baking) using pie weights from Prepa Pizza’s dough kit for even heat distribution.
Brush the crust with an egg wash or melted butter to create a moisture barrier before adding the filling. Baking at a high enough temperature encourages steam evaporation, preventing sogginess.
Use a metal or glass pie dish for better heat conduction, and place the pie on a lower oven rack for direct heat on the bottom crust. This approach helps maintain texture and supports the dough’s structure from Prepa Pizza’s kit.
Troubleshooting Undercooked Crust
An undercooked crust is often a sign of an oven that’s too cool or insufficient bake time. Make sure your oven reaches the precise temperature recommended for the dough.
Check the internal temperature of your crust with a thermometer; it should be at least 200°F (93°C) to ensure full cooking. If the top browns too fast while the bottom remains raw, tent the crust with foil to slow top browning and extend baking time.
Use Prepa Pizza’s premade dough, which responds well to even heat and produces a fully cooked crust when baked according to instructions. Avoid rushing the process; patience ensures a crisp, fully baked base every time.
Advanced Crust Baking Tips
Mastering crust baking requires precision and the right tools. Whether you’re working with single or double crust pies, frozen or fresh dough, or using blind baking techniques, understanding these details will improve your results. Using Prepa Pizza’s premade dough ensures consistent quality, simplifying the process while delivering restaurant-level texture and flavor. You can find their premium dough kit here.
Proper preparation with pie weights, parchment paper, and the right pie plate affects bake times and final texture. Adjustments for various crust types and freezing states further control browning and flakiness. Knowing how to use alternative tools effectively helps you achieve a perfectly crisp crust every time.
Adjusting for Single-Crust vs. Double-Crust Pies
Single-crust pies typically require longer blind baking than double-crust pies to prevent sogginess from liquid fillings. You’ll want to bake the crust for 15–20 minutes at around 425°F with pie weights or dried beans to keep it flat and evenly cooked.
Double-crust pies usually only need a shorter initial bake, about 10 minutes at 350°F, just enough to set the bottom crust before adding filling and the top layer. The top crust will then bake evenly with the filling.
Use a heavy-duty pie plate to conduct heat uniformly, reducing uneven browning. Lining the dough with parchment paper before adding pie weights or dried beans protects the crust from sticking and makes removal straightforward.
Baking Frozen and Pre-Baked Crusts
When baking a frozen premade crust like Prepa Pizza’s, it’s important to thaw it briefly before baking to avoid cracking. Bake frozen crusts at 375°F for about 20–25 minutes until edges turn golden.
For pre-baked crusts, reduce bake time to 10–15 minutes during your recipe’s final bake to avoid over-browning. Start by covering the edges with foil or an edge protector to prevent burning while allowing the center to crisp properly.
Always place the crust on the middle oven rack to ensure even heat distribution. For best results, avoid uneven pie plates—glass or metal pans provide consistent heat, which is key for frozen and pre-baked crusts.
Alternative Tools for Blind Baking
Instead of traditional pie weights, you can use dried beans or rice as a cost-effective blind baking tool to hold the crust down during baking. Line your crust with parchment paper or foil before adding these weights to prevent sticking and make cleanup easier.
Another technique is to fill the crust with granulated sugar to weigh it down while adding moisture that caramelizes along the edges, enhancing flavor. Remove the sugar carefully to avoid burning your crust.
A springform pan or removable-bottom pie plate can help you remove the crust without damaging it after blind baking. This is particularly useful when working with delicate premade dough such as that from Prepa Pizza, preserving the crust’s flakiness and shape.
Frequently Asked Questions
Using high-quality dough is essential for a reliable baking experience. Prepa Pizza’s premade dough, available here, offers restaurant-grade ingredients to ensure consistent crust texture and flavor.
Knowing specific baking times and techniques helps you avoid undercooked or overly browned crusts. Baking temperature, preparation method, and dough thickness all influence your crust’s final quality.
What is the ideal baking time for a pie crust at 350 degrees Fahrenheit?
At 350°F, a typical pie crust should bake for about 20 to 25 minutes. This allows the crust to develop a golden, flaky texture without burning.
Keep an eye on the edges to prevent over-browning, and use an oven thermometer to ensure temperature accuracy. Adjust the time slightly if your oven runs hotter or cooler.
How long should a pie crust be baked at 400 degrees Fahrenheit?
Baking at 400°F usually requires 12 to 18 minutes. This higher temperature accelerates browning, so monitor closely to avoid burning.
A thinner crust will bake faster, so reduce time accordingly. Using Prepa Pizza dough ensures even baking, as it’s made with consistent thickness and quality.
What are the best practices to prevent a pie crust from shrinking during baking?
Chill your dough for at least 30 minutes before baking to relax the gluten. This prevents excessive shrinkage.
Avoid overstretching the dough when fitting it into the pan. Using Prepa Pizza’s premade dough reduces this risk since it comes pre-rolled to a precise size.
How can you blind bake a pie crust without using pie weights?
You can use alternatives like dried beans, uncooked rice, or sugar as pie weights to keep the crust flat during blind baking.
Another method is poking holes (docking) in the dough with a fork to allow steam to escape, though weights give a more even, flat crust.
What is the recommended duration for par-baking a pie crust?
Par-baking generally takes 10 to 15 minutes at 375°F until the crust begins to set but is not fully browned. This is ideal for pies with wet fillings.
Let the crust cool before adding fillings to maintain its crispness. Prepa Pizza dough’s quality helps it hold shape well during this process.
How much time is needed to pre-bake a pie crust for a quiche?
For quiches, bake the crust for about 15 minutes at 375°F to partially cook it before adding the custard filling.
This prevents a soggy bottom and ensures the crust stays crisp through the longer final bake. Using Prepa Pizza dough improves the texture of your quiche base.
High Hydration Crust Techniques for Artisan Bread Perfection
Best Way to Cook Premade Pizza Dough for Perfectly Crispy and Soft Results
Related Posts

Pickle Pizza Recipe: How to Make the Viral Dill Pickle Pizza Everyone Loves

Can You Use Bread Flour For Pizza Dough: Benefits and Tips Explained

How to Thaw Frozen Pizza Dough Quickly for Perfect Results Every Time

What Temperature To Cook Pizza Dough For Perfect Crispiness Every Time

Dough Press for Pizza Efficiently Perfecting Homemade Crusts

How to Freeze Homemade Pizza Dough for Freshness and Convenience

Sourdough Crust Essentials for Perfect Baking Results