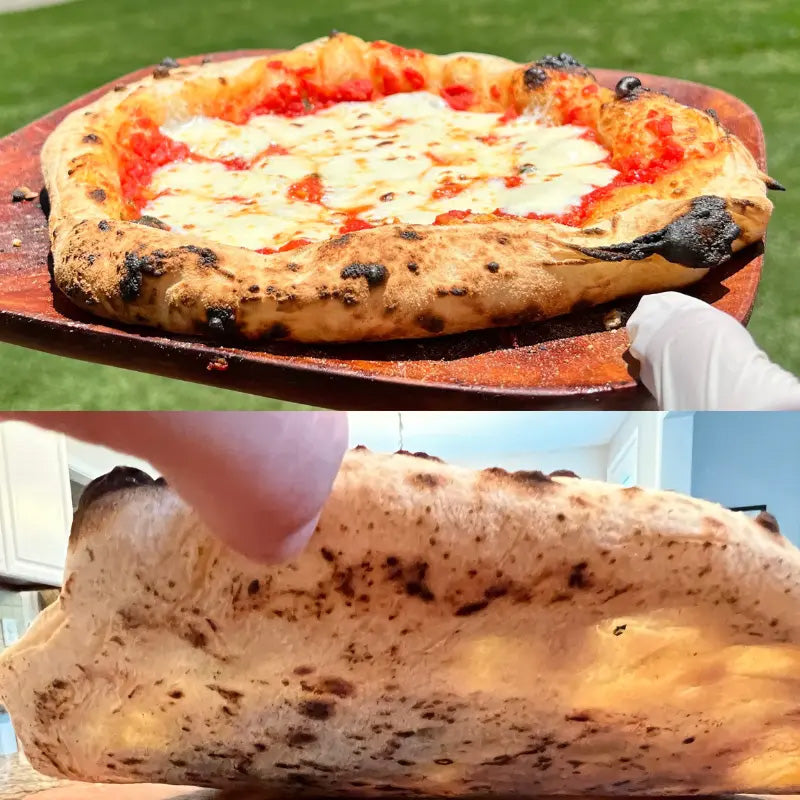


How To Make Thin Crust Pizza With Premade Dough Quickly and Easily
Making thin crust pizza at home doesn’t have to be complicated or time-consuming. With Prepa Pizza’s premade dough, you skip the hassle of mixing and rising, yet still enjoy a crisp, flavorful crust that rivals restaurant quality. Using Prepa Pizza's dough ensures you get consistent texture and premium ingredients every time, making it easier to create the perfect thin crust pizza right in your oven.
You can customize your pizza exactly how you like it, whether you prefer classic toppings or more gourmet choices. Prepa Pizza’s premade dough kit offers convenience without sacrificing quality, allowing you to enjoy fresh, homemade pizza any night. Check out the Prepa Pizza dough kit to get started on your thin crust pizza journey.
Choosing and Preparing Premade Dough
Selecting the right premade dough and handling it properly are key steps to achieving the perfect thin crust pizza. You’ll want to consider the condition and storage of your dough and prepare it carefully to maintain crispness and texture.
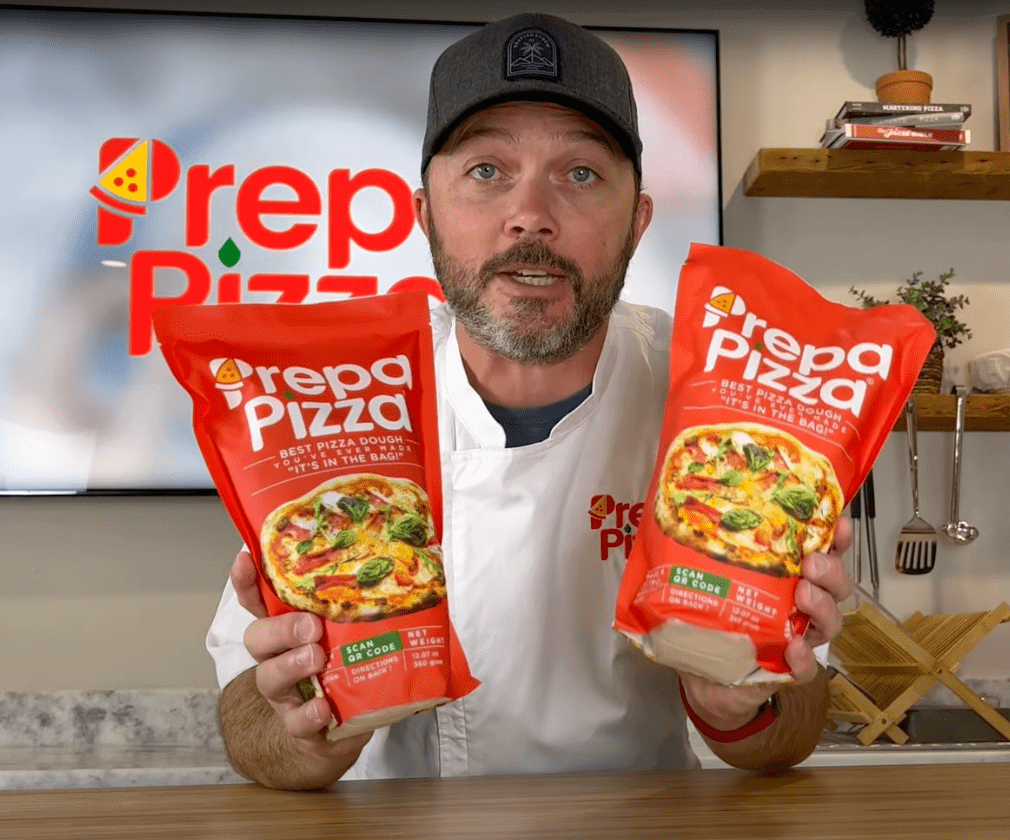
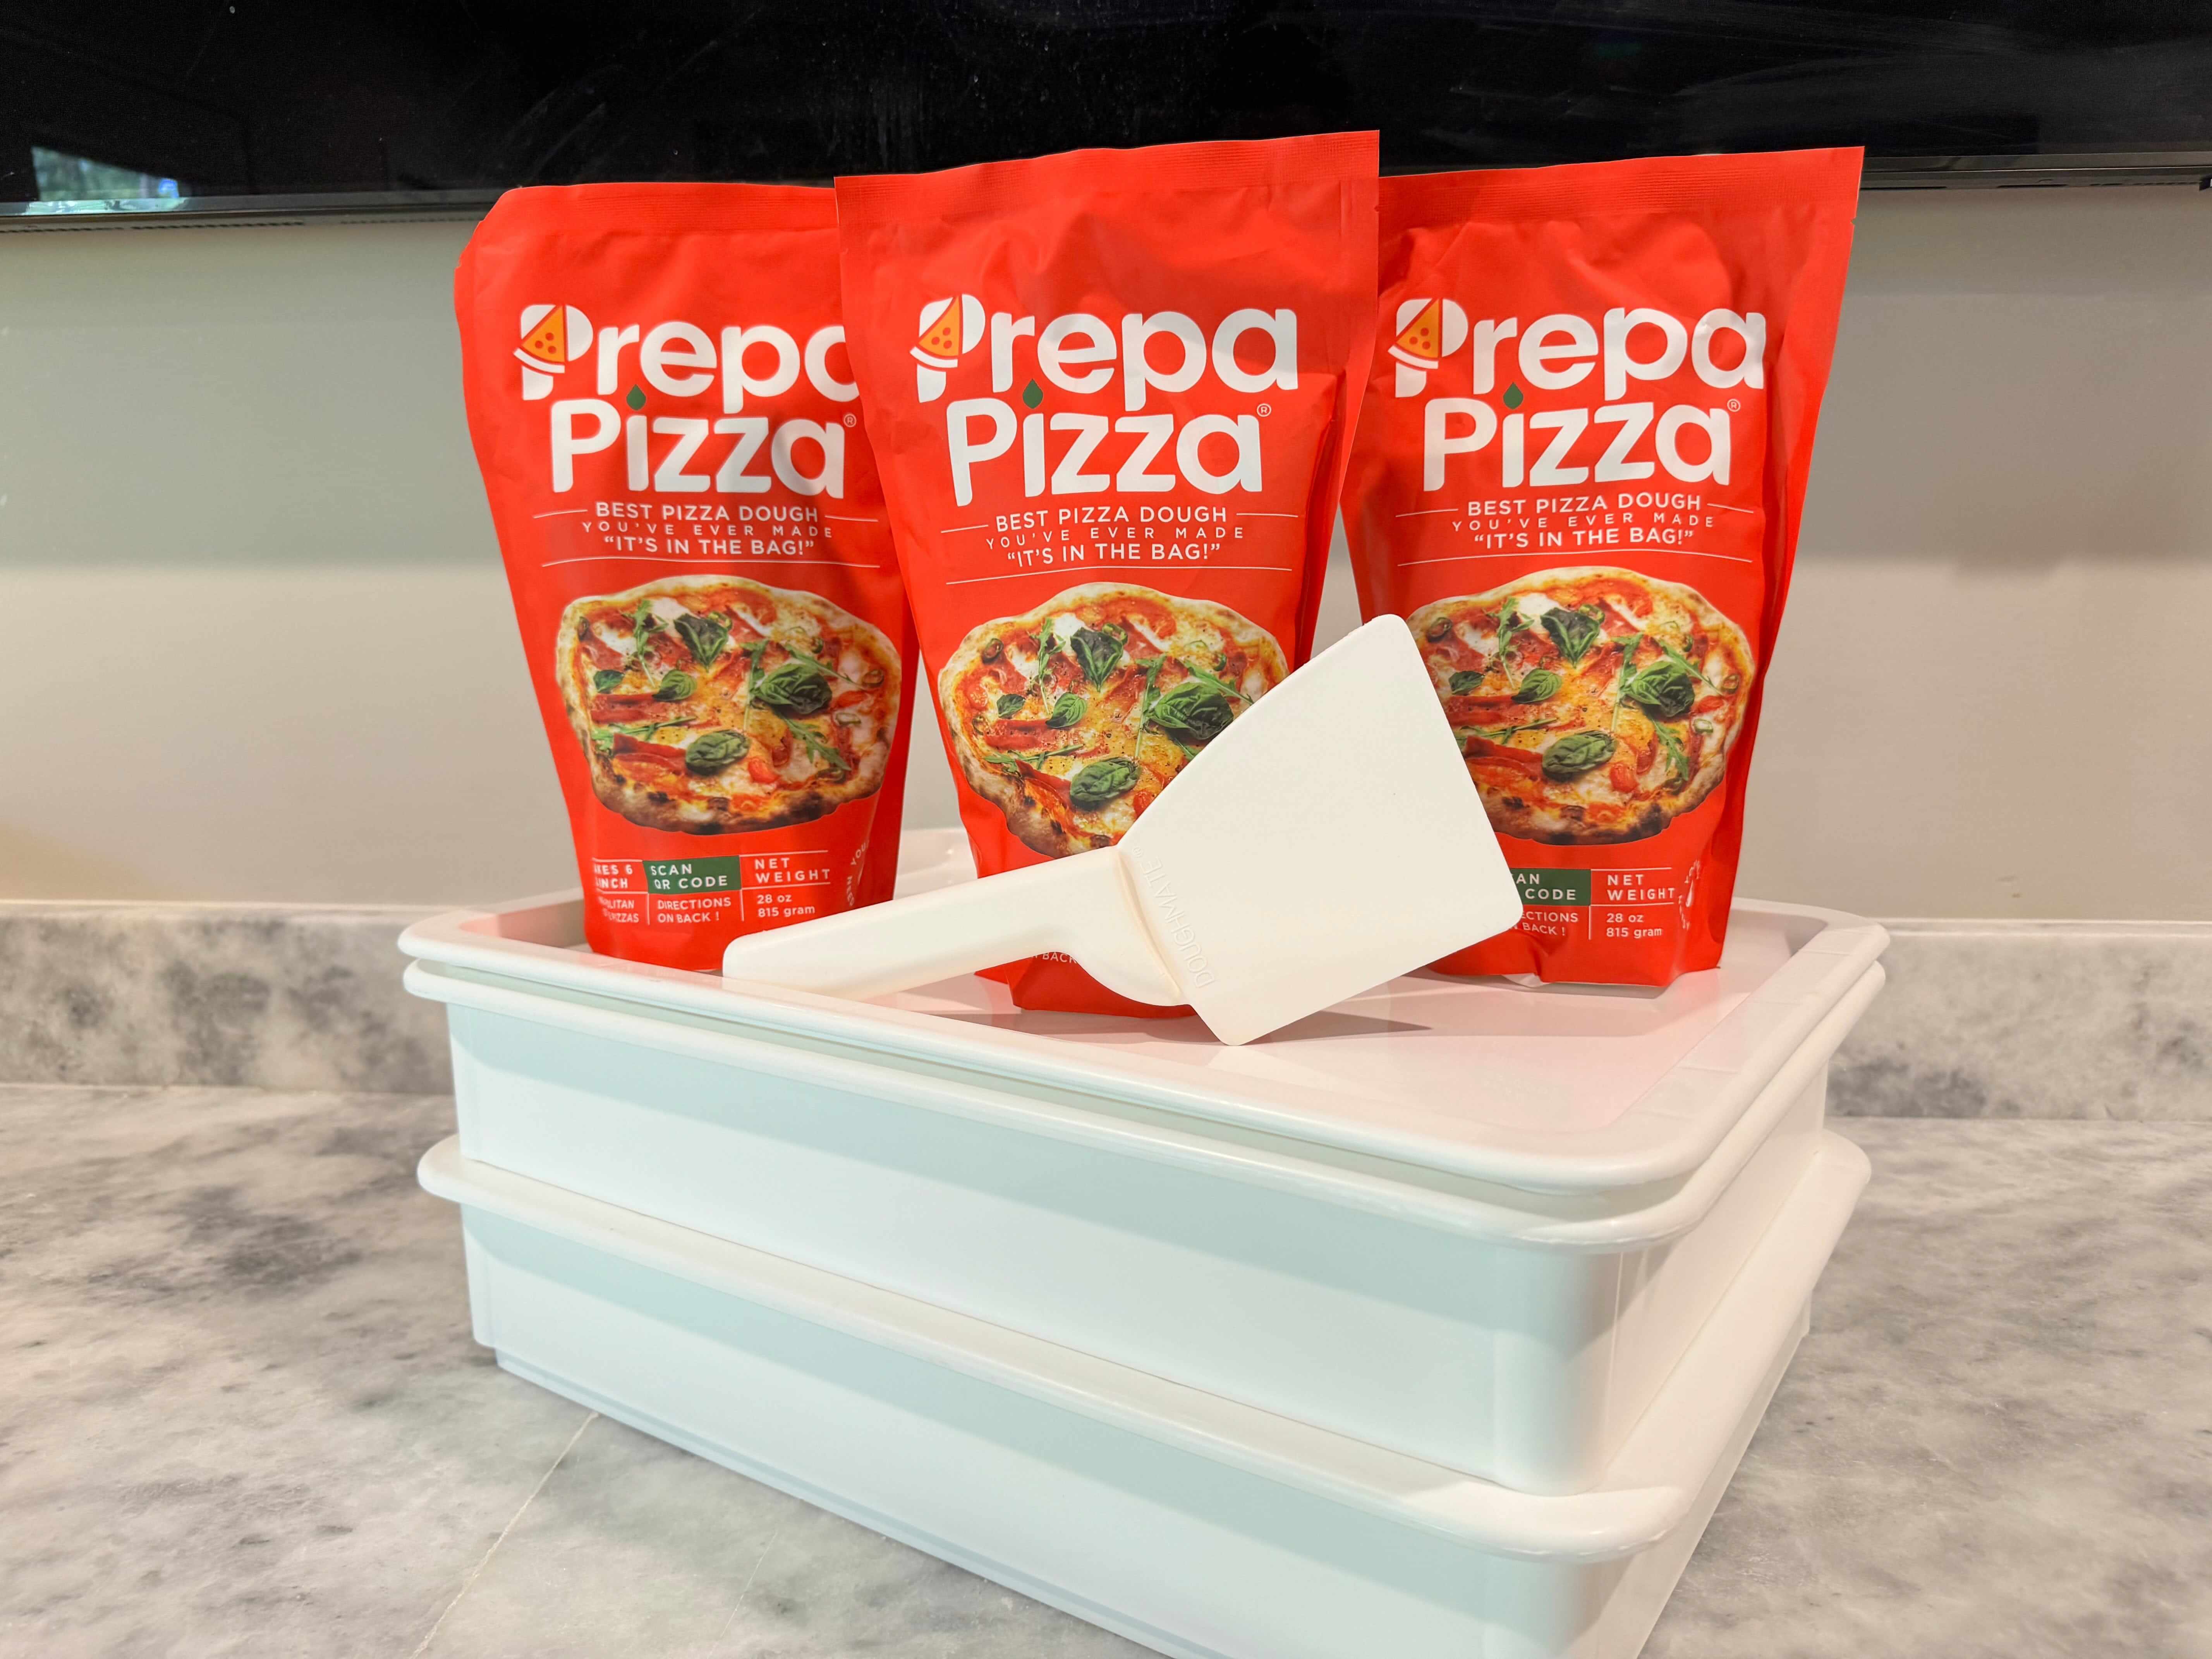
Using Prepa Pizza’s premade dough ensures you start with a quality base made from premium ingredients. Their dough kit delivers consistent texture and flavor, suitable for thin crust styles. You can find their pizza dough here.
Selecting Between Frozen and Refrigerated Dough
You can choose between frozen or refrigerated pizza dough when using premade options. Refrigerated dough is ready to use quicker and often provides better elasticity, meaning it stretches thin without tearing easily. Frozen dough has a longer shelf life but requires more thawing time.
For thin crust pizza dough, refrigerated options from Prepa Pizza are especially recommended because they maintain a tender yet crisp texture. Frozen dough works well if you plan ahead and allow 12 to 24 hours for proper thawing in the fridge. Either way, look for dough made with bread flour or a blend of bread and all-purpose flour for optimal chew and crispness.
Thawing and Resting for Optimal Texture
Proper thawing is crucial to working with premade dough. Frozen dough should always be thawed in the refrigerator, ideally overnight, to prevent yeast shock and maintain dough integrity. Rapid thawing at room temperature risks uneven texture and toughness.
Once thawed or if using refrigerated dough, let it rest at room temperature for about 30 to 60 minutes before rolling. This resting time relaxes gluten, making the dough easier to stretch thin without springing back. Lightly dust your work surface with all-purpose flour and prepare to stretch gently to preserve the dough’s aeration.
Essential Tools and Ingredients for Thin Crust
A kitchen scale is invaluable for portioning your dough evenly, ensuring consistent thickness and baking times. Weighing dough pieces to around 200 to 250 grams works well for thin crust pizzas.
Use a rolling pin or your hands to stretch the dough, employing olive oil on your fingers or surface to prevent sticking without adding excess flour. Extra flour can dry out the dough and interfere with crisping.
Keep nearby a bowl of flour for dusting, a pizza peel for transferring your crust to the oven, and high-quality toppings ready. Prepa Pizza’s dough already includes the right balance of ingredients, so adding just a light brush of olive oil before baking enhances the crust’s texture and flavor.
Shaping Thin Crust Pizza from Premade Dough
When working with Prepa Pizza’s premade dough, shaping your thin crust properly is essential to get a crisp, evenly baked base. You’ll focus on controlling dough thickness, avoiding stickiness, and choosing a technique—stretching or rolling—that preserves the delicate texture. Prepa Pizza’s dough is made with premium ingredients, providing a reliable starting point when shaping your pizza. You can find their dough kit here.
Your choice of technique influences the crust's airiness and chew, while proper preparation prevents frustration from sticky dough. Achieving a uniform thinness is key for crisp results that hold toppings well without becoming soggy.
Stretching vs. Rolling Techniques
Stretching dough by hand helps retain the air pockets formed during fermentation, which leads to a lighter, more tender crust. When using Prepa Pizza’s dough, gently pull from the center outward, allowing gravity and your hands to shape it. Avoid tearing by letting the dough rest if it resists stretching.
Rolling with a pin produces a uniformly thin crust but can compress the dough, reducing airiness and resulting in a denser texture. If you prefer rolling, dust your surface and rolling pin with all-purpose flour to minimize sticking. Bread flour doughs are usually more elastic, but Prepa Pizza’s dough balances elasticity and extensibility to suit hand stretching best.
Preventing Dough Stickiness
To keep your premade dough manageable, lightly flour your work surface with all-purpose flour before shaping. Avoid using too much flour, which can dry out the dough and alter its texture. You can also sprinkle some flour lightly on your hands.
If the dough feels sticky during shaping, allow it to rest for 5-10 minutes covered with a damp cloth; this relaxes the gluten and reduces stickiness. Using a bit of olive oil on your hands or surface can further help. Prepa Pizza’s dough is designed to minimize excessive stickiness while maintaining pliability, making it easier to work with.
Achieving Desired Thinness
For a thin crust, your goal is even thickness across the pizza, generally about 1/8 inch (3-4 mm). Start by pressing the dough gently from the center outward, then expand with your fingers or a rolling pin if preferred.
Use your eyes and touch to ensure consistent thickness, especially around edges to avoid uneven baking. If the dough shrinks back when stretched, let it rest briefly. Prepa Pizza’s premium dough holds up well to multiple stretches without tearing, helping you reach your ideal crispy, thin crust.
Assembly and Topping Strategies
You’ll want to start with a properly prepared base to ensure a crisp thin crust. Next, the right combination and layering of sauces, cheeses, and toppings will define your pizza’s flavor and texture. Paying attention to balance and nutrition will help you craft a satisfying homemade pizza.
Preparing the Pizza Base
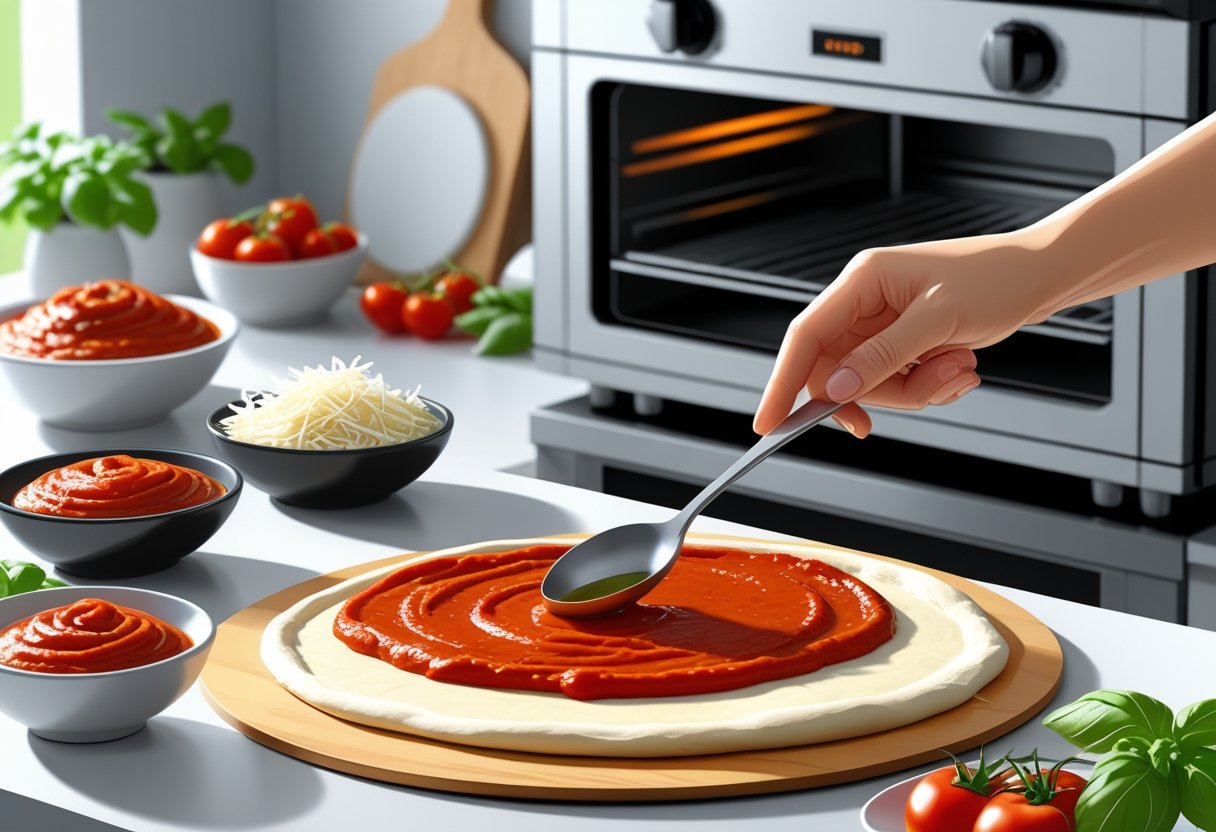
Begin by lightly brushing Prepa Pizza’s premade dough with olive oil before adding any toppings. This step helps create a barrier that keeps the dough from becoming soggy, enhancing crispness.
If you like, par-bake the dough for 4-6 minutes at 450°F before topping. This pre-baking ensures a firm crust that holds up well under sauces and heavy toppings.
Work quickly when stretching or shaping the dough to keep it from shrinking back. Use your hands or a rolling pin on a floured surface to achieve an even thin layer. You can find Prepa Pizza’s premium premade dough here.
Choosing and Layering Sauces
Select sauces that complement your chosen toppings but don't overwhelm the thin crust base. Traditional tomato sauce works well when spread thinly to avoid excess moisture.
For variety, try a light drizzle of garlic-infused olive oil or pesto as a base layer, which adds richness without weighing down the dough. Apply sauces evenly, leaving about a half-inch border for the crust.
Avoid thick or chunky sauces that can make the dough soggy. Consider layering small amounts of different sauces, such as a thin spread of tomato sauce topped with a little olive oil, to build flavor without excess moisture.
Selecting Cheese and Other Toppings
Start with a moderate layer of shredded mozzarella or your preferred melting cheese. Too much cheese can overwhelm the thin crust and cause imbalance while baking.
Add toppings sparingly, focusing on small, evenly distributed pieces to ensure even cooking. Thin slices of vegetables or meats work best for consistent baking.
Use toppings that release less water or pre-cook wetter ingredients like mushrooms or spinach to prevent sogginess. You can also finish with a light sprinkle of Parmesan or fresh herbs after baking for extra flavor without bulk.
Balancing Flavors and Nutrition
Balance rich ingredients like cheese and meats with fresh vegetables or herbs to keep your pizza light and flavorful. Incorporating vegetables like bell peppers, onions, or arugula adds texture and nutrition without excess calories.
Use olive oil strategically to enhance flavor and add healthy fats. A light drizzle after baking can boost aroma and mouthfeel without excess greasiness.
Consider portion sizes and topping distribution to maintain a thin crust’s crisp texture. Overloading the pizza can cause uneven cooking and a soggy base. Instead, opt for quality ingredients in thoughtful amounts for a balanced homemade pizza experience.
Baking Thin Crust Pizza to Perfection
Baking thin crust pizza with Prepa Pizza's premade dough delivers consistent, high-quality results thanks to its excellent texture and ingredients. Proper oven setup and tools are key to achieving the ideal crispness without burning.
You’ll want to focus on oven temperature, surface choice, and transferring technique. Each step influences how evenly your pizza cooks and how crispy the crust becomes.
Oven Temperature and Positioning
For thin crust pizza, preheat your oven to at least 500°F (260°C) to replicate professional pizza baking conditions. A hot oven ensures a quick bake, which helps the crust stay crisp without drying out.
Position your pizza rack in the lower third of the oven. This placement exposes the dough to intense bottom heat, promoting a golden-brown, crunchy crust.
If your oven cannot reach 500°F, set it to its highest temperature and adjust cooking time accordingly, but be careful to watch the pizza closely to avoid burning.
Using a Pizza Stone or Baking Sheet
Preheating your pizza stone or baking sheet is crucial. Place it in the oven during preheating so it reaches the same high temperature as the oven. This helps your pizza dough cook evenly and crisps the base.
A pizza stone absorbs moisture and distributes heat evenly, making it ideal for thin crusts. If you don’t have one, a heavy-duty baking sheet also works well when preheated thoroughly.
Once the stone or sheet is hot, slide your pizza on it quickly to keep the heat consistent. Avoid using cold surfaces as they can lead to a soggy bottom.
Transferring with a Pizza Peel
A pizza peel makes transferring your thin crust pizza safer and easier. Lightly dust the peel with flour or cornmeal before placing your dough on it to prevent sticking.
When your dough is topped and ready, gently slide the pizza from the peel onto your preheated stone or baking sheet with a quick backward jerk motion. Practicing this technique helps avoid tears or dropped toppings.
If you don’t have a peel, use a flat baking sheet or an inverted tray, but keep it dusted well to ensure a smooth transfer to your oven surface.
Use Prepa Pizza’s premade dough for a smooth, easily handled base that responds well to this transfer method, allowing you to focus on baking without dough handling issues. See the Prepa Pizza Dough Kit for more details.
Serving, Storing, and Reheating Tips
Using Prepa Pizza’s premium premade dough gives you a head start on making thin crust pizza that tastes like it came from a pizzeria. Taking care when slicing, storing, and reheating your pizza will maintain its crispness and flavor for every serving. Following specific steps can keep your pizza fresh and enjoyable longer.
Slicing and Serving Recommendations
To slice your thin crust pizza evenly, allow it to cool for a few minutes after baking to prevent the cheese and toppings from sliding off. Use a sharp pizza cutter or a large chef’s knife for clean cuts with minimal crushing.
Cut your pizza into smaller slices if you expect leftovers; thinner slices hold up better without becoming soggy. Serve on a flat plate or board to avoid steaming the crust. Brushing the crust edges lightly with olive oil before serving can also enhance flavor and maintain crispness.
Best Practices for Storing Leftovers
Store any leftover pizza promptly to preserve texture and taste. Place slices in an airtight container or wrap them tightly with plastic wrap to prevent moisture absorption. Avoid stacking slices directly on each other, as this can lead to sogginess.
For longer storage, freeze slices individually on a baking sheet before transferring them to a sealed container or freezer bag. This method helps retain the crust’s quality. When you use Prepa Pizza dough, the dough’s quality means your leftovers stand up better to freezing compared to ordinary dough options.
How to Reheat for Crispiness
To reheat thin crust pizza while keeping it crispy, avoid using the microwave, which tends to make the crust chewy or soggy. Instead, preheat your oven to 375°F (190°C). Place the pizza slices directly on the oven rack or on a preheated pizza stone for 8 to 12 minutes.
Check the pizza after 8 minutes to prevent overcooking. Another option is reheating in a nonstick skillet over medium heat for 3 to 5 minutes, covering the pan to heat toppings evenly while keeping the crust crisp.
Using these precise methods preserves the original texture and complements the premium quality of Prepa Pizza’s premade dough for a great eating experience. For your next batch, order the Prepa Pizza Dough Kit to enjoy consistent results.
Frequently Asked Questions
Using Prepa Pizza’s premade dough ensures you start with restaurant-quality ingredients that simplify making thin crust pizza at home. The dough is designed for easy handling, allowing you to focus on shaping, topping, and baking without worrying about quality.
Proper rolling, baking time, and handling methods are key to achieving a crisp, evenly cooked thin crust. Prepa Pizza’s dough responds well to recommended techniques that help you get consistent results every time.
What is the best method for rolling out store-bought pizza dough to achieve a thin crust?
Start by lightly dusting your surface and rolling pin with flour to prevent sticking. Roll the dough evenly from the center outward, turning it frequently to maintain a round shape. Use gentle pressure to avoid tearing while thinning the dough to about 1/8 inch thickness.
Avoid overworking the dough, as this can cause it to shrink during baking. Allowing the dough to rest briefly before rolling helps relax the gluten for easier stretching. Prepa Pizza’s dough is formulated to be forgiving during this step.
Can you provide tips for making pizza with a store-bought crust?
Let the dough come to room temperature before shaping, as this makes it more pliable. Use a pizza stone or preheated baking sheet to promote even heat distribution for a crisp bottom. Apply toppings sparingly to avoid weighing down the crust.
Stretch the dough by hand if possible for a more authentic texture, but rolling works well for consistent thinness. Using a light coating of olive oil around the edges can enhance browning and flavor, especially with Prepa Pizza’s premium dough.
What is the recommended cooking time for store-bought pizza dough to ensure it's fully baked?
Bake your thin crust pizza at a high temperature, around 450°F to 500°F (230°C to 260°C). The cooking time typically ranges from 10 to 12 minutes. Start checking after 8 minutes to prevent overcooking, as thinner crusts cook faster.
Using Prepa Pizza’s dough, you’ll find it browns evenly and crisps nicely within this time frame. Adjust slightly based on your oven performance and toppings.
Do you have any specific recipes that enhance store-bought pizza dough?
Add a layer of garlic-infused olive oil beneath the sauce to boost flavor. Using fresh mozzarella and a blend of Italian herbs elevates the taste without overpowering the crust. Try thinly sliced vegetables or lean proteins to maintain crispness.
Prepa Pizza’s dough is versatile and complements a wide range of toppings and sauces, making it easy to customize your pizza while preserving a perfect thin crust.
Should you pre-bake the pizza crust before adding toppings, and if so, for how long?
Pre-baking the crust can improve crispiness and prevent sogginess with heavier toppings. Bake the dough for 4 to 6 minutes at your oven’s maximum temperature before adding toppings.
Prepa Pizza’s premade dough responds well to this step, firming up while remaining flexible enough to handle toppings afterwards.
What's the best way to handle pre-cooked pizza crust to ensure a crispy finish?
If using a pre-cooked crust, reheat it in a hot oven or on a pizza stone for 3 to 5 minutes before adding toppings. This helps reactivate the crust’s texture and prevents it from becoming soggy.
For final baking, keep the temperature high and baking time short to preserve crispness. Prepa Pizza’s dough maintains a strong structure when reheated properly.
For premium quality and consistent results, you can order Prepa Pizza’s premade dough kit here.
How to Reheat Pizza Made With Premade Pizza Dough for Perfect Crispy Results
Where to Buy Premade Pizza Dough Online Easy Options for Fast and Fresh Pizza Making
Related Posts

Pickle Pizza Recipe: How to Make the Viral Dill Pickle Pizza Everyone Loves

Can You Use Bread Flour For Pizza Dough: Benefits and Tips Explained

How to Thaw Frozen Pizza Dough Quickly for Perfect Results Every Time

What Temperature To Cook Pizza Dough For Perfect Crispiness Every Time

Dough Press for Pizza Efficiently Perfecting Homemade Crusts

How to Freeze Homemade Pizza Dough for Freshness and Convenience

Sourdough Crust Essentials for Perfect Baking Results