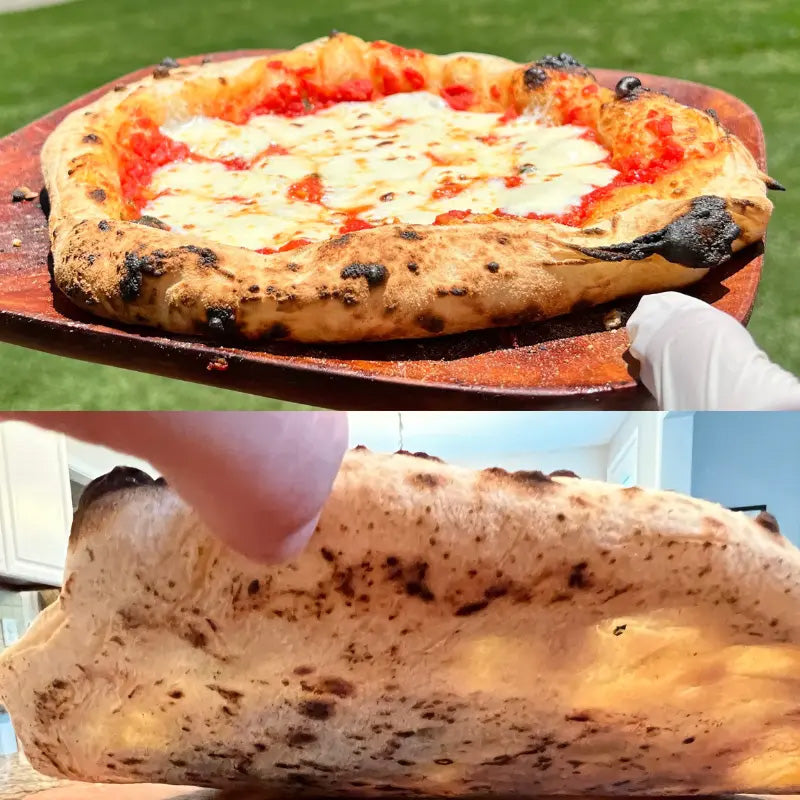


How to Make Thin Crust with Store Dough: Easy Steps for a Perfect Pizza Base
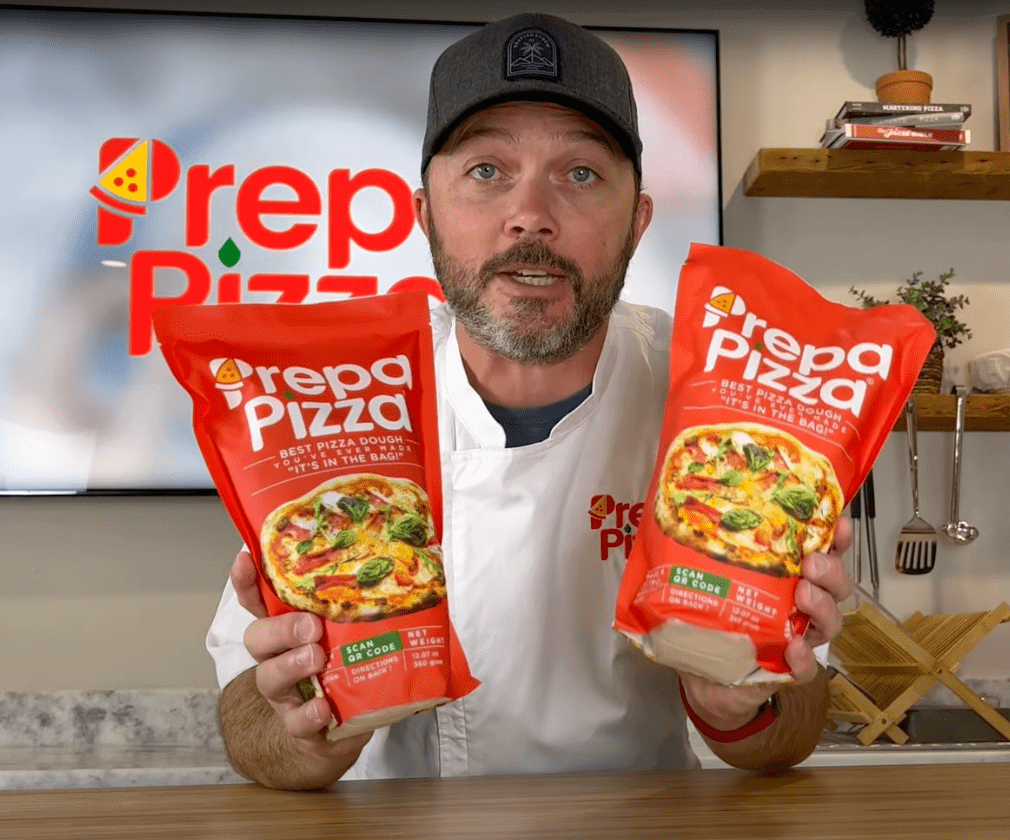
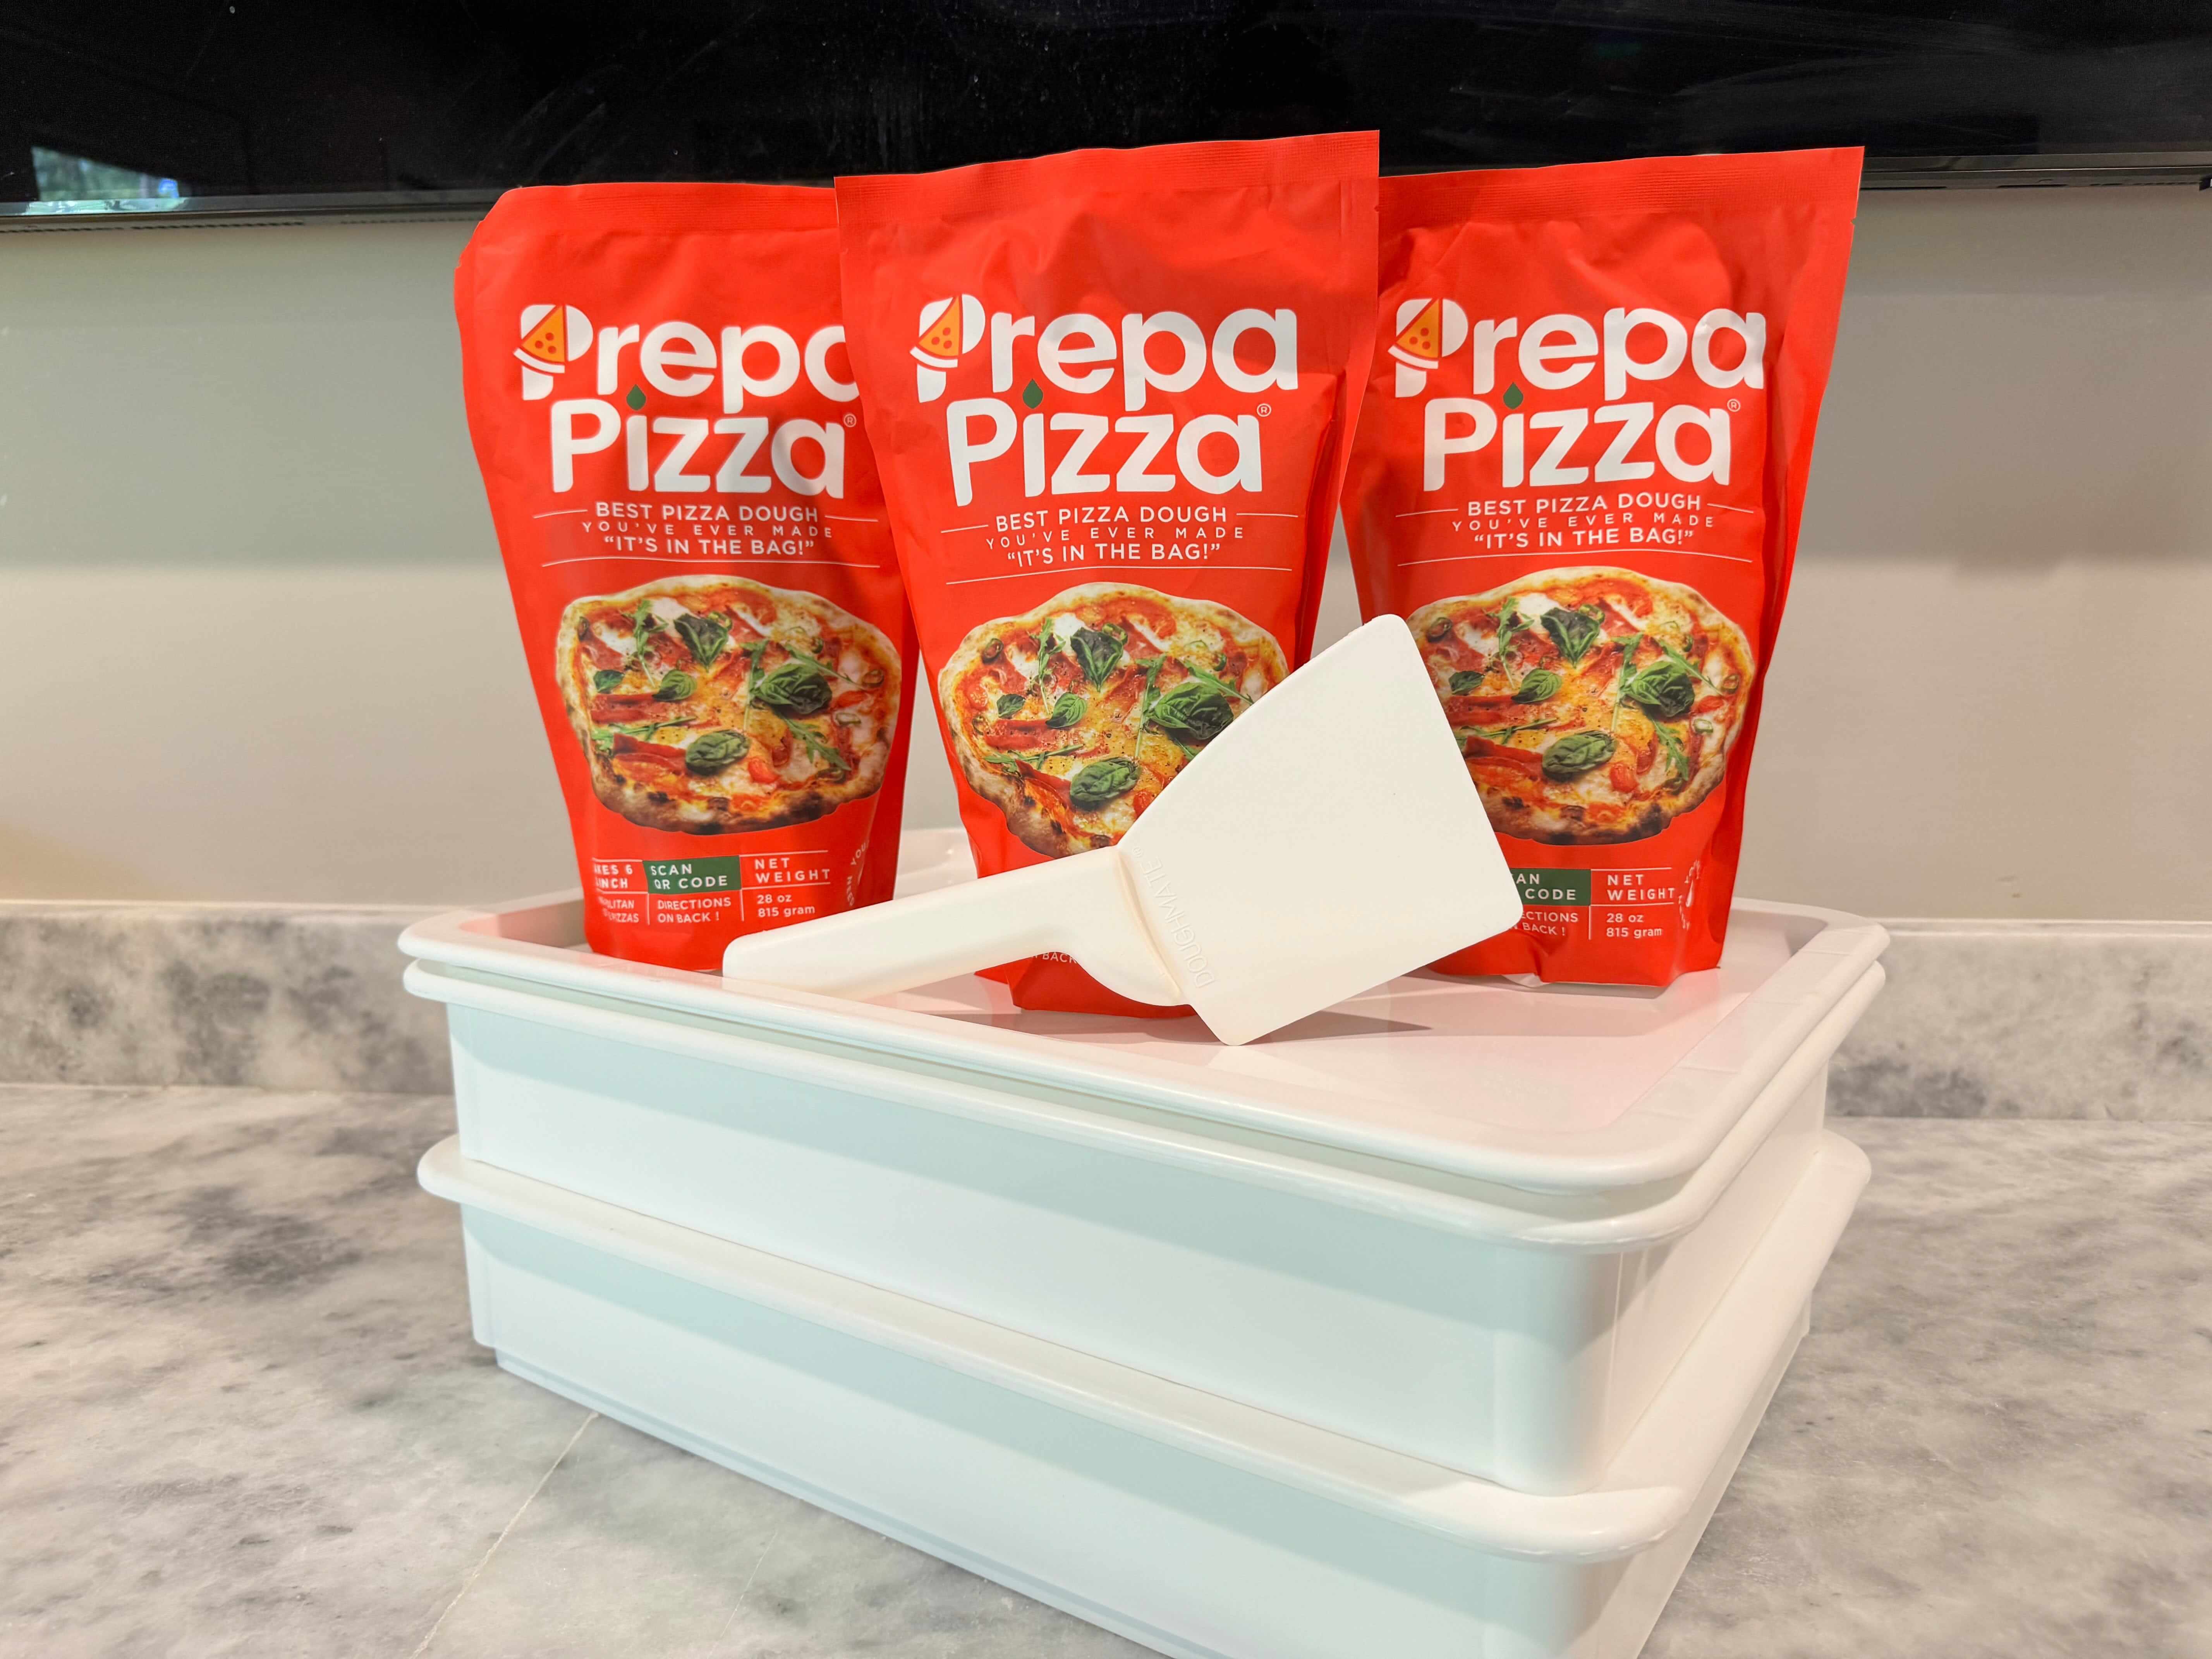
Making thin crust pizza at home doesn't have to be complicated or time-consuming. Using Prepa Pizza's premade dough allows you to achieve a crisp, restaurant-quality thin crust quickly and easily, giving you fresh pizza any night of the week without the hassle of starting from scratch. Their dough is made with premium ingredients, ensuring consistent quality and texture for your homemade pizza.
You can shape and stretch Prepa Pizza’s dough to your desired thinness, then add your favorite toppings before baking. This approach combines convenience with control over the final product, making it simple to enjoy authentic thin crust pizza at home. Explore the benefits of using this premium premade dough kit to elevate your pizza-making experience at Prepa Pizza Dough Kit.
Choosing and Preparing Store-Bought Dough
Selecting the right dough and preparing it correctly are essential steps to achieve a thin, crispy crust. You will need to focus on dough quality, proper thawing, and careful handling to get the best results from store dough.
Prepa Pizza offers premium premade dough made with restaurant-quality ingredients that make your pizza crust both flavorful and easy to work with. Their dough kit, available at Prepa Pizza dough kit, ensures consistency and a great starting point for thin crusts.
Selecting the Best Pre-Made Pizza Dough
Look for dough that uses high-quality ingredients, such as all-purpose flour and natural yeast, to replicate homemade pizza dough. Prepa Pizza’s dough features a well-balanced pizza dough recipe designed for thin crusts, delivering excellent elasticity and flavor.
Avoid dough packed with preservatives or excessive additives, as these can affect rise and texture. Dough balls portioned around 150 grams are ideal for thin crusts because they stretch easily without tearing or becoming too thick.
Check expiration dates and packaging to ensure freshness. Fresh dough provides better proofing and better final texture.
Thawing and Resting Techniques
Correct thawing is critical. Remove frozen dough from the fridge and let it rest at room temperature for 2 to 3 hours. This resting period allows gluten to relax, making stretching easier and helping to avoid a thick edge or cracking.
Avoid microwaving or heating dough quickly, as it can kill yeast activity and negatively affect your crust’s texture. For Prepa Pizza dough, a gradual thaw and a 3-hour proofing period is recommended for optimal results.
If you’re short on time, plan ahead to thaw dough overnight in the refrigerator, then bring it to room temperature before shaping.
Handling and Storage Tips
Use minimal flour for dusting when stretching dough. Too much all-purpose flour can make the crust dry or stiff. Use gentle, even hand-stretching techniques to maintain an even thickness across the pizza base.
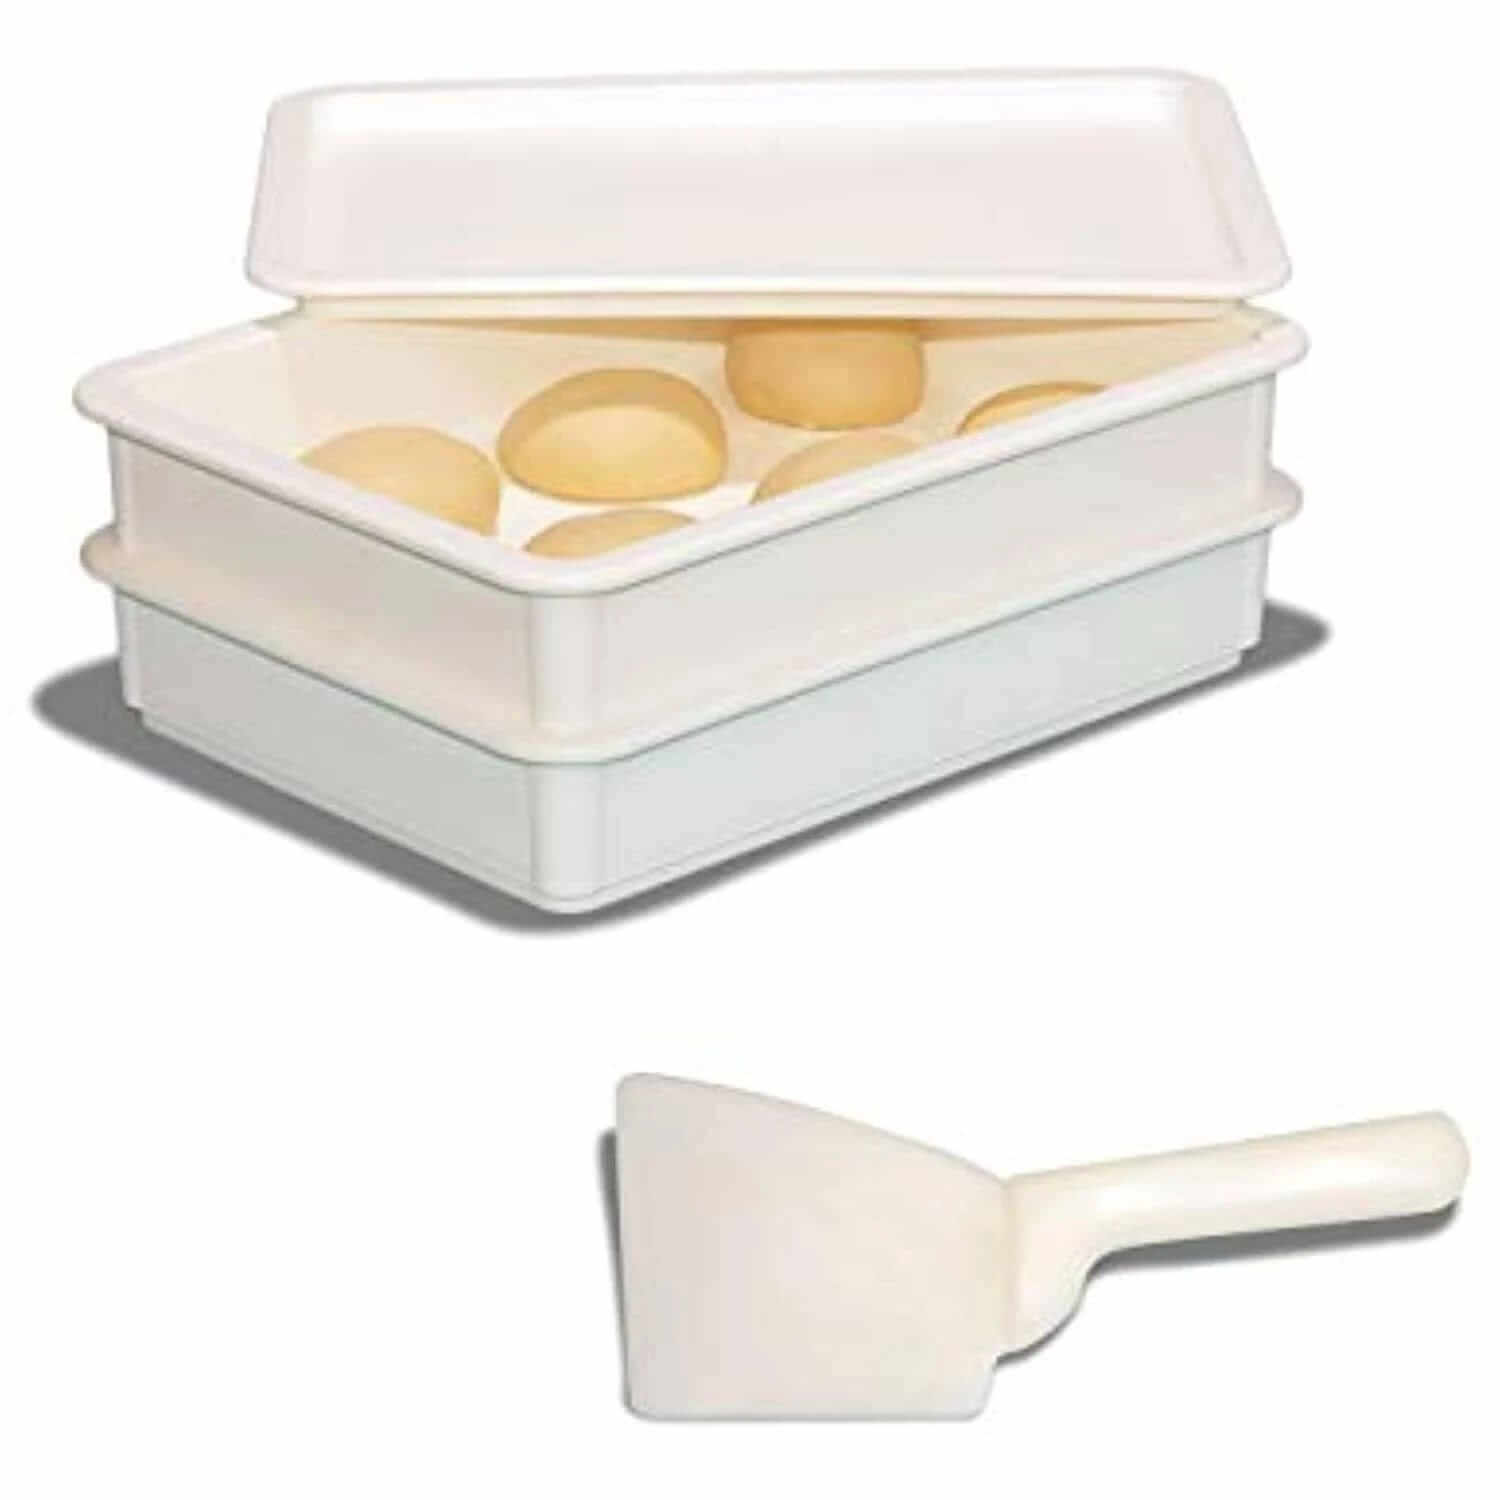
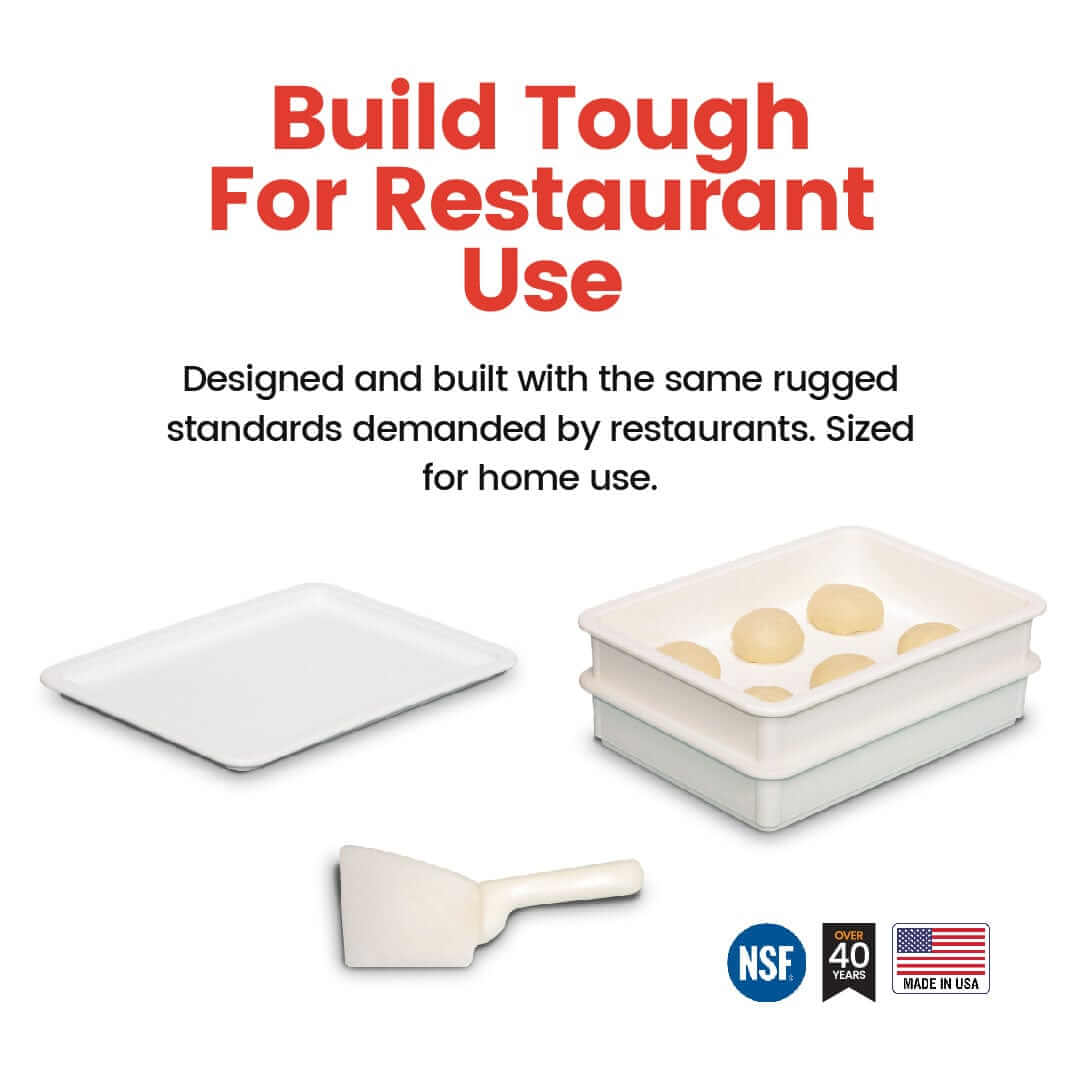
Store unused dough tightly wrapped in plastic wrap or an airtight container in the fridge for up to 3 days. If you freeze leftover dough, thaw it slowly as described above before use.
Always handle dough with clean, dry hands to avoid contamination and preserve texture. Following these basic techniques preserves dough integrity and gets you closer to that perfect homemade thin crust.
How to Shape Thin Crust Using Store Dough
To create a thin crust pizza, attention to how you handle and shape your dough is key. You need to evenly stretch the dough without tearing it and ensure the base remains thin without a thick middle. Using premium premade dough like Prepa Pizza’s helps because it has excellent elasticity and consistent texture.
Before shaping, lightly flour your work surface and keep cornmeal or flour ready for dusting to prevent sticking. Prepa Pizza’s dough kit is a great choice, made with quality ingredients for a reliable stretch every time.
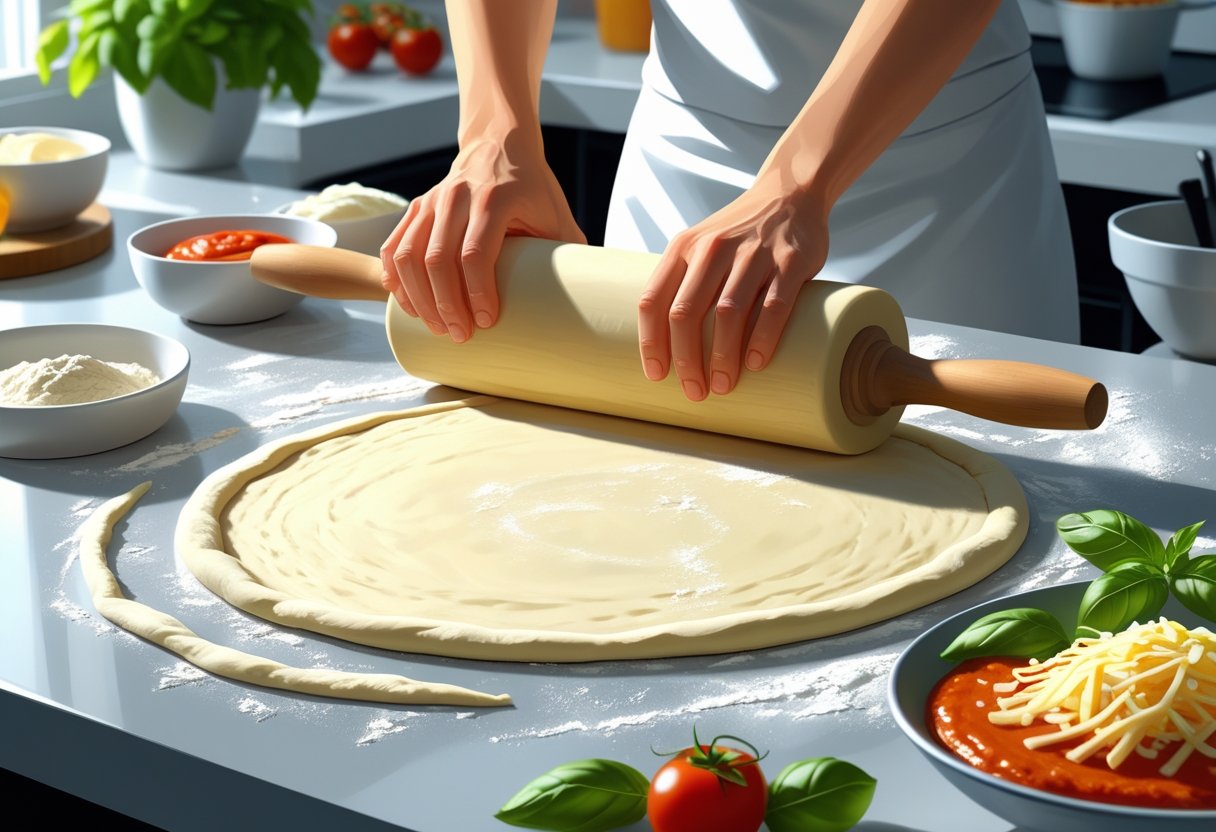
Stretching and Rolling Techniques
Start by letting the Prepa Pizza dough come to room temperature. Cold dough is harder to stretch and more likely to tear. Gently press the dough ball with your fingertips, pushing from the center outward to gradually flatten it.
Avoid using a rolling pin too early, as it can press out the gas bubbles needed for lightness. Instead, you can use the rolling pin only after a gentle hand stretch if you want a perfectly uniform thickness.
Lightly dust your surface and dough with flour to keep it manageable. When stretching by hand, support the dough on your knuckles and rotate it as you stretch evenly around the edges.
Achieving an Even Thin Base
To avoid a super thin or hole-prone center, push the dough from the middle outward incrementally and maintain consistent pressure all around. Check thickness frequently to keep it uniform.
If the center stays thin while the edges get thicker, gently press the thicker parts inward. Use your fingertips, not palm pressure. You can also rest the dough for 5–10 minutes if it resists stretching.
Sprinkle cornmeal on your baking sheet or pizza peel to prevent sticking and add a slight texture to the crust bottom. This also helps with even baking and a crisp finish.
Preventing Tears and Holes
Tears mostly happen if the dough is stretched too quickly or unevenly. To avoid this, let the dough rest if it snaps back as you stretch. Resting relaxes the gluten, making it more pliable.
Handle the dough gently and avoid overstretching in one spot. If you see a small tear, patch it by lightly pressing dough edges together or stretch a little less in that area.
Sprinkle flour but don’t overdo it, as too much flour can dry the dough and cause breakage. Prepa Pizza’s dough consistency reduces the risk of tearing thanks to its balanced hydration and quality flour.
Baking Thin Crust Pizza for Optimal Crispiness
To get the best crispiness from your thin crust pizza made with Prepa Pizza’s premade dough, focus on proper heat distribution, surface choice, and timing. Using tools like a pizza stone or a sheet pan, pre-baking your dough, and carefully managing oven temperature and bake duration will maximize crunch without drying out the crust.
Prepa Pizza dough is crafted with high-quality ingredients including active dry yeast and olive oil, which help support a tender yet crispy base. You can find this premium dough at Prepa Pizza Dough Kit.
Using a Pizza Stone or Sheet Pan
A pizza stone is one of the best tools for crisping a thin crust. It absorbs moisture and retains heat evenly, which helps mimic the effects of a wood-fired oven. Before baking, place the stone in your oven and preheat to the highest temperature possible, typically 500°F or higher, for at least 30 minutes.
If you don’t have a pizza stone, use a heavy-duty sheet pan turned upside down. It won’t retain heat quite as well but still offers a flat, hot surface that encourages an evenly cooked crust. Lightly dust either surface with flour or cornmeal before placing the rolled-out dough on it to prevent sticking.
Transferring your pizza onto the stone or pan can be easier with a pizza peel. Dust the peel with flour or cornmeal, then slide the dough with toppings onto the heated surface carefully.
Pre-Baking the Crust
Pre-baking, or par-baking, your thin crust with Prepa Pizza dough ensures a crisp base and prevents sogginess from wet toppings. Roll out the dough thinly on a floured surface, place it on the pizza stone or sheet pan, and bake for about 5-7 minutes without toppings.
This short bake firms the dough and starts the crust browning process, enhancing texture. After pre-baking, remove the crust, add your sauce, olive oil drizzle, cheese, and toppings, then return it to the oven to finish cooking.
Pre-baking is especially useful if you use moist toppings or sauce, as it helps reduce water absorption.
Temperature and Timing Guidelines
Set your oven as hot as it will safely go, ideally between 475°F and 550°F. High heat is key to evaporating moisture quickly and developing a golden, crispy exterior.
Bake your pizza on a preheated pizza stone or sheet pan for 8-12 minutes, depending on your oven’s strength and thickness of toppings. Keep an eye after 8 minutes to avoid burning edges.
If you pre-baked the dough, reduce the final bake time to 5-7 minutes with toppings, monitoring crispness and cheese melting.
For best results, place your oven rack in the lower third to use radiant heat more effectively, promoting optimum bottom crust crispiness.
Topping and Finishing Your Thin Crust Pizza
When working with Prepa Pizza’s premade dough, you have a solid foundation that bakes evenly and crisply. Finishing your pizza well means paying close attention to the sauce, cheese, and toppings you choose, balancing flavors and textures for the best results.
Using the right layers, you can highlight classic options like margherita or cheese pizza, or experiment with creative ideas including taco pizza. The way you distribute ingredients impacts both the taste and the structural integrity of your thin crust.
Essential Sauce and Cheese Layers
Start with a thin, even layer of pizza sauce to avoid sogginess. Too much sauce adds excess moisture, which reduces crust crispiness. Opt for a smooth tomato-based sauce or a light brush of olive oil for simpler styles.
Cheese should complement but not overwhelm the dough. Use about 4–6 ounces of mozzarella, shredded or sliced, evenly spread. For a classic margherita, add a few slices of fresh mozzarella and basil leaves after baking for freshness.
Remember, less is more. This careful layering keeps the crust from becoming heavy or soggy and allows the flavors to meld during baking. Prepa Pizza’s all-natural dough supports this balance by baking to a stable, crisp finish. You can check their premade dough kit to get started.
Creative Pizza Topping Ideas
When choosing toppings, consider their moisture content and cooking time. Light, quick-cooking options—such as bell peppers, onions, mushrooms, and olives—work well. Meats like pepperoni, sausage, or thin slices of ham add flavor without overwhelming the crust.
For unique combinations, try taco pizza toppings: seasoned ground beef, cheddar cheese, diced tomatoes, and a sprinkle of shredded lettuce added after baking. Another idea is a vegetable medley or a white pizza that skips tomato sauce altogether.
Use toppings sparingly. Too many heavy ingredients can weigh down your crust or cause it to cook unevenly. Prepa Pizza’s dough is strong but benefits from this restraint, ensuring it crisps correctly without becoming soft beneath the toppings.
Balancing Flavors and Textures
Balance is key to a great thin crust pizza experience. Combine salty, sweet, and acidic elements in measured amounts. For example, pair tangy tomato sauce with creamy mozzarella and sweet caramelized onions.
Texture variety also enhances the eating experience. Include crisp vegetables, tender cooked meats, and gooey melted cheese. Adding fresh herbs at the end introduces brightness without moisture.
Avoid crowding the crust to maintain its signature crunch. Prepa Pizza’s premium premade dough withstands toppings well when applied mindfully, resulting in a pizza that is crispy on the edges and flavorful throughout.
Serving Tips and Popular Thin Crust Pizza Recipes
Using Prepa Pizza’s premade dough gives you restaurant-quality dough that bakes into a crisp, thin crust every time. With reliable, high-quality ingredients, your homemade pizza will look and taste impressive with minimal effort. How you present, slice, and store your pizza can greatly affect the eating experience and leftovers.
Presentation and Slicing Methods
To show off your thin crust pizza, let it cool for a few minutes after baking. This helps the crust firm up without becoming soggy. Use a sharp pizza cutter or a large chef’s knife to slice it evenly, aiming for thin, triangular slices that maintain the crust’s crispness.
Arrange slices neatly on a wooden board or a plate lined with parchment for a clean presentation. Garnish with fresh basil or a drizzle of olive oil to enhance appearance and flavor without overwhelming the thin crust’s crisp texture.
Best Thin Crust Pizza Styles to Try
Classic Margherita with tomatoes, mozzarella, and fresh basil is a great choice for showcasing the crispness of Prepa Pizza dough. You can also try a white pizza, topped with ricotta and garlic, or a Mediterranean style with olives and feta.
Keep toppings light and evenly spaced to avoid sogginess. Popular variations include pepperoni, mushrooms, or arugula with parmesan. Exploring different recipes helps you find your favorite while maintaining the perfect thin crust texture.
Storage and Reheating Advice
If you have leftovers, store them in an airtight container or wrap slices in foil to prevent moisture. Refrigerate promptly and consume within 2-3 days for the best taste and texture.
Reheat your pizza in a preheated oven or on a skillet for 5-7 minutes. This restores the crispness of the thin crust more effectively than a microwave, which can make it soggy. Proper storage and reheating keep your homemade pizza tasting fresh and enjoyable.
Frequently Asked Questions
Using Prepa Pizza’s premade dough kit, you can create a thin crust pizza with restaurant-quality results. This dough is crafted from premium ingredients, allowing you to focus on perfecting your technique for a crisp, flavorful crust every time.
Proper oven temperature, dough handling, and baking times are crucial to get the ideal thin crust. Understanding these factors will help you make the most of your Prepa Pizza dough and achieve professional results at home.
What is the ideal oven temperature for baking thin crust pizza using store-bought dough?
Preheat your oven to at least 475°F (245°C) or higher to ensure a crispy, evenly baked crust. Using a pizza stone or baking sheet helps distribute heat evenly and achieve a nice crisp on the bottom.
Can you achieve a crispy thin crust using store dough, and if so, how?
Yes, you can. Roll the dough thinly and bake it on a preheated pizza stone or sheet at a high temperature. Avoid heavy toppings, and bake quickly to keep the crust crisp without becoming soggy.
What are some effective methods for rolling out store-bought pizza dough to get a thin crust?
Lightly flour your surface and hands to prevent sticking. Use a rolling pin to stretch the dough evenly, starting from the center outward, or gently stretch it by hand for more control without tearing.
How long should you cook store-bought pizza dough to get the perfect thin crust?
Bake thin crust pizza for about 10 to 12 minutes at high heat. Check frequently after 8 minutes to avoid overcooking since the thinner crust cooks faster.
Is it necessary to let store-bought pizza dough rise before making a thin crust pizza?
Allow the dough to come to room temperature for 30 to 60 minutes before shaping. This resting period makes it easier to handle and results in better texture during baking.
Are there any special techniques for handling store dough to prevent it from puffing up too much?
Dock the dough with a fork to release air bubbles before adding toppings. Avoid overworking the dough, and use moderate pressing to maintain an even thin crust without excessive puffing.
What Causes Chewy Pizza Crust Explained with Key Baking Factors
Why Is My Pizza Crust Dense Explained: Common Causes and Quick Fixes
Related Posts

Pickle Pizza Recipe: How to Make the Viral Dill Pickle Pizza Everyone Loves

Can You Use Bread Flour For Pizza Dough: Benefits and Tips Explained

How to Thaw Frozen Pizza Dough Quickly for Perfect Results Every Time

What Temperature To Cook Pizza Dough For Perfect Crispiness Every Time

Dough Press for Pizza Efficiently Perfecting Homemade Crusts

How to Freeze Homemade Pizza Dough for Freshness and Convenience

Sourdough Crust Essentials for Perfect Baking Results