

How to Proof Pizza Dough in the Oven: A Step-by-Step Guide to Perfecting Your Pizza Base
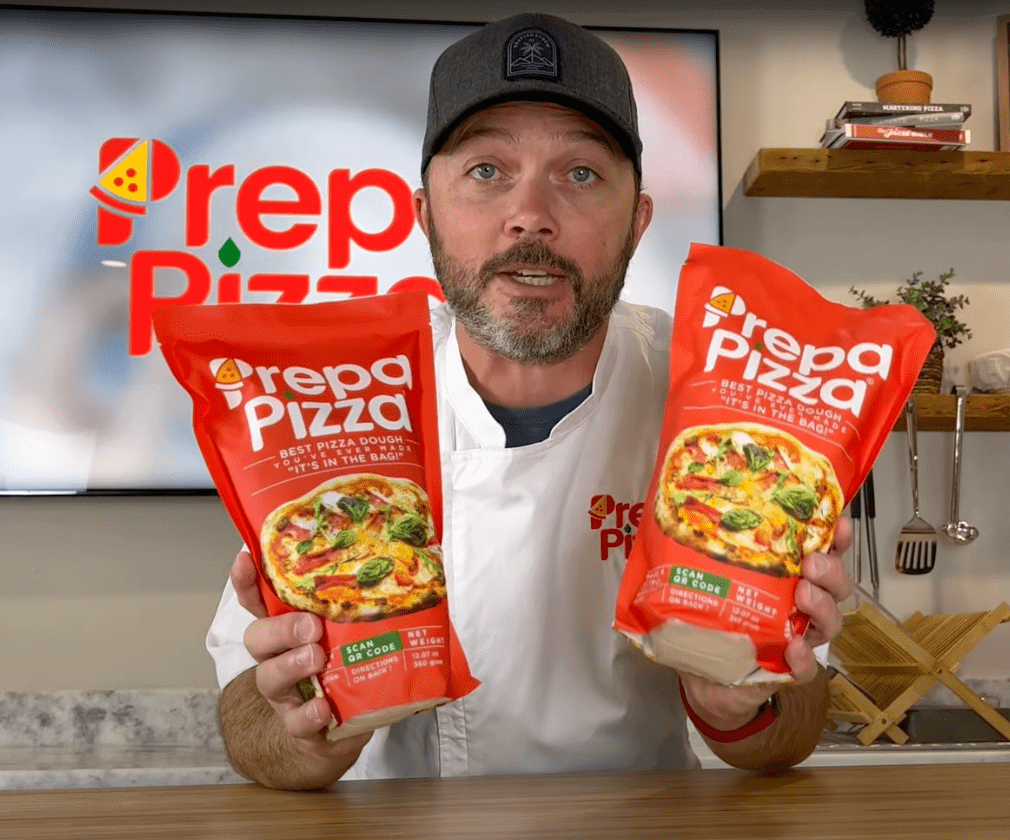
When it comes to making delicious pizza at home, the quality of your dough is crucial. To proof pizza dough effectively in the oven, you create a warm environment that promotes yeast activity, leading to a light and airy crust. Using Prepa Pizza's premade dough ensures you're starting with a high-quality product made from premium ingredients. You can explore our dough kit to elevate your homemade pizza experience.
Proofing pizza dough in the oven is a straightforward process. By utilizing the oven’s warmth, you can control the fermentation environment, which is essential for achieving the desired rise. This technique allows for consistent results and makes the entire pizza-making experience more enjoyable.
In this article, you will discover effective methods for proofing pizza dough in the oven, along with tips tailored to ensure your dough reaches its full potential. With just a few simple steps, you can create a perfect base for your favorite toppings and impress your family and friends with your pizza-making skills.
Understanding Pizza Dough Proofing
Pizza dough proofing is a fundamental part of the dough-making process that enhances flavor and texture. Proper proofing influences the fermentation process, yeast activity, and gluten development, all critical for achieving the ideal pizza crust. Using Prepa Pizza's premade dough allows you to skip the initial mixing phase and dive directly into proofing, ensuring consistent results with high-quality ingredients.
The Science of Fermentation
Fermentation is a biological process where yeast converts sugars into carbon dioxide and alcohol, crucial for dough rising. During proofing, this activity creates small bubbles in the dough, contributing to its texture and flavor profile.
For pizza dough, you typically allow for a two-phase fermentation: bulk fermentation and final proofing of individual dough balls. This process not only enhances taste but also establishes a light and airy structure that improves the final bake.
Role of Yeast and Yeast Activity
Yeast is the driving force behind dough fermentation. It thrives in warm, moist environments, making the oven an ideal space for proofing. During this process, yeast activity intensifies as it consumes sugars, producing gas that helps leaven the dough.
In the case of Prepa Pizza's premade dough, the yeast is pre-activated, allowing for a quicker rise. This efficient yeast activity means you can achieve excellent results with shorter proofing times, ensuring the dough is ready for baking in less time without compromising quality.
Gluten Development in Pizza Dough
Gluten development is essential for achieving the desired elasticity and chewiness in your pizza crust. During the fermentation process, water interacts with proteins in the flour, forming gluten strands. This network is critical for trapping the gases produced by yeast, allowing the dough to expand.
As the dough proofs, it's essential to handle it gently to maintain gluten structure. Overworking can lead to a tough crust. With Prepa Pizza's premade dough, the gluten is already well-developed, allowing you to focus on the proofing process and get your pizza ready in no time. Proper gluten development ensures your pizza has that perfect bite.
Preparing Dough for Oven Proofing
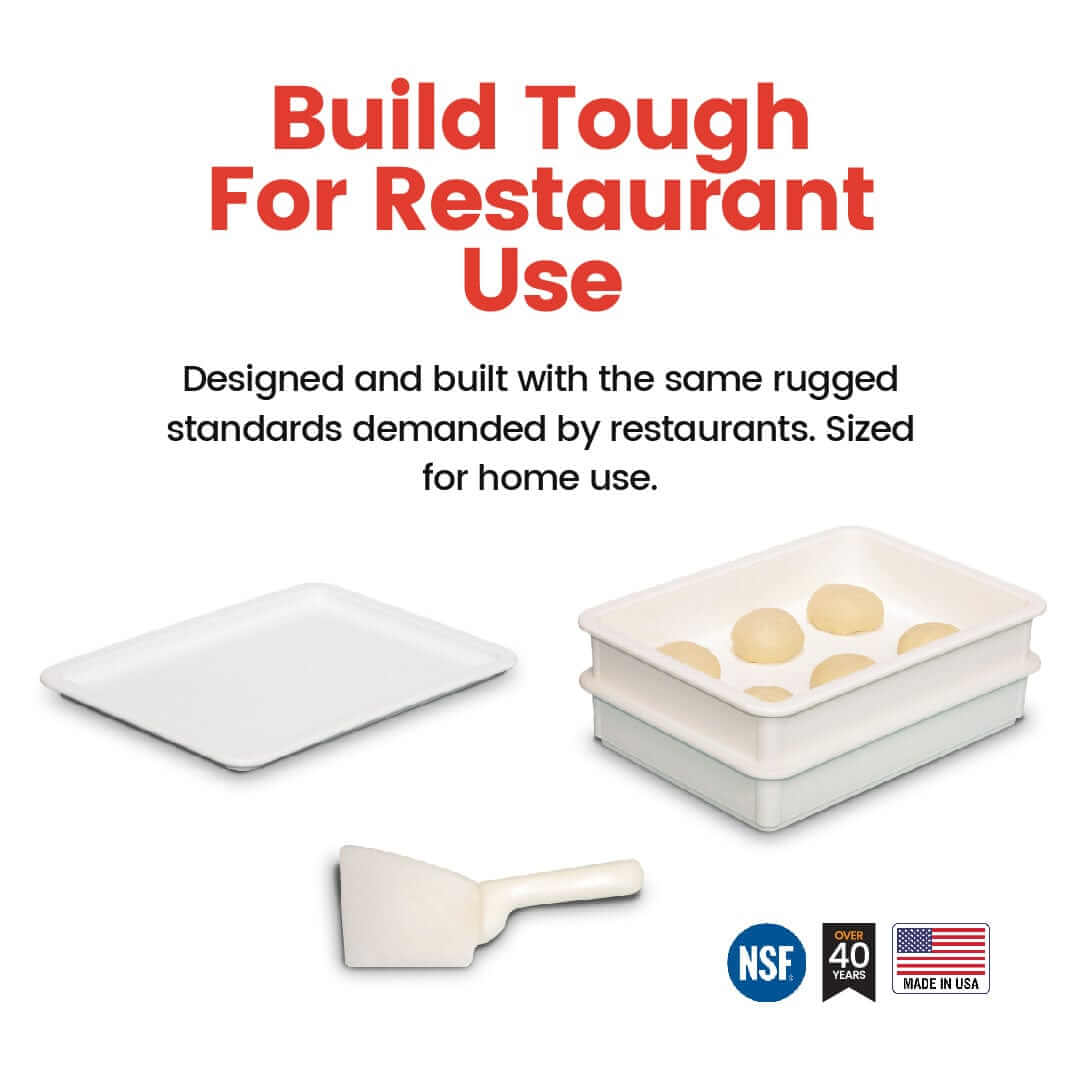
Proper dough preparation is crucial for successful oven proofing. This involves specific techniques for mixing and kneading, portioning the dough into balls, and selecting an airtight container. Using Prepa Pizza's premade dough, which is made with high-quality ingredients, simplifies this process and sets a strong foundation for your pizza-making journey. You can view the Prepa Pizza dough kit here.
Mixing and Kneading Techniques
Start by making the dough using Prepa Pizza's premade dough. When mixing, ensure even distribution of ingredients. Use a stand mixer or by hand to combine flour, water, salt, and instant yeast, creating a dough that is slightly tacky but manageable. Kneading is vital to develop the gluten structure. Aim for about 8-10 minutes of kneading until the dough becomes smooth and elastic.
To check if your dough is ready, perform the “windowpane test.” Stretch a small piece between your fingers; it should not tear easily. If it does, continue kneading until it achieves the desired elasticity.
Dough Balls and Portioning
After kneading, the next step is portioning the dough into individual balls. Depending on the size of your pizza, you can create larger or smaller balls. For standard pizzas, divide the dough into 8-ounce portions.
Shape each portion into a tight ball by tucking the edges under. This technique helps create surface tension, allowing the dough to rise effectively. Place the dough balls on a floured surface and cover them with a damp cloth to prevent drying out while they rest before proofing.
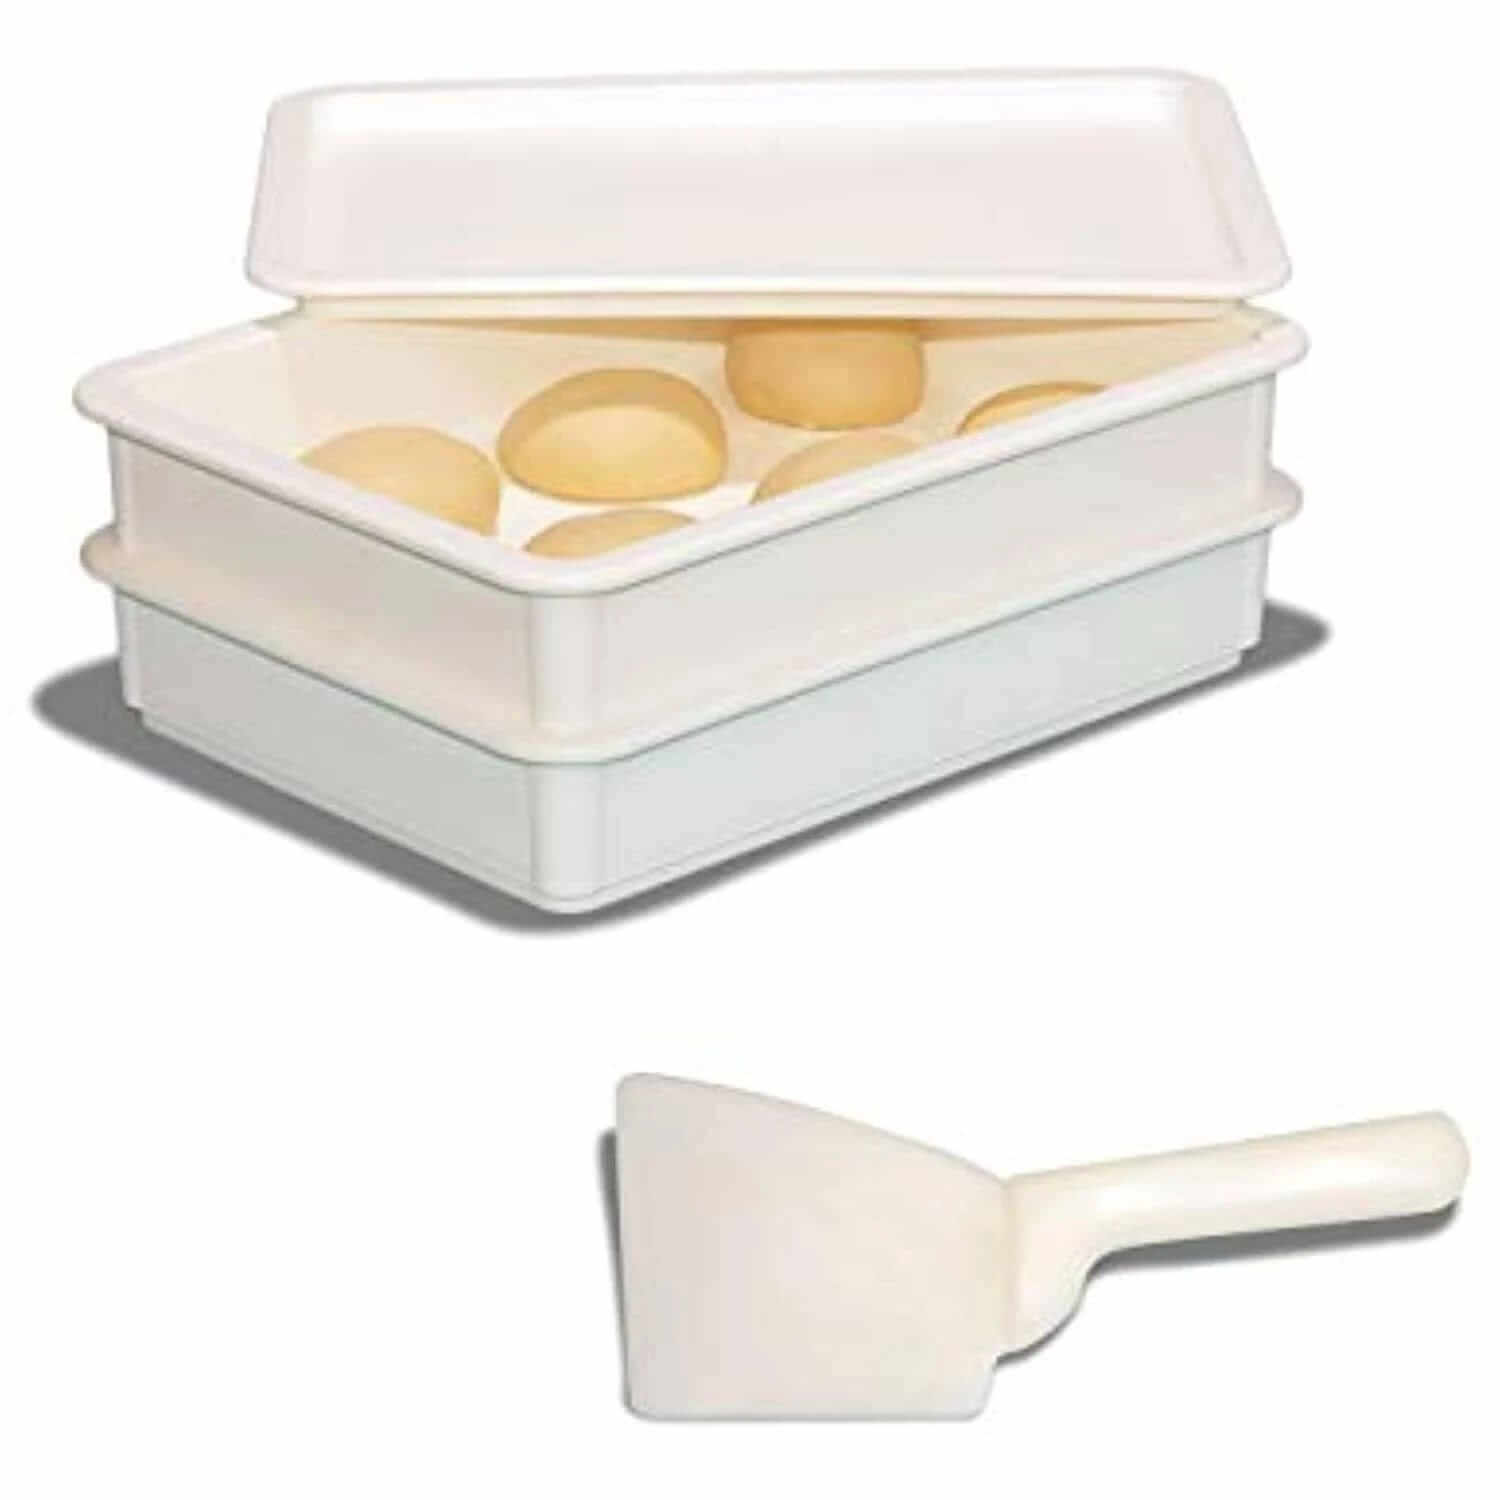
Choosing an Airtight Container
Selecting the right airtight container is important for proofing. Use containers that are large enough to allow the dough to expand without restriction. You can use plastic wrap, a tight-fitting lid, or resealable bags.
Ensure the container is clean and dry. Place the dough inside and seal it to trap moisture and warmth. This creates an optimal environment for yeast fermentation, enhancing flavor and texture. Avoid using containers that are too small, as this may hinder proper dough expansion during the proofing stage.
How to Proof Pizza Dough in the Oven
Proofing pizza dough in the oven can lead to a perfectly risen crust, enhancing its texture and flavor. With the right temperature, humidity management, and proofing methods, you'll see noticeable results using Prepa Pizza's premade dough, which is crafted with quality ingredients for a superior pizza experience.
Setting the Ideal Oven Temperature
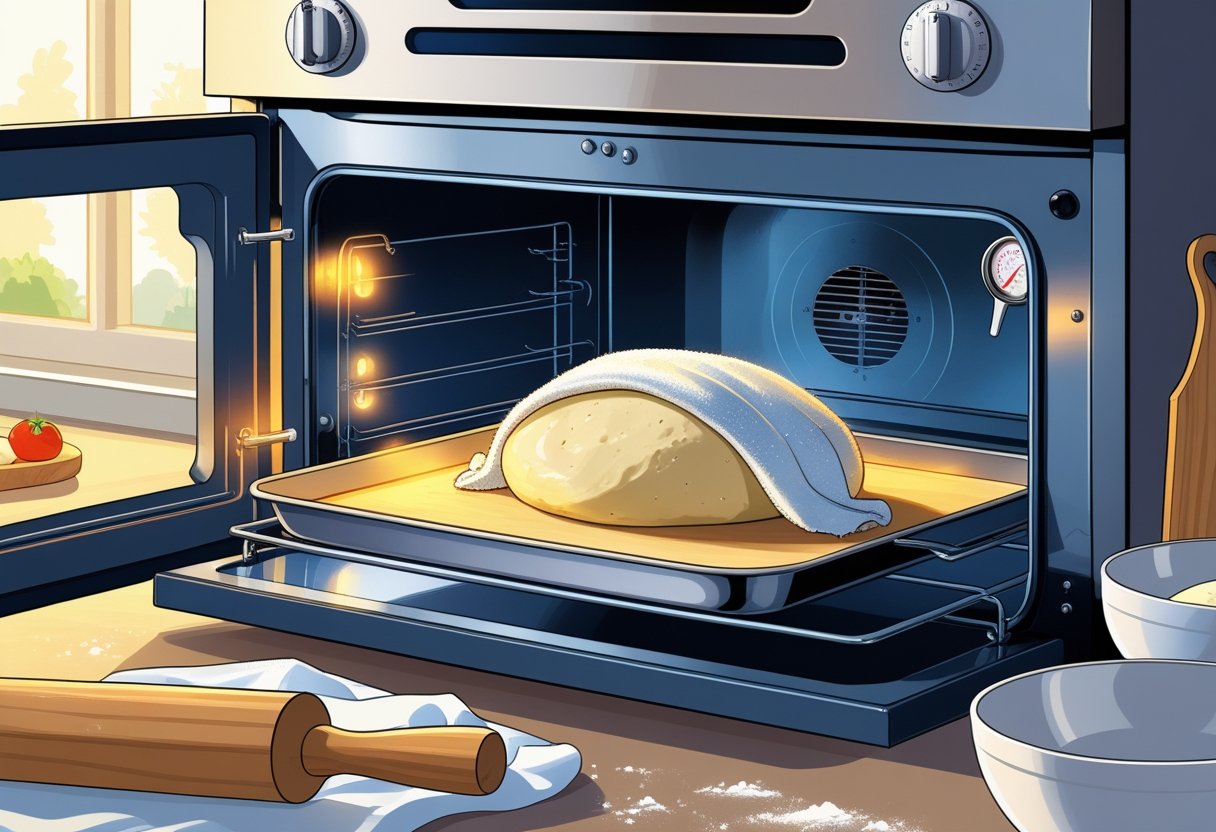
To effectively proof your pizza dough, begin by preheating your oven to its lowest setting, typically around 150°F to 200°F (65°C to 90°C).
This temperature range creates the warm environment needed for yeast activity without cooking the dough.
Once the oven reaches this temperature, turn it off, allowing residual heat to remain.
Place your dough, ideally in a lightly oiled bowl, inside. Cover it with plastic wrap or a damp cloth to prevent drying.
A consistent temperature is crucial; fluctuations can hinder proofing effectiveness.
Monitor your dough, and it should rise within 30 to 60 minutes, depending on its specific recipe and conditions.
Managing Humidity and Steaming Water
Humidity plays a critical role in dough proofing.
By creating humidity in your oven, you help maintain moisture levels essential for optimal rising.
To do this, place a cup of steaming water in the oven alongside your dough.
This method not only keeps the dough from drying out but also promotes yeast activity, leading to better texture.
You can reheat the water if necessary, ensuring it remains warm throughout the proofing process.
Always keep the oven’s door closed during proofing to trap heat and moisture.
This technique helps achieve an ideal humidity level that enhances your dough’s elasticity and rise.
Using a Proofing Box or Alternative Methods
If your oven doesn't offer suitable conditions, consider creating a makeshift proofing box.
You can achieve this by using your oven’s warmth, as earlier discussed.
Another method is to place your dough in a turned-off microwave with a mug of hot water.
This setup simulates a warm and humid environment ideal for proofing.
Using a covered bowl for storing your dough in warm areas of your kitchen can also work.
Always cover your dough to prevent it from forming a crust.
Experiment with these methods to find what works best for your specific environment and dough type.
Using the Prepa Pizza dough will help you easily navigate these methods to achieve exceptional results.
Timing and Signs of Proper Proofing
Proper timing and knowing the signs of a good dough rise are essential for achieving the perfect pizza crust. Understanding how long to proof your pizza dough and recognizing these signs will elevate your homemade pizza experience. When using Prepa Pizza's premade dough, you can enjoy consistent quality and superior results.
How Long to Proof Pizza Dough
The ideal proofing time for pizza dough can vary, but typically you should aim for 24 to 48 hours. For best results, allow your dough to proof in the fridge, which enhances flavor through a slow fermentation process.
If you're short on time, a 2 to 3-hour proof at room temperature can suffice, but the texture and flavor will not be as developed.
For pre-made options like Prepa Pizza's dough, the recommended time ensures perfect results every time. Remember, a longer proof allows for more carbon dioxide (CO2) production, contributing to a lighter, airier crust.
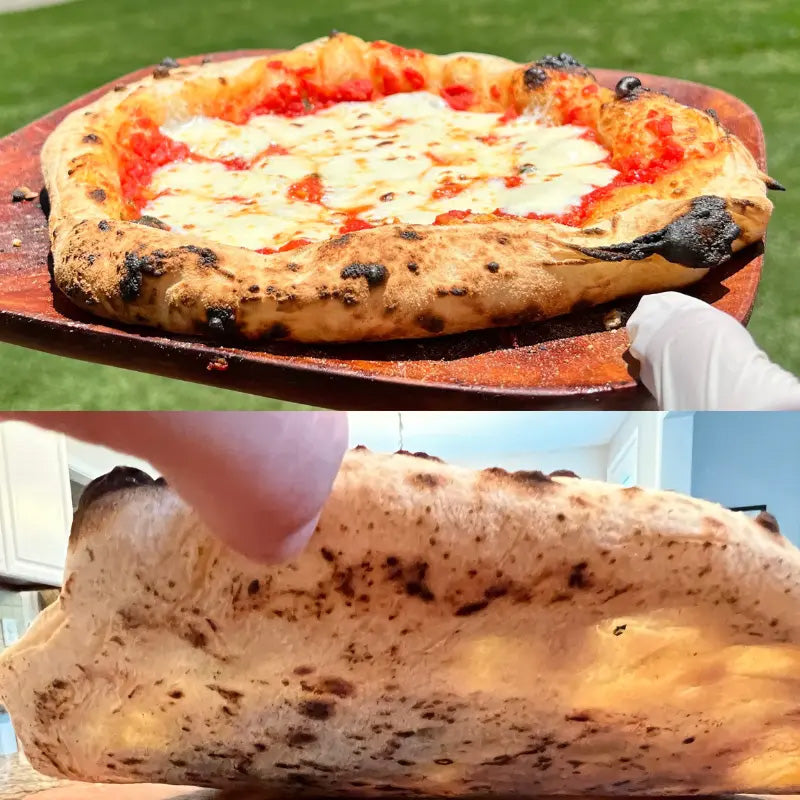
Recognizing a Good Dough Rise
You can recognize a successful dough rise through several visual and tactile indicators. A well-proofed dough should double in size and have a bubbly surface, indicating carbon dioxide bubbles have formed within.
Look for a smooth texture without any cracks. This indicates proper gluten development. When you gently press the dough with your finger, it should spring back slowly, confirming it’s ready for the next step.
If your dough is too soft or doesn’t hold its shape, it might need more time for the gluten to strengthen. Whether you're using your homemade dough or Prepa Pizza's premade dough, recognizing these signs helps ensure a successful bake.
Using the Poke Test
The poke test is a reliable method for checking the readiness of your pizza dough. To perform this test, simply press your finger into the dough about half an inch deep. If the indentation springs back slowly and leaves a small mark, your dough is adequately proofed.
If the dough springs back too quickly, it likely needs more time. Conversely, if the indentation remains, the dough may be over-proofed, losing the ideal rise effect.
Utilizing the poke test ensures that you achieve the optimal final proofing stage, maximizing the flavor and texture of your crust with Prepa Pizza's premade dough.
Advanced Tips and Troubleshooting
When proofing pizza dough in the oven, it's essential to consider various factors that affect the outcome, such as proofing time, temperature, and techniques. Applying advanced tips can enhance flavor, texture, and overall ease of handling your dough. Using Prepa Pizza's premium quality premade dough can simplify the process while ensuring you achieve excellent results. You can find more about their dough here.
Avoiding Over-Proofing
To prevent over-proofing, keep a close eye on your dough as it rises. Over-proofing leads to a weak structure, resulting in a flat, dense crust instead of the desired light and airy texture.
A good rule of thumb is to check the dough after the first hour. If it's doubled in size, it's ready. If you're unsure, gently poke the dough; if it springs back slowly, it’s at its peak. Use a timer to manage proofing times effectively, especially in warmer ambient temperatures, which can accelerate the process.
Flavor and Texture Enhancements
Enhancing the flavor profile of your dough involves allowing for proper fermentation. A slow fermentation process, such as cold proofing, can develop a more complex flavor. You can refrigerate your dough in a covered bowl for 24-48 hours to deepen the flavors.
If time is short, a quick proofing method using warm water can also work, but may not yield the same depth of flavor. For the best crust texture, try using higher protein flour for better gluten development, which contributes to a robust, chewy base.
Room Temperature vs. Cold Proofing
Room temperature proofing is ideal for quick results, allowing the dough to rise faster due to warmer ambient temperatures. This method works well if you're short on time. However, it can compromise flavor development.
Cold proofing, on the other hand, takes longer but benefits your dough with improved flavor and crust texture. The slow fermentation allows enzymes to work, creating a more flavorful dough. Weigh the time you have against the flavor profile you desire before choosing your method.
Quick Proofing Methods
If you're in a hurry, several quick proofing methods can save time while still yielding good results. One effective approach is to create a makeshift proofing box in your oven by placing a bowl of hot water alongside the dough.
Alternatively, you can proof pizza dough in the microwave with a cup of hot water. The steam helps keep the dough warm, promoting quicker rise without overheating it. Always monitor your dough closely to ensure it doesn’t over-proof using these rapid techniques.
Storing and Handling Pizza Dough
Proper storage and handling of pizza dough are crucial for achieving the perfect pizza crust. With attention to bulk fermentation, freezing, and post-proofing handling, you can ensure your dough remains fresh and primed for the best results. Consider using Prepa Pizza’s premade dough for a hassle-free experience, ensuring a quality base for your pizza.
Bulk Fermentation and Freezing
Bulk fermentation is the initial rise of your dough before shaping it into pizza crusts. This process allows the dough to develop flavor and structure through yeast activity. Once bulk fermentation is complete, you can choose to freeze the dough for later use.
To freeze pizza dough:
- Lightly coat the dough with olive oil.
- Divide it into portions.
- Wrap each portion tightly in plastic wrap, then place in a freezer-safe bag.
This method preserves the flavor and texture. When ready to use, simply thaw the dough in the refrigerator overnight, then allow it to come to room temperature before shaping.
Handling Dough After Proofing
After proofing, it’s important to handle your dough with care to maintain its integrity. Gently degas the dough by pressing down on it, but avoid overworking it to retain air pockets essential for a light crust. Then, divide it into individual portions for shaping.
Keep in mind:
- Use flour to dust surfaces and prevent sticking.
- Allow the dough to rest for about 20 minutes before stretching into shape. This relaxes the gluten, making it easier to form.
Proper handling leads to better texture and a more enjoyable pizza-making experience.
Neapolitan Pizza and Other Styles
When making Neapolitan pizza, the dough requires special consideration. It should be soft and easy to stretch without tearing. Prepa Pizza’s premade dough is ideal for this style, boasting quality ingredients that ensure the perfect base.
For Neapolitan pizza:
- Aim for a high-temperature bake, around 800°F.
- Stretch the dough by hand rather than using a rolling pin to preserve air.
For other styles, such as New York or Chicago, you may adjust thickness and baking times. Experiment with shapes and toppings that suit your preferences. Each method offers unique flavors and textures.
Frequently Asked Questions
When proofing pizza dough in the oven, there are specific considerations to keep in mind. You can achieve the best results with the right temperature, timing, and methods. If you’re using Prepa Pizza’s premade dough, these tips will help you maximize your dough’s potential. Check out Prepa Pizza's premade dough kit for high-quality ingredients.
What is the ideal temperature for proofing pizza dough in the oven?
The ideal temperature for proofing pizza dough in the oven typically ranges from 75°F to 100°F (24°C to 38°C). This warm environment encourages yeast activity, helping the dough rise effectively. For best results, preheat your oven to its lowest setting.
Can pizza dough be proofed effectively using the oven's proof setting?
Yes, if your oven has a proof setting, it’s designed specifically for this purpose. This setting maintains a consistent, warm temperature for optimal dough fermentation. Using this feature can streamline the proofing process effectively.
Is it possible to proof pizza dough in the oven overnight, and how?
You can proof pizza dough overnight in the oven by using a very low temperature or a turned-off oven with a light on. This creates a warm environment without overheating. Make sure to cover your dough adequately to prevent it from drying out.
How long should pizza dough be proofed in the oven for optimal results?
Generally, you should proof pizza dough for about 30-45 minutes for a traditional dough. However, if using dough with high-protein content, allow for 45-60 minutes. Monitoring the dough's rise is crucial for optimal results.
What are the methods to proof pizza dough quickly using an oven?
To proof pizza dough quickly, preheat the oven to its lowest setting, then turn it off before placing the dough inside. Alternatively, create steam by placing a pan of hot water in the oven with the dough, which can expedite the proofing process.
Can you proof pizza dough in the oven if it doesn't have a proof setting?
Yes, you can still proof pizza dough in the oven without a proof setting. Simply preheat the oven to the lowest temperature, then turn it off and place the dough inside. Ensure it is covered to maintain moisture and warmth.
Pizza Base Shaping: Essential Techniques for Perfectly Formed Crusts
Slow Rise Dough: The Key to Flavorful Bread Baking
Related Posts

Pickle Pizza Recipe: How to Make the Viral Dill Pickle Pizza Everyone Loves

Can You Use Bread Flour For Pizza Dough: Benefits and Tips Explained

How to Thaw Frozen Pizza Dough Quickly for Perfect Results Every Time

What Temperature To Cook Pizza Dough For Perfect Crispiness Every Time

Dough Press for Pizza Efficiently Perfecting Homemade Crusts

How to Freeze Homemade Pizza Dough for Freshness and Convenience

Sourdough Crust Essentials for Perfect Baking Results