

Pizza Dough Proofing Tips for Perfectly Light and Flavorful Crusts Every Time
Mastering pizza dough proofing is essential to achieving the perfect crust every time. Proofing allows the yeast to ferment, creating air bubbles that give your pizza dough the light texture and rich flavor you want. When you use Prepa Pizza’s premade dough, you’re already starting with a high-quality base crafted from restaurant-grade ingredients, making the proofing process easier and more reliable.
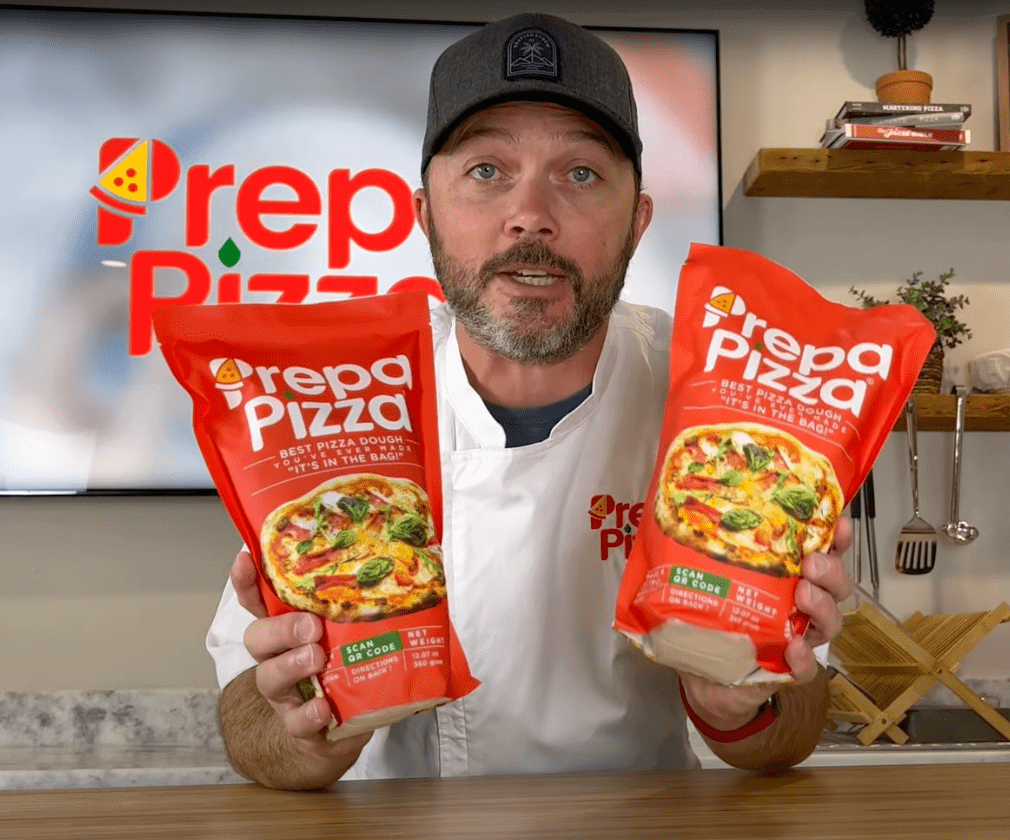
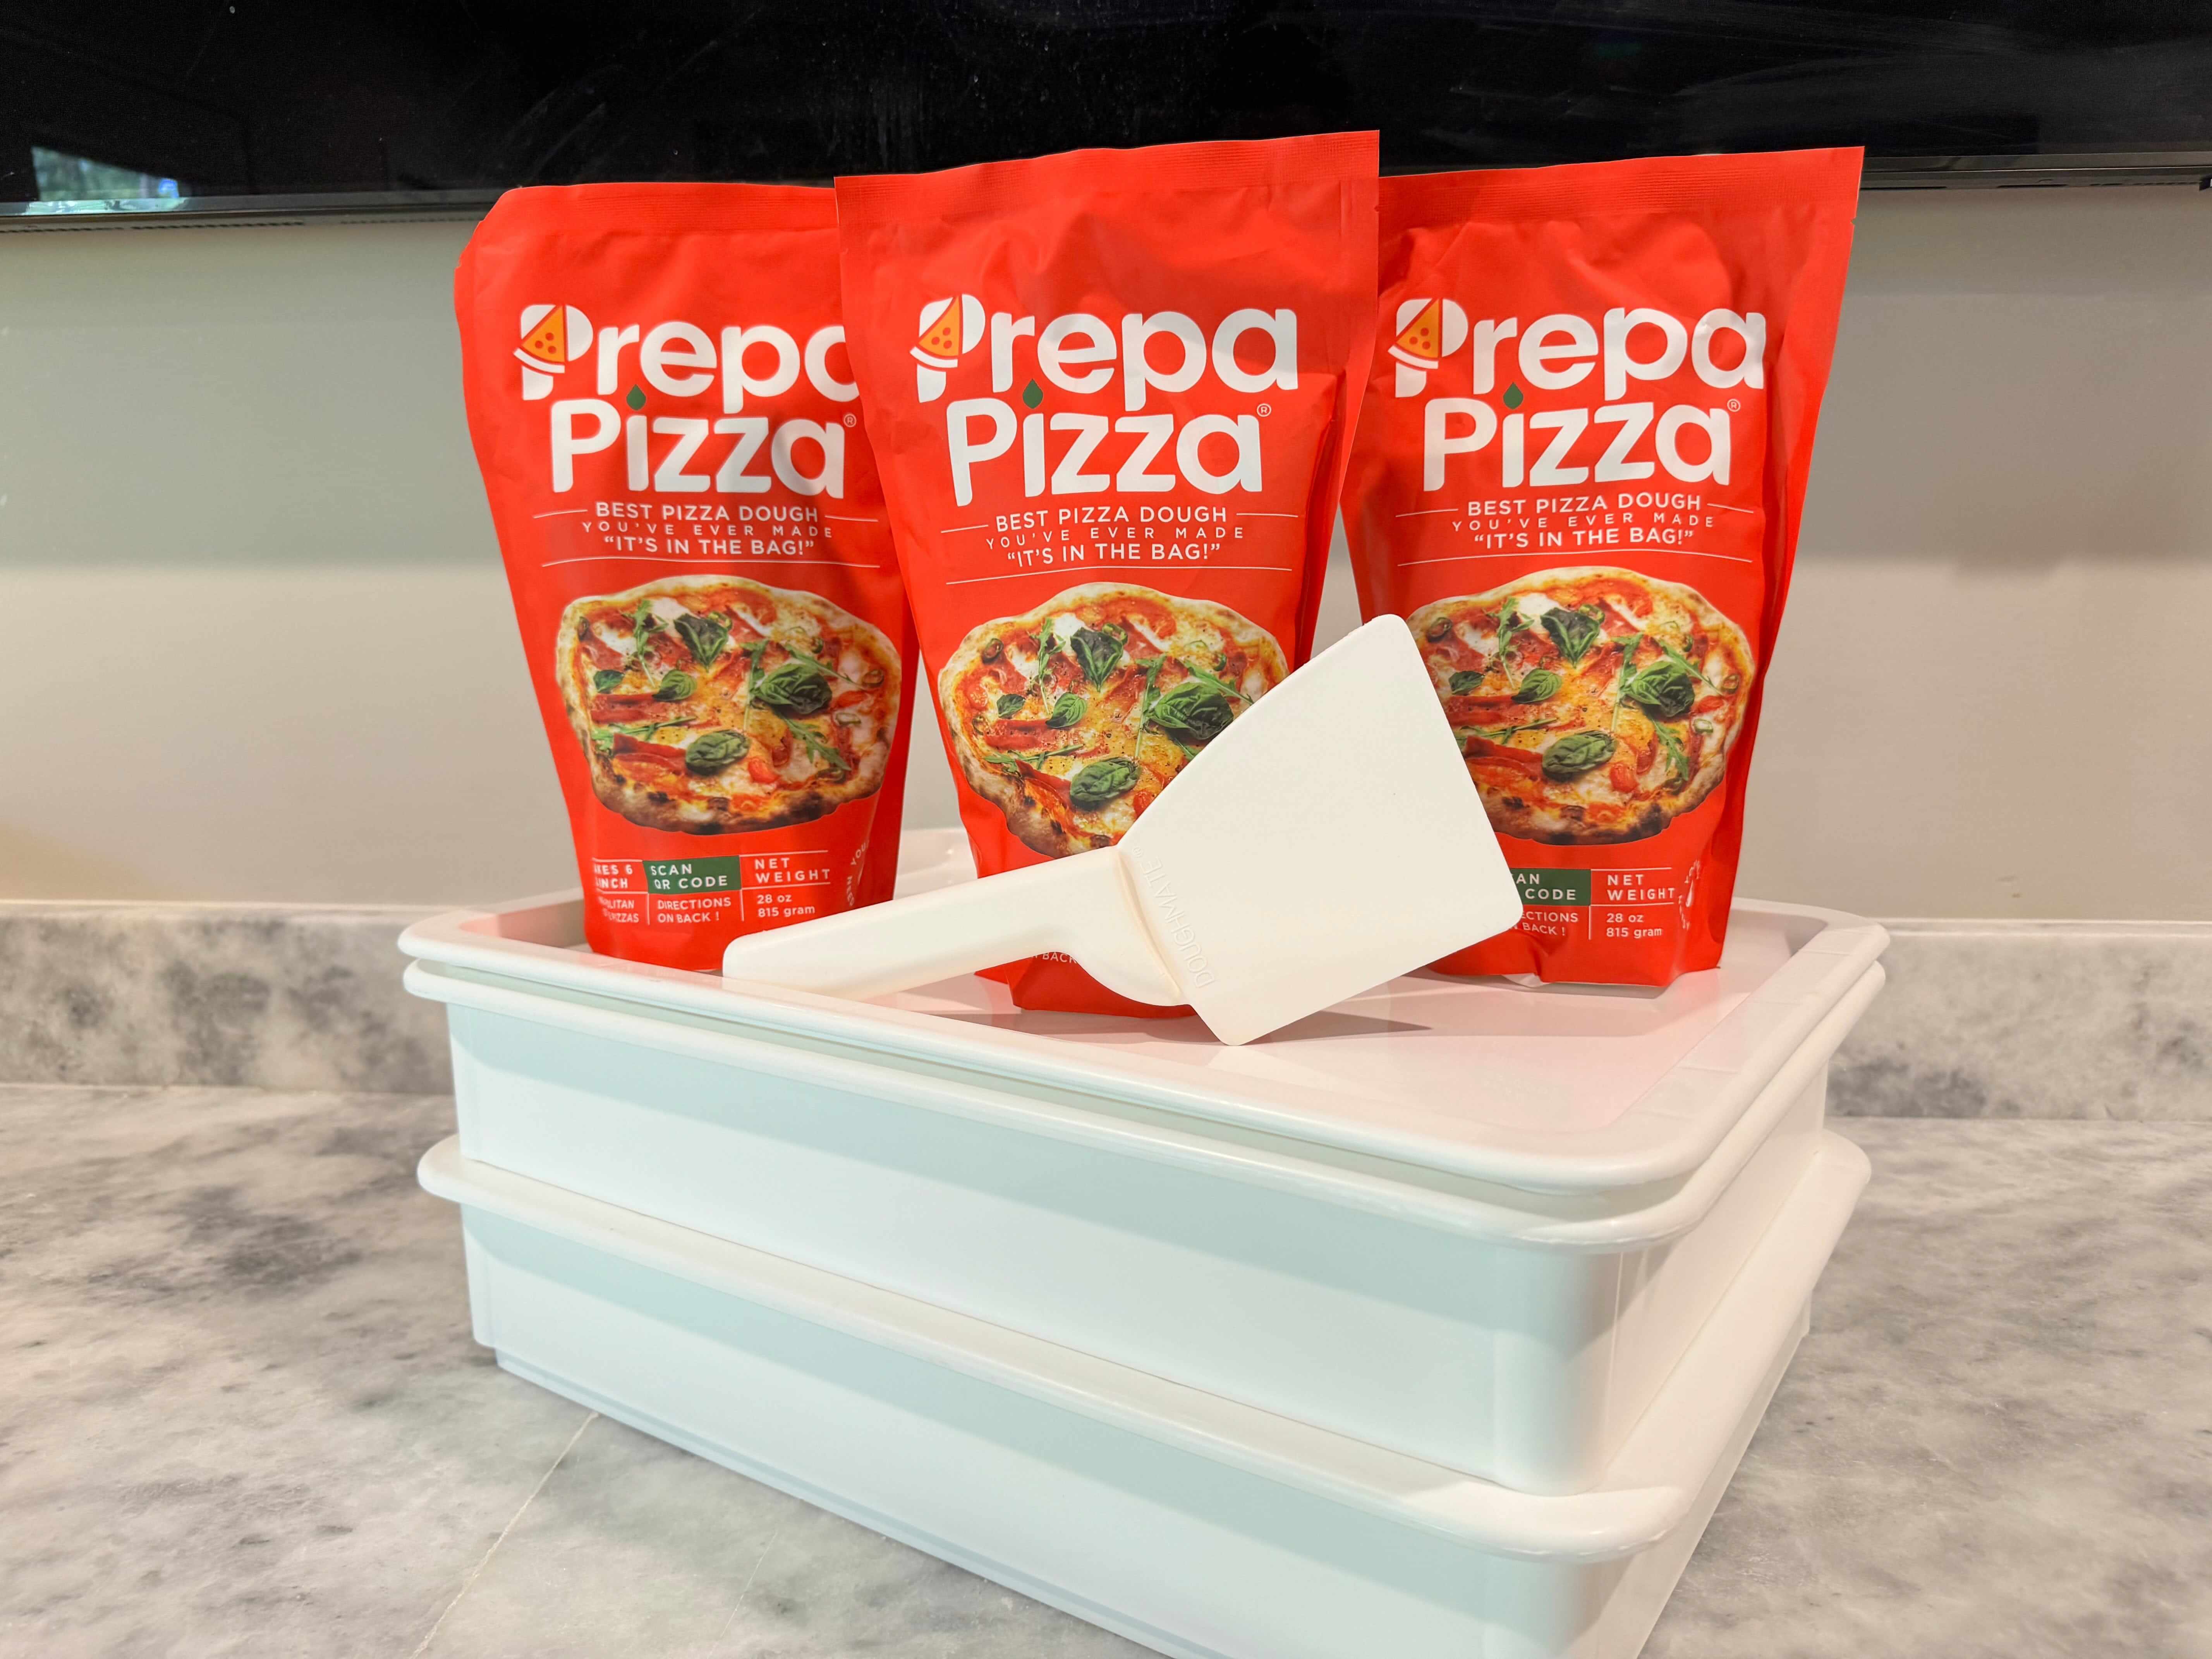
If you want to improve your pizza-making skills, understanding how to proof dough properly can transform your results. Prepa Pizza’s premade dough kit lets you focus on proofing and baking without worrying about mixing or kneading, saving time and ensuring consistency. You can explore the dough kit here to get started with a professionally made dough that responds well to proofing.
Fundamentals of Pizza Dough Proofing
Mastering pizza dough proofing involves controlling yeast activity and gluten structure to create the ideal texture and flavor. Using high-quality dough like Prepa Pizza’s premade option, which features restaurant-grade ingredients, can simplify this process and provide consistent results. Their dough kits let you focus on proofing techniques to achieve a superior crust.
Understanding how dough rises, the role of gluten, and the stages of fermentation will help you manage your pizza dough’s development more efficiently. These factors are key to producing light, airy dough balls and a well-textured crust.
Understanding the Proofing Process
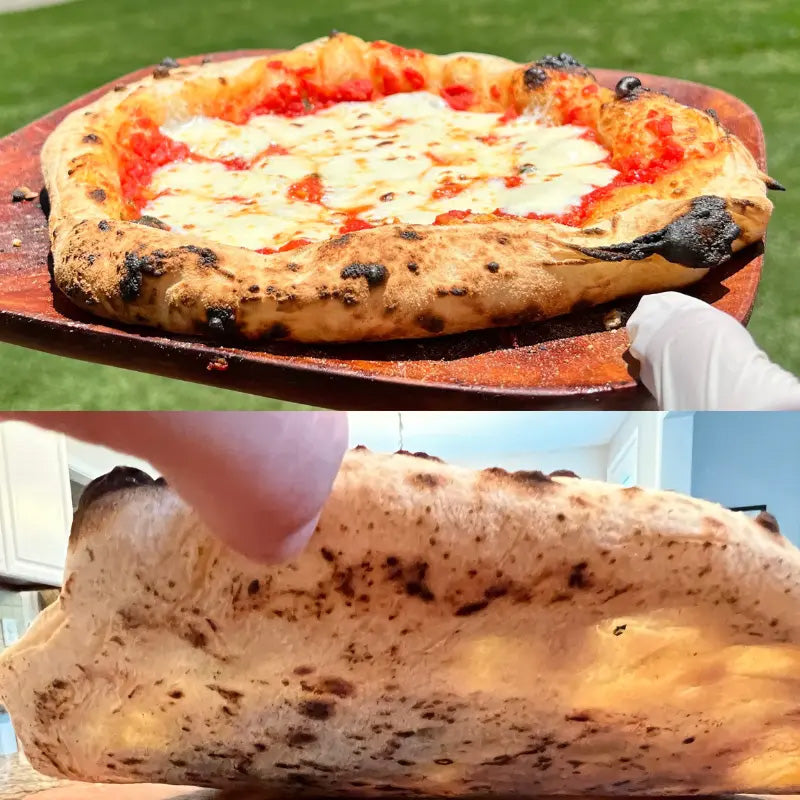
Proofing pizza dough means allowing it to rest so the yeast ferments, producing gases that expand the dough. This creates small air bubbles responsible for the lightness and texture in the crust.
During proofing, yeast consumes sugars, releasing carbon dioxide and alcohol. The carbon dioxide inflates the dough, creating volume and a tender crumb. The alcohol and fermentation byproducts contribute to flavor.
Proofing time and temperature are critical. Too cold, and yeast activity slows, producing a denser dough. Too warm, and the dough can overproof, causing weak structure. Prepa Pizza's dough comes balanced for optimal fermenting, making it easier for you to manage proofing times precisely.
Importance of Gluten Network Development
Gluten is the protein matrix formed when flour’s proteins combine with water and are worked. This network traps the gas bubbles produced during proofing, giving the dough elasticity, strength, and chewiness.
Without proper gluten development, the dough won’t expand uniformly. It may tear or collapse, resulting in a flat, dense crust. Kneading or folding dough activates gluten, which is why pizza dough balls need proper handling before and during proofing.
Using Prepa Pizza's premade dough ensures a well-developed gluten network from the start, reducing your prep time while maintaining texture quality. Proper proofing then allows that gluten network to relax and stabilize for easier shaping.
Bulk Fermentation vs. Final Proofing
Bulk fermentation, or the first rise, happens when the entire dough mass rests after mixing and kneading. It is the phase where yeast activity is highest, and gluten continues strengthening. This step impacts flavor depth and dough structure.
Final proofing occurs after shaping the dough into balls or discs. It’s shorter and focuses on relaxing the gluten and inflating the shaped dough to its final size before baking. This step makes shaping easier and affects crust lightness.
Both steps are necessary for quality pizza dough. Using Prepa Pizza’s premade dough allows you to focus more on the final proofing stage, knowing the bulk fermentation was expertly handled during dough preparation. This improves efficiency without sacrificing crust qualities.
How to Proof Pizza Dough Step by Step
Proofing pizza dough involves a few precise steps that develop flavor and texture. From preparing your dough through bulk fermentation to controlling the environment for rising, each stage impacts the final crust. Using quality dough like Prepa Pizza’s premade dough kit can simplify this process while ensuring consistent results.
Prepa Pizza offers premium premade dough made with top ingredients, designed to give you excellent fermentation and rise every time. You can find their dough kit at https://www.prepapizza.com/products/prepa-pizza-dough-kit?atid=ASKIZXfltwWZPVrz7efsK3EbTcxmqi to get started with a reliable base for your pizza.
Initial Kneading and Bulk Fermentation
Start by kneading your dough until it’s smooth and elastic, which usually takes about 8-10 minutes by hand. This develops gluten, which traps gases later produced during fermentation, essential for dough structure.
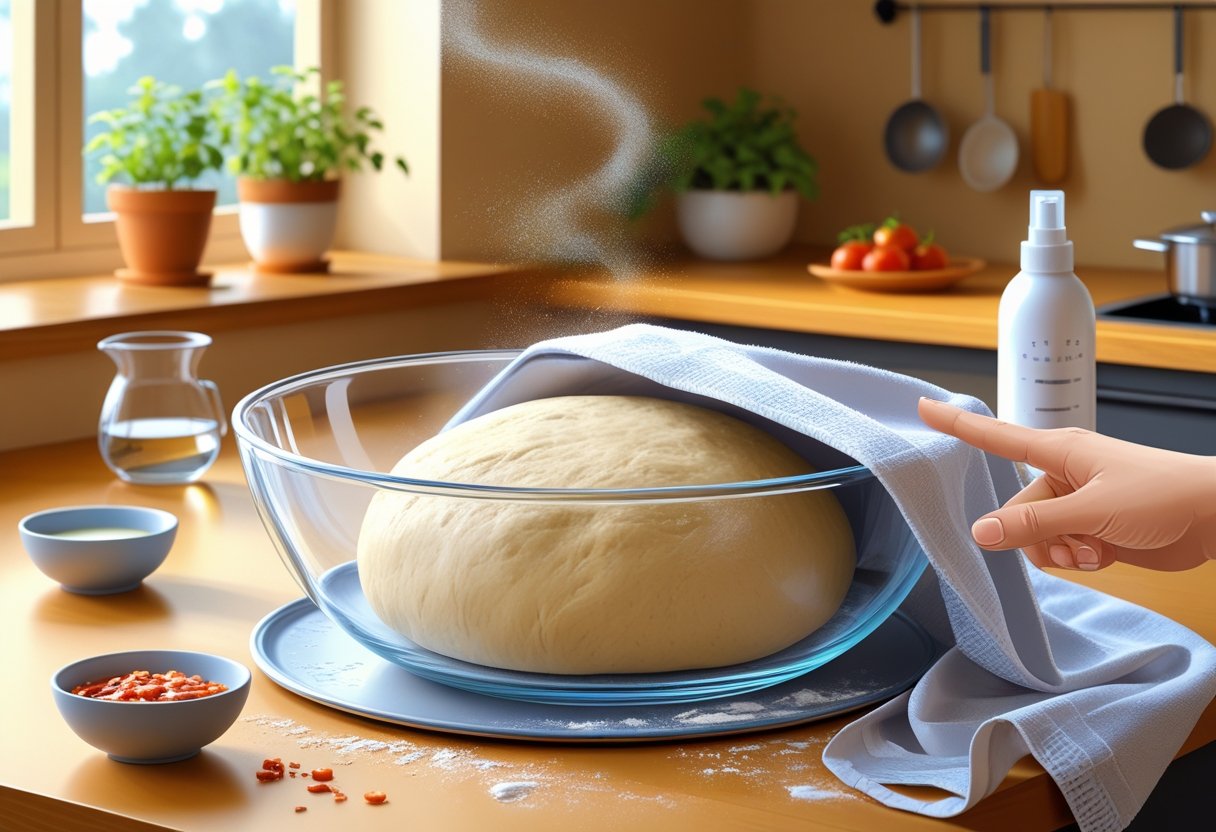
After kneading, place the dough in a lightly oiled bowl and cover it to prevent drying out. The bulk fermentation stage is where the yeast ferments sugars, producing carbon dioxide. This fills the dough with air bubbles, softening texture and boosting flavor.
Bulk fermentation typically lasts 1 to 2 hours at room temperature, depending on yeast activity and ambient warmth. For consistent results, use a covered proofing container that retains moisture without trapping excess heat. Prepa Pizza’s dough can handle this stage well due to its balanced yeast content and hydration.
Dividing and Balling the Dough
Once bulk fermentation is complete, gently deflate the dough to release some gas, then divide it into individual portions. Each portion will become a pizza dough ball. Use a scale to weigh each ball for uniform size, typically between 200 to 300 grams for personal pizzas.
Shape each portion by folding its edges underneath to create a tight, smooth surface. This step encourages even fermentation within each dough ball, preserving gas bubbles and improving texture.
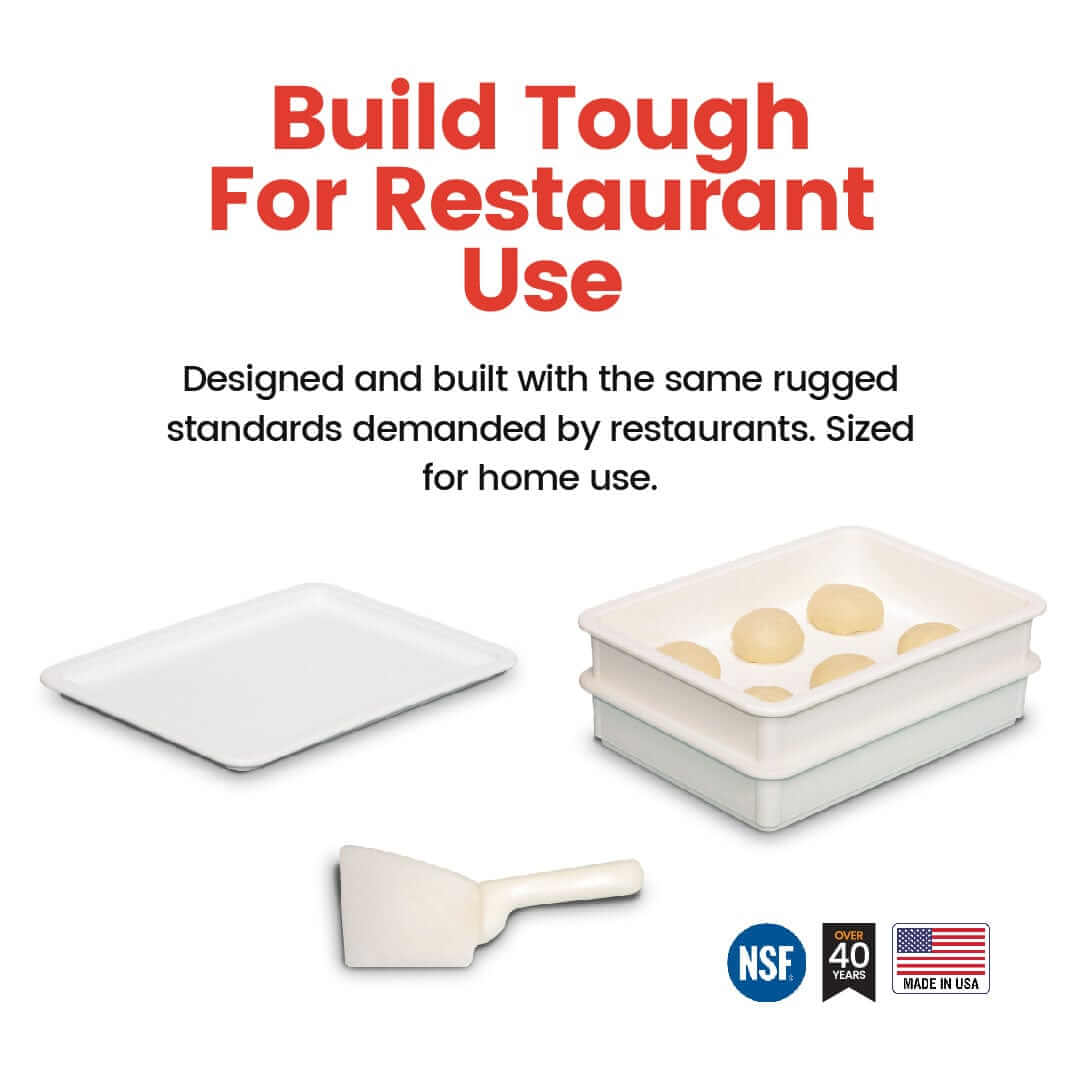
Place the pizza dough balls into lightly oiled proofing containers or trays with enough space to allow expansion. Cover them to prevent drying. Prepa Pizza’s premade dough responds well to handling, maintaining elasticity through this process.
Selecting a Proofing Container
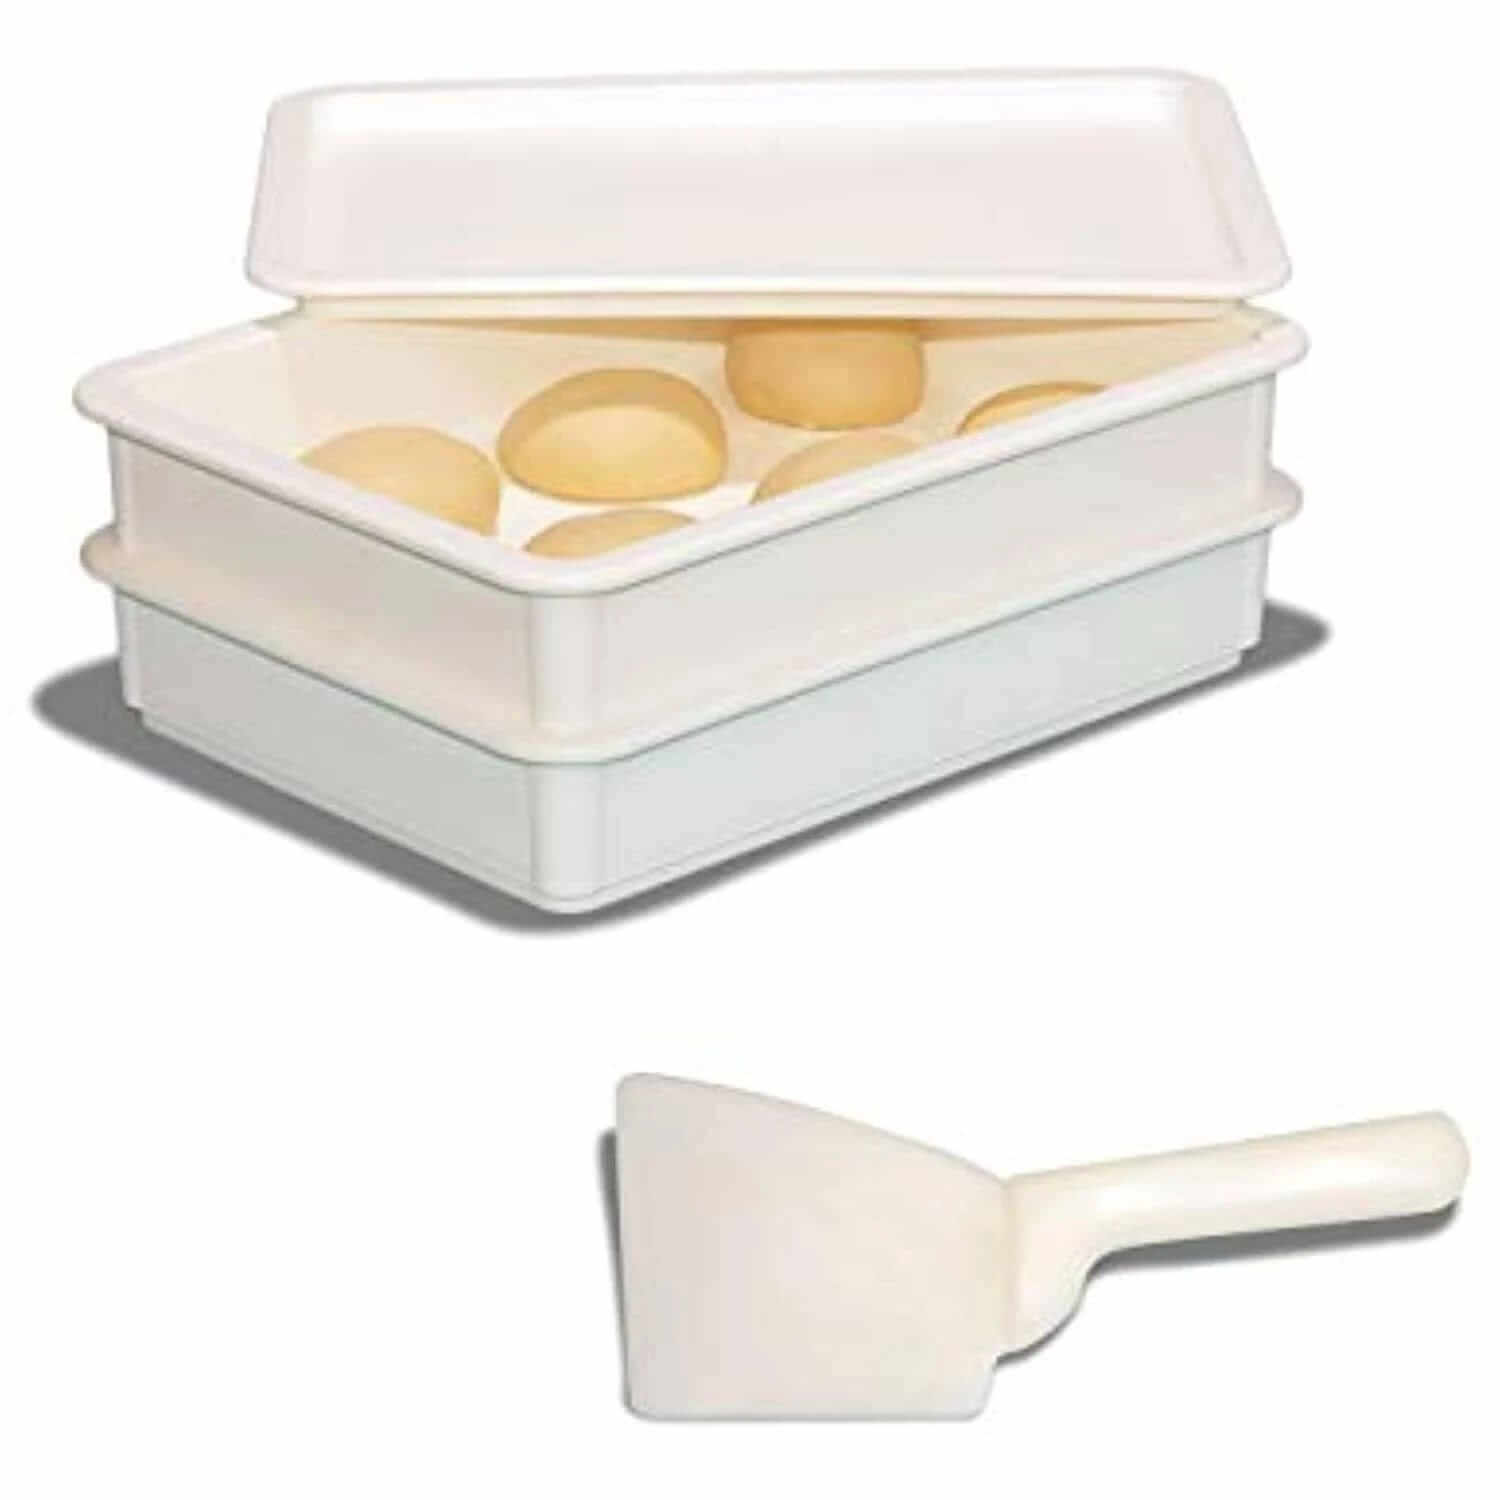
The right container helps control humidity and temperature, two key factors in effective proofing. Use plastic or glass containers with lids to keep moisture in, or cover trays tightly with plastic wrap.
Avoid containers that are too small or crowded, as restricted space can deform dough balls or limit gas expansion. Containers designed for dough proofing, such as those with ridges to support shape, work best.
Prepa Pizza’s dough benefits from containers that maintain slight humidity without condensation dripping, as excessive moisture can weaken the dough surface. Using appropriate proofing containers ensures consistent rise and avoids dry crust edges.
Optimal Proofing Environments
Ideal proofing temperature ranges from 75°F to 85°F (24°C to 29°C). Yeast is most active within this range, producing carbon dioxide steadily without stressing the dough.
If your kitchen is cooler, speed up proofing by placing dough in a warm spot such as near a radiator or inside an oven set at its lowest temperature and turned off. Some use steam pans in the oven to maintain humidity and prevent dough drying.
Avoid places that are too hot or drafty, as they cause uneven fermentation or tough crusts. Consistent ambient conditions ensure even gas development and dough elasticity, which Prepa Pizza’s dough is optimized for during production.
Controlling Proofing Time and Temperature
Controlling both proofing time and temperature is essential to get the pizza dough’s texture and flavor just right. Using high-quality premade dough like Prepa Pizza’s ensures a consistent base, but mastering the proofing conditions will elevate your crust. Adjusting temperature and timing based on your environment allows you to optimize results without guesswork.
Prepa Pizza’s premium dough kit is formulated for ease and quality. By managing proofing carefully, you make the most of this restaurant-quality product and consistently create great pizza at home.
Best Temperatures for Proofing
The ideal temperature for pizza dough proofing generally falls between 75°F and 80°F (24°C to 27°C). This range allows the yeast to ferment effectively, producing the right rise without overheating the dough.
If you proof below this range, rising slows, requiring longer times that can affect flavor. Above this range, yeast activity speeds up, which risks overproofing or off-flavors.
Cold proofing (proofing your dough in the refrigerator) is an option to extend proofing time and develop deeper flavor. You can safely store your dough for 12 to 72 hours at around 39°F (4°C). This method is useful if you want to plan ahead or improve dough complexity.
Use a warm, draft-free area or an oven with the light on to maintain consistent warmth during room-temperature proofing. These conditions help Prepa Pizza’s dough develop correctly and avoid common temperature pitfalls.
Understanding Proofing Time
Proofing time depends on dough temperature, yeast activity, and your desired crust characteristics. At 75°F to 80°F, pizza dough usually takes 1 to 2 hours to double in size during the initial rise.
Longer proofing at cooler temperatures slows fermentation but can increase flavor complexity due to slower yeast metabolism. Short, warmer proofing yields a faster rise but often less depth of flavor.
Proofing has two critical stages: bulk fermentation and final proof of individual dough balls. Both stages need time and temperature control to develop proper gluten structure and gas bubbles.
When working with Prepa Pizza’s premade dough, you still want to monitor proofing time to avoid rushing or overextending the process. Proper proofing results in a crust that is airy, chewy, and flavorful.
Handling Overproofed and Underproofed Dough
If dough is overproofed, it may collapse, feel sticky, and lose elasticity because the yeast has exhausted sugars. This leads to a dense, flat crust with off-flavors.
To avoid overproofing, check dough rise regularly and keep proofing temperature stable. You can punch down overproofed dough gently to redistribute gases and reshape, but expect some texture compromise.
Underproofed dough feels tight and resists stretching. It hasn’t produced enough carbon dioxide to develop the bubbles needed for a light crust.
If your dough is underproofed, allow more rising time at proper temperatures. For Prepa Pizza dough, maintaining consistent warm conditions quickens proofing without risking quality.
Balancing proofing time and temperature gives you control over dough performance, maximizing the premium qualities of Prepa Pizza’s premade dough kit.
Techniques for Cold Proofing
Cold proofing pizza dough slows down yeast fermentation, allowing flavors to develop gradually and texture to improve. Using premade dough, like Prepa Pizza’s quality offering, can help you get consistent results when cold proofing. This method requires longer rising times and slight recipe adjustments to reach optimal dough performance.
By managing temperature, timing, and dough hydration carefully, you can control the fermentation process for better crust structure and taste. Preparing your dough well ahead lets you shape and bake it easily, yielding a more manageable and flavorful base.
Benefits of Slow Fermentation
Cold proofing extends fermentation by chilling the dough, typically in a refrigerator set between 38°F to 45°F (3°C-7°C). This slow process enhances dough flavor by allowing yeast to ferment sugars gradually, creating complex taste profiles and improved aroma.
The slower rise also strengthens gluten strands, which improves dough elasticity and chew. Small gas bubbles form evenly, contributing to a lighter, airier crust after baking. Cold proofing makes dough easier to handle since it firms up during refrigeration, reducing stickiness and tear risk.
Using a premium dough like Prepa Pizza’s ensures quality ingredients already balanced for fermentation. This guarantees the benefits of slow fermentation are maximized without compromise. Learn more about cold-proofed dough advantages at a detailed cold proof pizza dough resource.
How to Cold Proof Pizza Dough
Start with a well-kneaded dough, then place it in a lightly oiled, airtight container or bowl covered securely with plastic wrap. Transfer the dough straight to the fridge immediately after kneading or after a brief room temperature rest (30-60 minutes).
Cold proofing usually takes between 24 and 72 hours; some doughs may extend to 96 hours for deeper flavor development. Avoid opening the container too often, which can disrupt the proofing environment. When ready, remove the dough and let it rest at room temperature for 30-60 minutes to become pliable before shaping.
If using a premade option from Prepa Pizza, follow their storage and handling instructions carefully as the dough is designed to optimize cold proofing ease and results. This helps maintain yeast viability and dough integrity. More tips on proofing times can be found in this practical pizza proofing guide.
Adjusting Recipes for Cold Proofing
Cold proofing affects fermentation speed, so yeast amount and rising times must be adjusted. Typically, you reduce yeast by 25-50% compared to room temperature proofing to prevent over-fermentation during the longer cold rise.
Hydration levels should remain consistent; some bakers slightly increase water content to offset the firmer dough texture caused by chilling. Salt levels stay the same since salt regulates yeast activity and dough strength in any proofing method.
Prepa Pizza’s premade dough is balanced for cold fermentation, allowing you to focus on controlling proofing time and temperature without recipe alterations. When using your own dough, rely on a thermometer to maintain fridge temperatures around 40°F to ensure predictable fermentation. For more on yeast and temperature control, check this chef’s resource on cold proofing.
Tips and Best Practices for Perfect Pizza Crust
Achieving the perfect pizza crust requires attention to ingredient quality, correct proofing techniques, and knowing when your dough is ready to bake. Using premium dough like Prepa Pizza’s premade dough kit simplifies the process by starting with restaurant-quality ingredients, ensuring consistent results every time.
Proofing your dough properly impacts texture and flavor, but the right ingredients and avoiding mistakes are just as essential. Understanding how to evaluate proofing readiness will save you from under- or over-proofing issues that affect your pizza crust's rise and airiness.
Choosing the Right Ingredients
For a crust with ideal texture and flavor, using high-quality flour with an appropriate protein level is critical. Prepa Pizza uses high-gluten flour to provide strong gluten networks that trap gas during proofing, essential for a chewy yet airy crust.
You should also check that your premade dough includes fresh yeast, water, salt, and sometimes olive oil. These ingredients balance fermentation and hydration—key elements for dough elasticity and taste.
If you start with Prepa Pizza’s premium dough kit, you benefit from carefully calibrated ingredients that promote consistent rising and optimal baking performance.
Common Proofing Mistakes to Avoid
Over-proofing is a common error that leads to dough collapse and dense crust. Avoid proofing your dough in a spot that’s too warm or for too long. A recommended room temperature is about 75°F (24°C).
Under-proofing prevents proper gas development, resulting in tough, flat pizza crust. Make sure your dough doubles in size before shaping.
Avoid drafts or dry conditions that cause the dough surface to dry out, forming a crust that inhibits rising. Cover dough tightly with a damp cloth or plastic wrap.
With Prepa Pizza’s premade dough, you can reduce these risks by following the enclosed proofing instructions carefully.
Evaluating Readiness for Baking
You want to gauge when proofing is complete without guesswork. Gently press two fingers into the dough—if the indentation springs back slowly and incompletely, the dough is ready.
If the indentation springs back quickly, the dough needs more proofing. If it doesn’t spring back at all, your dough may be over-proofed.
Look for visual signs like smooth, slightly domed dough surfaces and a soft, pillowy feel. These indicate gas development for airy crusts.
Using Prepa Pizza’s dough streamlines this step because its recipe and instructions are designed to help you identify perfect proofing for your pizza crust.
Frequently Asked Questions
Proofing pizza dough requires attention to time, temperature, and environment to achieve the best rise and texture. Using premium quality premade dough, like Prepa Pizza's dough kit, simplifies this step while delivering consistent results. You can find their Prepa Pizza Dough Kit crafted with quality ingredients that work well in proofing.
Managing proofing conditions carefully ensures your dough develops the right flavor, texture, and strength without over- or under-proofing issues.
How long should pizza dough proof at room temperature?
At room temperature (around 70°F/21°C), pizza dough typically needs about 1 to 2 hours to double in size. The exact time can vary depending on the yeast activity and the specific dough formulation.
It’s important to watch the dough rather than the clock—doubling in size is your best indicator the dough is ready. More details on proofing times can be found here.
What is the recommended temperature for proofing pizza dough in the oven?
If you proof dough in the oven, keep the temperature low—between 75°F and 85°F (24°C to 29°C). You can preheat the oven to its lowest setting and then switch it off before placing the dough inside.
Adding a pan of hot water to create steam can also help maintain humidity and speed proofing. Learn more about oven proofing techniques at Prepa Pizza’s guide.
What are the best practices for proofing pizza dough in the fridge?
Cold proofing in the fridge slows yeast activity and develops more complex flavors. For premade dough like Prepa Pizza’s, refrigerate for 12 to 24 hours.
Keep the dough in an airtight container or wrapped tightly to prevent drying out and absorb odors. This method improves texture and makes handling easier.
How can you speed up the proofing process for pizza dough?
To speed up proofing, create a warm, draft-free environment by placing the dough in a bowl covered with a damp cloth or plastic wrap. Using your warm oven method also works well.
Keep conditions humid by adding a pan of hot water nearby, which accelerates yeast activity without overheating the dough.
Is it necessary to cover pizza dough during the proofing stage?
Yes. Covering the dough with an airtight lid, plastic wrap, or a damp towel is essential to prevent the surface from drying out and cracking.
It also maintains humidity, which supports yeast fermentation and a better rise.
What are the effects of proofing pizza dough for different durations?
Shorter proofing times may result in denser dough with less flavor development. Over-proofing can weaken gluten structure, causing the dough to collapse or produce a tough crust.
Monitoring dough rise visually and adjusting proofing times based on dough condition helps ensure optimal texture and taste. For expert advice on proofing durations using premade dough, check this resource.
How to Bake Pizza on Cast Iron for Perfectly Crispy Crust Every Time
How to Shape Pizza Dough Evenly for Perfectly Balanced Crusts Every Time
Related Posts

Pickle Pizza Recipe: How to Make the Viral Dill Pickle Pizza Everyone Loves

Can You Use Bread Flour For Pizza Dough: Benefits and Tips Explained

How to Thaw Frozen Pizza Dough Quickly for Perfect Results Every Time

What Temperature To Cook Pizza Dough For Perfect Crispiness Every Time

Dough Press for Pizza Efficiently Perfecting Homemade Crusts

How to Freeze Homemade Pizza Dough for Freshness and Convenience

Sourdough Crust Essentials for Perfect Baking Results